Introduction
Oh no! Your keyboard is no longer producing a clear sound! Never fear, this guide is here! If your Yamaha PSS-130 is creating a crackly sound or even no sound at all, it may be time to change the speaker.
The speaker uses a magnet to change electrical signals into sound that we can hear. If the speaker fails, the device will no longer produce quality sound.
Before starting this guide, make sure that the problem is not your power source.
If you use batteries, make sure the batteries are charged and seated correctly. If that does not work, try the power cord provided with the device.
If you use the power cord, try using batteries.
If one of those work, Congratulations! You fixed your device! If not, the speaker will need to be replaced.
This 9 step guide will require you to remove the solder from the speaker, replace the speaker and then solder the new speaker.
If you do not already know how to solder this soldering guide will help to teach you how to do it.
Before beginning this guide, take the batteries out and unplug the keyboard from the wall.
Ce dont vous avez besoin
-
-
Remove the battery cover.
-
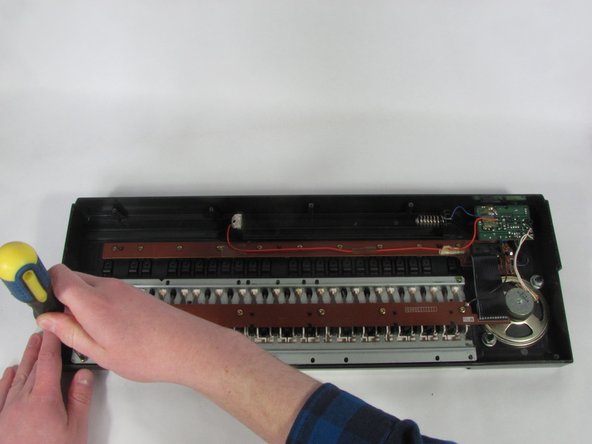
Remove all twelve of the 9.0 mm screws on the back cover of the device's casing using a Phillips #1 screwdriver.
-
-


To reassemble your device, follow these instructions in reverse order from step 3.
To reassemble your device, follow these instructions in reverse order from step 3.
Annulation : je n'ai pas terminé ce tutoriel.
2 autres ont terminé cette réparation.

Équipe

Purdue University Northwest, Team S6-G121, Hingst Spring 2020 Membre de l'équipe Purdue University Northwest, Team S6-G121, Hingst Spring 2020
PNW-HINGST-S20S6G121
1 membre
1 tutoriel rédigé