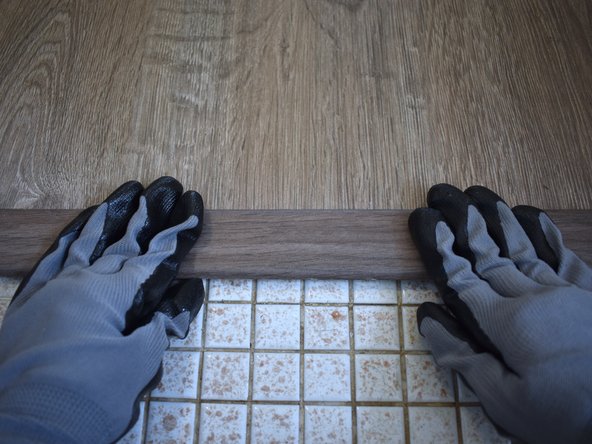
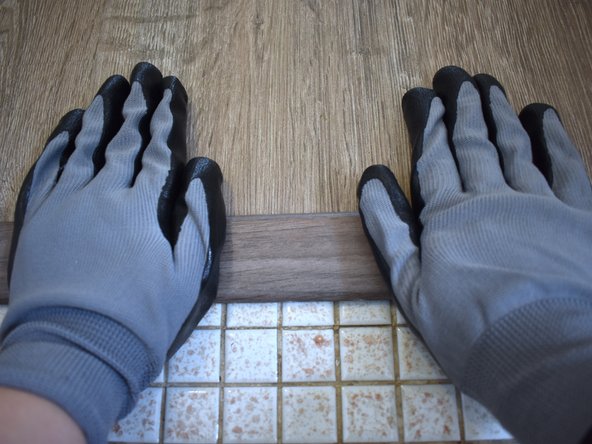
Aller au contenu principal

How to Replace a Transition Strip (T Molding)

Ce dont vous avez besoin

  1. How to Replace a Transition Strip (T Molding), Transition Strip (T Molding): étape 1, image 1 de 1
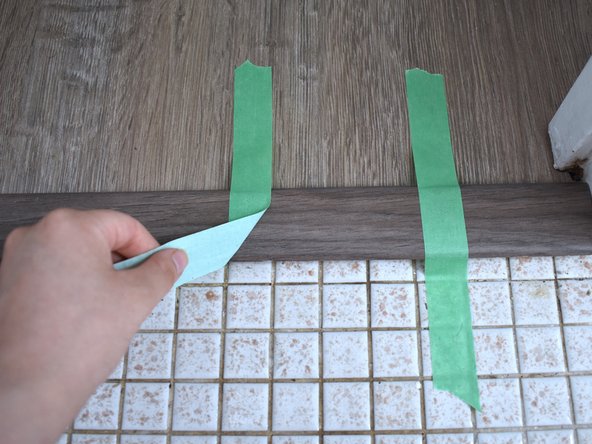
    • Measure the exact width of the doorway using a tape measure.

  2. How to Replace a Transition Strip (T Molding): étape 2, image 1 de 3 How to Replace a Transition Strip (T Molding): étape 2, image 2 de 3 How to Replace a Transition Strip (T Molding): étape 2, image 3 de 3
    • Mark the T molding based on the doorway measure.

    • Cut the T molding using a sharp saw (table saw).

    • Cutting the T molding can be done for free at the place of purchase.

    • If you don't have access to a sharp saw, cut the T molding using a jigsaw and use sanding paper to soften the end.

  3. How to Replace a Transition Strip (T Molding): étape 3, image 1 de 3 How to Replace a Transition Strip (T Molding): étape 3, image 2 de 3 How to Replace a Transition Strip (T Molding): étape 3, image 3 de 3
    • Remove the old T molding.

    • You can use a pry bar to loosen the T molding.

  4. How to Replace a Transition Strip (T Molding): étape 4, image 1 de 2 How to Replace a Transition Strip (T Molding): étape 4, image 2 de 2
    • Use a utility knife to remove all the glue or any material used to keep the old T molding in place.

    • You may use a scraper instead of a utility knife.

    • Clean up the area thoroughly.

  5. How to Replace a Transition Strip (T Molding): étape 5, image 1 de 1
    • Apply the glue evenly to the gap.

  6. How to Replace a Transition Strip (T Molding): étape 6, image 1 de 3 How to Replace a Transition Strip (T Molding): étape 6, image 2 de 3 How to Replace a Transition Strip (T Molding): étape 6, image 3 de 3
    • Insert the T molding into the gap.

    • Press the T molding firmly onto the ground.

    • No gap should exist between the T molding and the floorings.

  7. How to Replace a Transition Strip (T Molding): étape 7, image 1 de 2 How to Replace a Transition Strip (T Molding): étape 7, image 2 de 2
    • Tape the T molding onto the floor.

    • This step ensures the T molding stays in place until the glue dries.

    • Wait 24 hours for the glue to dry.

    • Remove the tapes.

Conclusion

To reassemble your device, follow these instructions in reverse order.

Rojean Noorinayer

Membre depuis le 05/12/21

145 Réputation

1 tutoriel rédigé

Équipe

York University, Team S1-G19, Melo-Thaiss Summer 2021 Membre de l'équipe York University, Team S1-G19, Melo-Thaiss Summer 2021

YORK-MELO-THAISS-SU21S1G19

1 membre

2 tutoriels rédigés

0 commentaires

Ajouter un commentaire

Nombre de vues :

Dernières 24 heures : 4

7 derniers jours : 49

30 derniers jours : 175

Total : 4,394