Aller au contenu principal

How to Replace a Wooden Gate Latch

Ce dont vous avez besoin

  1. How to Replace a Wooden Gate Latch, Gate Latch: étape 1, image 1 de 2 How to Replace a Wooden Gate Latch, Gate Latch: étape 1, image 2 de 2
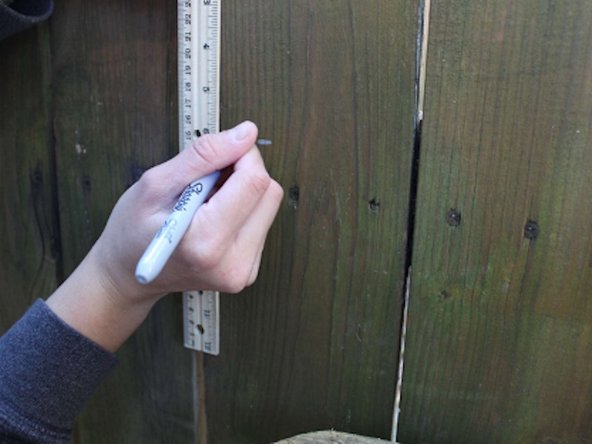
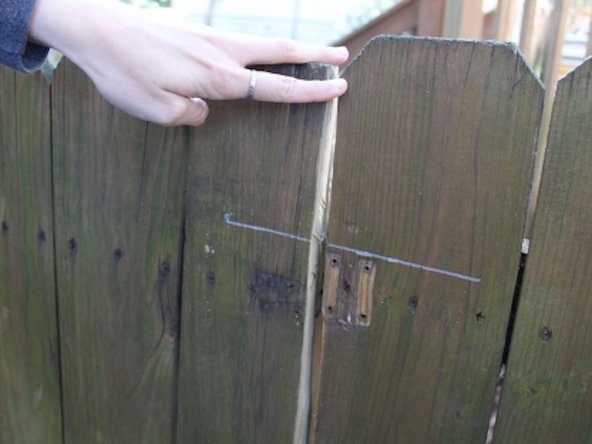
    • Using a ruler and a sharpie, draw a line starting at the bottom corner of the gate to the top corner of the gate, to ensure it is parallel with the rest of the gate.

  2. How to Replace a Wooden Gate Latch: étape 2, image 1 de 1
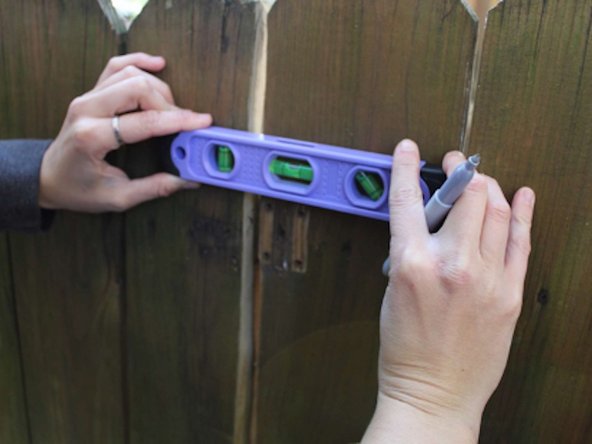
    • Place a level on the gate to ensure that the gate is properly level.

  3. How to Replace a Wooden Gate Latch: étape 3, image 1 de 3 How to Replace a Wooden Gate Latch: étape 3, image 2 de 3 How to Replace a Wooden Gate Latch: étape 3, image 3 de 3
    • Starting at the bottom of the gate, place the power saw on the sharpie line and cut along the entirety of the line.

    • Do saw from the opposite side of the fence.

  4. How to Replace a Wooden Gate Latch: étape 4, image 1 de 2 How to Replace a Wooden Gate Latch: étape 4, image 2 de 2
    • Using a ruler, measure 6 inches down from the top of the gate and mark that spot using a sharpie.

  5. How to Replace a Wooden Gate Latch: étape 5, image 1 de 3 How to Replace a Wooden Gate Latch: étape 5, image 2 de 3 How to Replace a Wooden Gate Latch: étape 5, image 3 de 3
    • Using a ruler, measure 6 inches down from the top of the adjacent fence and mark the spot using a sharpie

  6. How to Replace a Wooden Gate Latch: étape 6, image 1 de 3 How to Replace a Wooden Gate Latch: étape 6, image 2 de 3 How to Replace a Wooden Gate Latch: étape 6, image 3 de 3
    • At the marked location on the gate, attach the latch for the gate using a power drill and screws.

  7. How to Replace a Wooden Gate Latch: étape 7, image 1 de 3 How to Replace a Wooden Gate Latch: étape 7, image 2 de 3 How to Replace a Wooden Gate Latch: étape 7, image 3 de 3
    • On the adjacent fence at the marked spot attach the second half of the latching mechanism using a power drill and screws.

  8. How to Replace a Wooden Gate Latch: étape 8, image 1 de 3 How to Replace a Wooden Gate Latch: étape 8, image 2 de 3 How to Replace a Wooden Gate Latch: étape 8, image 3 de 3
    • Sand the edge of the gate that was cut using a power sander until the edge is smooth and fits properly when closing the gate.

Conclusion

To reassemble your device, follow these instructions in reverse order.

Gracie

Membre depuis le 10/07/20

157 Réputation

1 tutoriel rédigé

Équipe

0 commentaires

Ajouter un commentaire

Nombre de vues :

Dernières 24 heures : 2

7 derniers jours : 13

30 derniers jours : 30

Total : 1,070