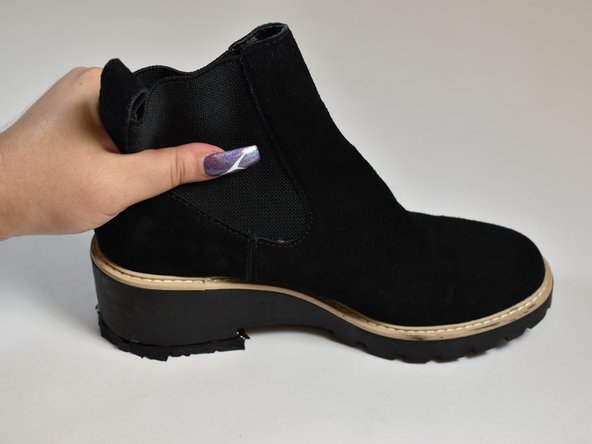
Aller au contenu principal

How to Replace a Worn Boot Heel

Ce dont vous avez besoin

  1. How to Replace a Worn Boot Heel, Rubber Heel: étape 1, image 1 de 2 How to Replace a Worn Boot Heel, Rubber Heel: étape 1, image 2 de 2
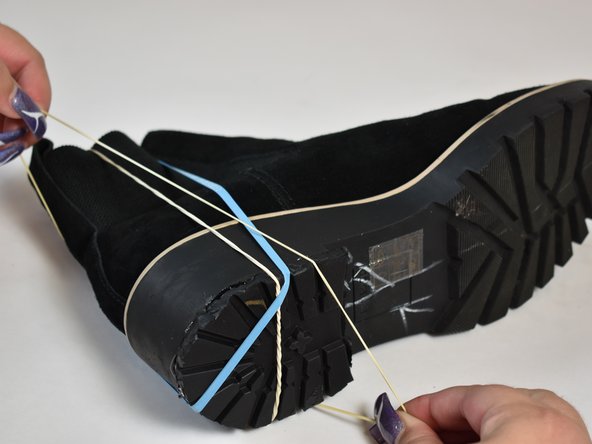
    • Carefully cut off the boot heel above the damaged part with a knife or box cutter.

    • It is easiest to cut around the outer edge of the heel first.

    • Pocket knives are very sharp! Please cut very carefully to avoid injury.

  2. How to Replace a Worn Boot Heel: étape 2, image 1 de 1
    • Sand down the heel with sandpaper until it is smooth and even.

  3. How to Replace a Worn Boot Heel: étape 3, image 1 de 1
    • Wipe the boot with alcohol wipes to remove leftover dust and dirt.

  4. How to Replace a Worn Boot Heel: étape 4, image 1 de 1
    • Set your boot heel onto the replacement heal pad.

    • Outline the heel of your boot on the replacement heal pad with a sharpie or other writing instrument.

  5. How to Replace a Worn Boot Heel: étape 5, image 1 de 1
    • Cut along the outline of the heal on the replacement pad with a knife or box cutter.

    • Be very carefully to avoid injury.

  6. How to Replace a Worn Boot Heel: étape 6, image 1 de 2 How to Replace a Worn Boot Heel: étape 6, image 2 de 2
    • Apply Shoe Goo or a similar adhesive to the boot heel and the replacement heal pad.

    • You can either apply the adhesive directly from the bottle or with a popsicle stick for an even spread.

    • Shoe Goo has some strong toxic fumes. Make sure you are outside or in a well-ventilated room.

  7. How to Replace a Worn Boot Heel: étape 7, image 1 de 2 How to Replace a Worn Boot Heel: étape 7, image 2 de 2
    • Line up the boot and the replacement pad on a flat surface.

    • Press the boot and replacement pad together firmly.

  8. How to Replace a Worn Boot Heel: étape 8, image 1 de 2 How to Replace a Worn Boot Heel: étape 8, image 2 de 2
    • Place rubber bands around the boot and the replacement pad to hold them together.

  9. How to Replace a Worn Boot Heel: étape 9, image 1 de 1
    • Let the adhesive dry for 24 hours.

    • Shoe Goo has some strong toxic fumes when still wet. Make sure the shoe is placed outside or in a well-ventilated room.

  10. How to Replace a Worn Boot Heel: étape 10, image 1 de 1
    • Sand down the rough edges and the excess glue once the glue is fully dry.

Conclusion

Repeat these same steps for the second shoe. Make sure the shoe adhesive is fully dry before wearing them out.

Bella Rozzi

Membre depuis le 04/23/24

181 Réputation

1 tutoriel rédigé

Équipe

UC Davis, Team 4-3, Whithaus Spring 2024 Membre de l'équipe UC Davis, Team 4-3, Whithaus Spring 2024

UCD-WHITHAUS-S24S4G3

3 membres

1 tutoriel rédigé

0 commentaires

Ajouter un commentaire

Nombre de vues :

Dernières 24 heures : 1

7 derniers jours : 14

30 derniers jours : 16

Total : 74