Aller au contenu principal

How to Sew a Buttonhole by Hand

Ce dont vous avez besoin

  1. How to Sew a Buttonhole by Hand, How to Sew a Buttonhole by Hand: étape 1, image 1 de 2 How to Sew a Buttonhole by Hand, How to Sew a Buttonhole by Hand: étape 1, image 2 de 2
    • Place your button where you want the buttonhhole.

    • Use a chalk marker or washable fabric marker to make a vertical line just to the right of the button.

    • Use your marker to make a vertical line just to the left of the button.

  2. How to Sew a Buttonhole by Hand: étape 2, image 1 de 1
    • Use your marker to make a horizontal line that connects the two vertical lines.

  3. How to Sew a Buttonhole by Hand: étape 3, image 1 de 3 How to Sew a Buttonhole by Hand: étape 3, image 2 de 3 How to Sew a Buttonhole by Hand: étape 3, image 3 de 3
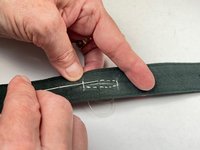
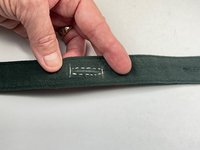
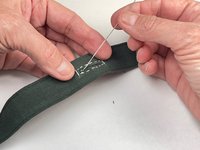
    • Sew your first stitch from the top to the bottom of the vertical chalk line on the left.

    • Continue by sewing a running line of small stitches underneath the horizontal chalk line, up the right side, then above the horizontal line.

    • This is the outline for the buttonhole.

  4. How to Sew a Buttonhole by Hand: étape 4, image 1 de 3 How to Sew a Buttonhole by Hand: étape 4, image 2 de 3 How to Sew a Buttonhole by Hand: étape 4, image 3 de 3
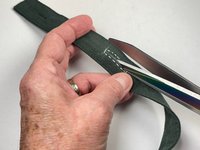
    • Use a seam ripper to poke a hole in the fabric that is large enough for your scissors.

    • Use your scissors to cut a slit along the horizontal chalk line in the middle of your stitched outline.

  5. How to Sew a Buttonhole by Hand: étape 5, image 1 de 1
    • Slide your button into the slit to make sure it's large enough.

  6. How to Sew a Buttonhole by Hand: étape 6, image 1 de 3 How to Sew a Buttonhole by Hand: étape 6, image 2 de 3 How to Sew a Buttonhole by Hand: étape 6, image 3 de 3
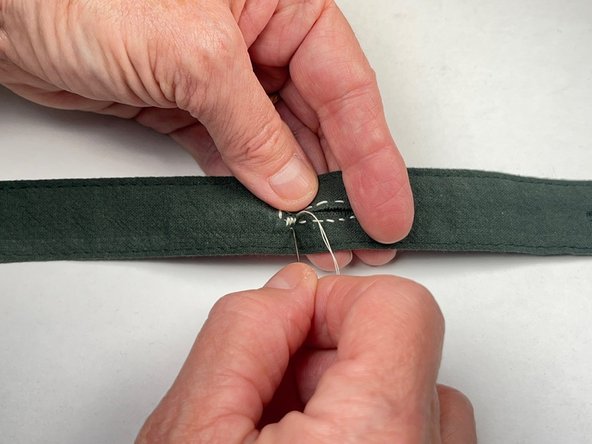
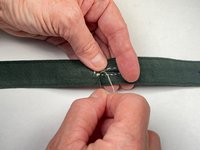
    • Bring your threaded needle up through the slit.

    • Push the needle back down through the fabric just to the outside of your first outline stitch.

    • Bring the needle back up through the slit and continue making a row of small, tight, vertical stitches along the bottom edge of the slit.

  7. How to Sew a Buttonhole by Hand: étape 7, image 1 de 1
    • When you get to the right edge of the slit, continue by making a small row of horizontal stitches around that end of the buttonhole.

  8. How to Sew a Buttonhole by Hand: étape 8, image 1 de 2 How to Sew a Buttonhole by Hand: étape 8, image 2 de 2
    • Working from right to left, continue sewing small, tight, vertical stitches along the top side of the buttonhole slit.

    • When you get to the left edge, make a row of small horizontal stitches around that end, until you arrive back where you began.

    • Push your needle through to the back and tie it off with a knot.

  9. How to Sew a Buttonhole by Hand: étape 9, image 1 de 1
    • Test your new buttonhole and enjoy!

Ligne d'arrivée

Une autre personne a terminé cette réparation.

Michelle Macias

Membre depuis le 01/18/24

193 Réputation

1 tutoriel rédigé

0 commentaires

Ajouter un commentaire

Nombre de vues :

Dernières 24 heures : 0

7 derniers jours : 0

30 derniers jours : 9

Total : 29