Introduction
If you've discovered a torn seam in your garment, don't worry! With a few simple steps, you can repair it by hand using a technique called backstitch. This guide will take you through the process, ensuring your garment is restored to its former glory.
Before you begin, gather your materials: a needle, thread matching the garment's color, scissors, and an iron. Make sure your garment is clean and dry before starting the repair.
Remember to work in a well-lit area and take your time to ensure a neat and sturdy repair.
Let's get started on restoring your garment to its original condition!
Ce dont vous avez besoin
-
-
Before you start fixing that torn seam, it's crucial to investigate the damage first.
-
Flip your clothing inside out and closely examine the rip along the seam. Identify the starting and ending points of the tear. These marks will guide you in resewing the seam to mend it.
-
-
-
-
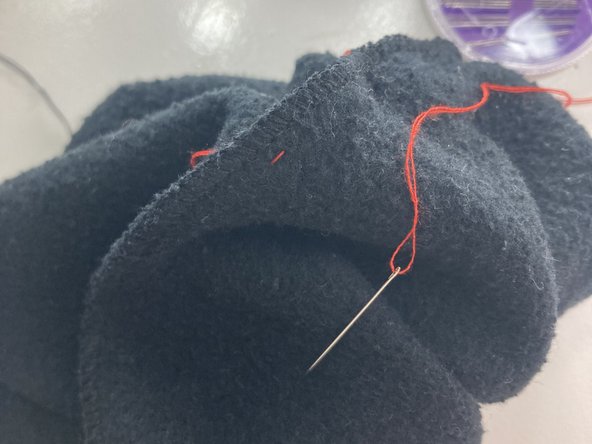
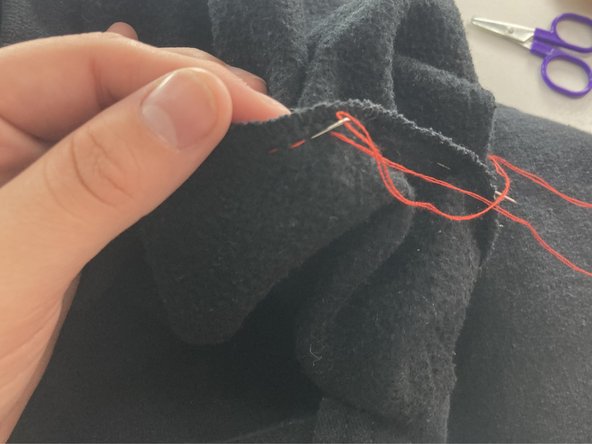
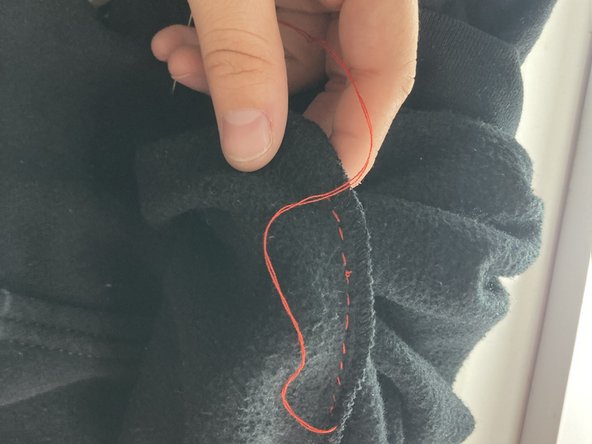
Start your stitch by pushing the needle up through the fabric from the backside.
-
Then, insert the needle slightly ahead of the first stitch and bring it back up through the fabric.
-
Now, push the needle back down through the end point of the first stitch, creating a straight line.
-
Repeat this process, always bringing the needle up slightly ahead of the previous stitch and then pushing it back down through the end of the previous stitch.
-


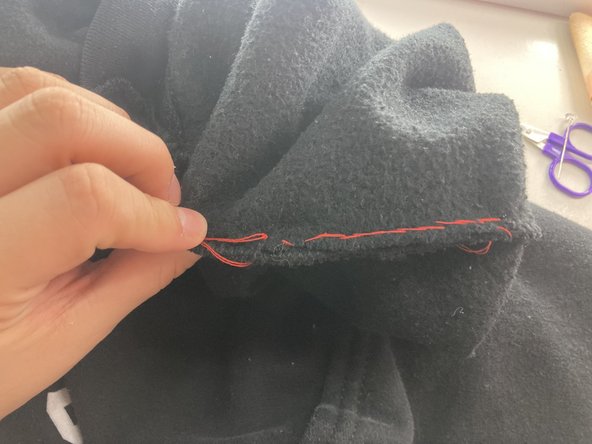

Smooth out your garment with an iron, paying particular attention to the area where the seam was ripped.
Smooth out your garment with an iron, paying particular attention to the area where the seam was ripped.
Annulation : je n'ai pas terminé ce tutoriel.
Une autre personne a terminé cette réparation.
Équipe

CSU Los Angeles, Team 8-13, Briggs Spring 2024 Membre de l'équipe CSU Los Angeles, Team 8-13, Briggs Spring 2024
CSULA-BRIGGS-S24S8G13
1 membre
1 tutoriel rédigé