Cette version peut contenir des modifications incorrectes. Passez au dernier aperçu vérifié.
Ce dont vous avez besoin
-
Cette étape n’est pas traduite. Aidez à la traduire
-
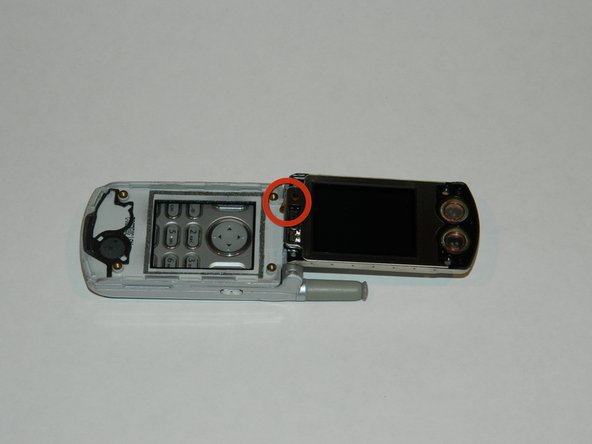
On the door's bottom edge, locate the gap between the external and internal screen covers.
-
Using a spudger (not shown), gently pry apart the external and internal covers until the sides start to separate.
-
Continue working your way along the edges of the phone, alternating sides, until the external cover can be easily removed.
-
-
Cette étape n’est pas traduite. Aidez à la traduire
-
On the display housing, locate and unscrew the four corner T6 Torx screws connecting the housing and the internal cover.
-
-
-
Cette étape n’est pas traduite. Aidez à la traduire
-
Locate the gap between the display housing and internal cover, in the same manner you would flip open the phone, use your finger (not shown) to lift the housing from the cover and set it down.
-
-
Cette étape n’est pas traduite. Aidez à la traduire
-
Using a lens cloth, wipe away any dust or debris from the display or screens.
-


Équipe

University of Maine, Team 1-4, Diaz Fall 2012 Membre de l'équipe University of Maine, Team 1-4, Diaz Fall 2012
UMAINE-DIAZ-F12S1G4
5 membres
6 tutoriels rédigés