Introduction
After a few summers use, the buckle on your bikini may start showing signs of damage or even break entirely. But this is a simple fix, and this guide will help show how you can keep your bikini going without buying a new one.
➡️Before you get started, please check the safety disclaimer at the bottom of the page.
Ce dont vous avez besoin
-
-
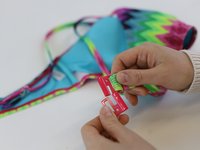
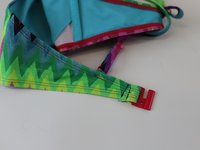
In most cases, the buckle will not have broken, but just the stitching keeping the seam together
-
We will re-use the buckle
-
-
-
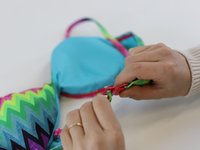
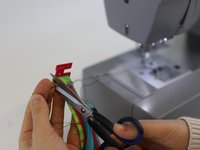
Carefully remove the old broken threads from the defective seam, to obtain a clean area again.
-
-
-
-
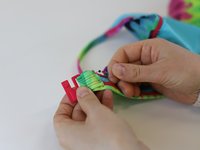
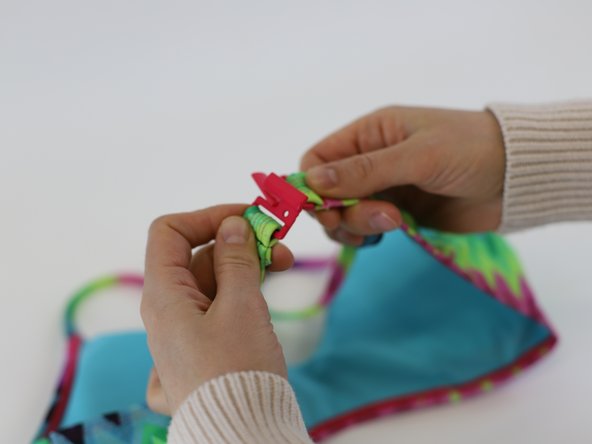
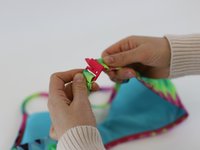
Thread the strap back through the buckle and hold in place with your hand.
-
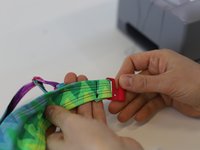
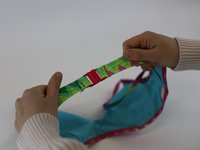
Check that the alignment is correct buy clipping it onto the other buckle
-
Note: this buckle is a sliding design which will only work on one alignment. Other buckles work in different ways, so be sure to check before sewing.
-
Pin the strap in place around the buckle, to secure it before sewing
-
-
-
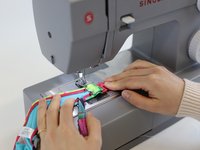
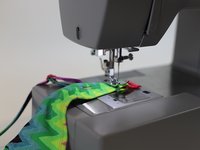
Use a sewing machine to re-sew the broken seam
-
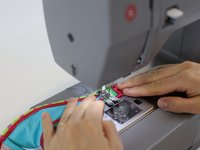
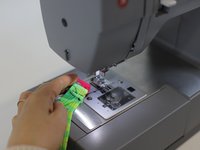
Offer-up the seam to the sewing machine, depress the foot, and remove any pins which are in the way of the needle
-
Make a locking stitch, followed by a straight stitch. Repeat the straights stitch 1-2 times and finish with another locking stitch.
-
-
-
Add a second row of stitching to reinforce the fixation, if needed
-
-
-
🛠️🏆👏 Congratulations! The repair is complete, and you're ready to go!
-
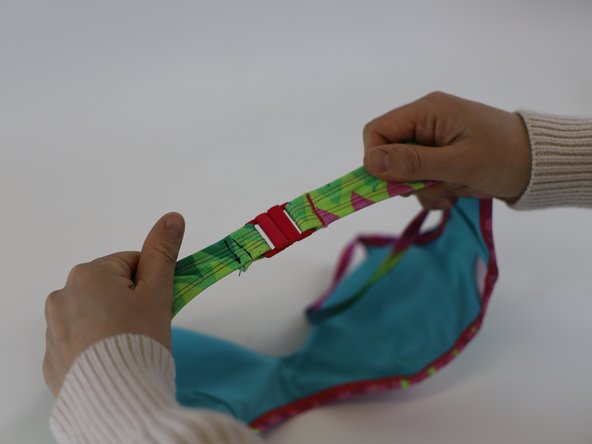
You can fasten the buckle and stretch the straps to check if the repair is secure
-
In need of another repair? Don't worry! Check out our other guides to find quick solutions for your favourite clothing, footwear and equipment!
----------------------------------------
🚨🛠️🩹 IMPORTANT SAFETY NOTICE:
The repair guides provided on this site are intended to help you repair products on your own. While we have put a lot of care into them, all repair work carries some risk:
- Safety Precautions: When repairing your product, take all necessary precautions to ensure your safety. Use appropriate tools and follow the instructions carefully.
- Product Condition: Once your product has been repaired, it may not meet original compliance guidelines anymore and could potentially have issues.
- Liability: We are not responsible for any damage or injury that may occur during the repair process or as a result of using a repaired product. You, as the repairer, assume all risks and responsibilities associated with the repair.
By using these repair guides, you fully acknowledge and accept the potential risks and responsibilities involved.


