Aller au contenu principal

How to replace or tighten the inner screws of an FC fan

Ce dont vous avez besoin

  1. How to replace or tighten the inner screws of an FC fan, How to replace or tighten the inner screws of an FC fan: étape 1, image 1 de 3 How to replace or tighten the inner screws of an FC fan, How to replace or tighten the inner screws of an FC fan: étape 1, image 2 de 3 How to replace or tighten the inner screws of an FC fan, How to replace or tighten the inner screws of an FC fan: étape 1, image 3 de 3
    • Ensure the device is powered off completely and disconnected from any external power source.

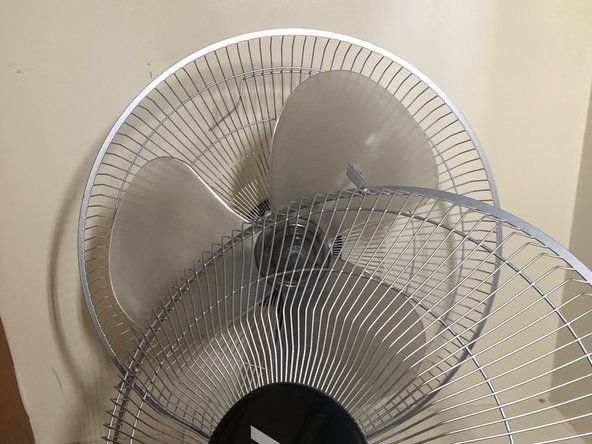
    • Unlatch the four hinges located around the edge of the fan cage by gently pulling them away from the fan cage.

  2. How to replace or tighten the inner screws of an FC fan: étape 2, image 1 de 2 How to replace or tighten the inner screws of an FC fan: étape 2, image 2 de 2
    • Locate, loosen and remove the screw that is found at the bottom of the cage using a Phillips #1 screwdriver.

  3. How to replace or tighten the inner screws of an FC fan: étape 3, image 1 de 1
    • Remove the front half of the cage from the fan by wiggling gently it until it disconnects from the rest of the fan.

  4. How to replace or tighten the inner screws of an FC fan: étape 4, image 1 de 3 How to replace or tighten the inner screws of an FC fan: étape 4, image 2 de 3 How to replace or tighten the inner screws of an FC fan: étape 4, image 3 de 3
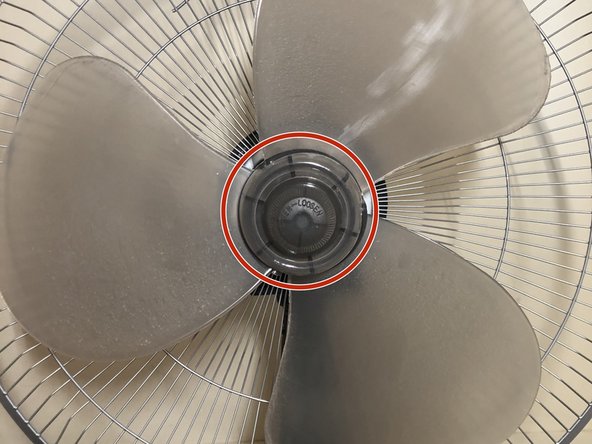
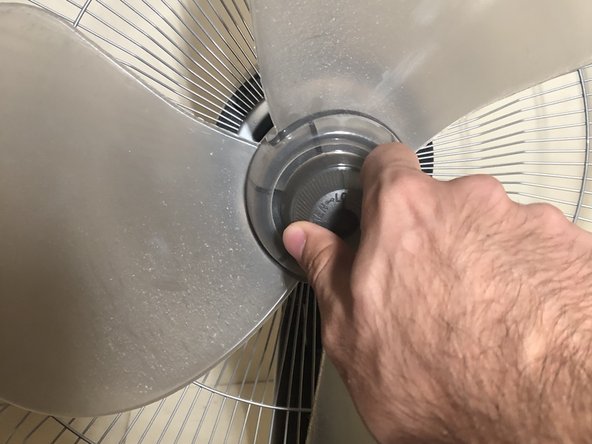
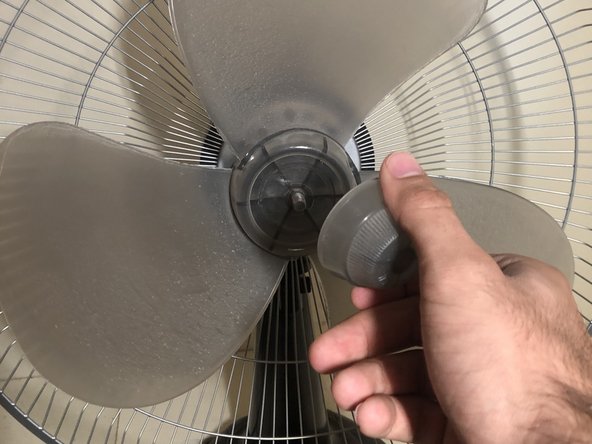
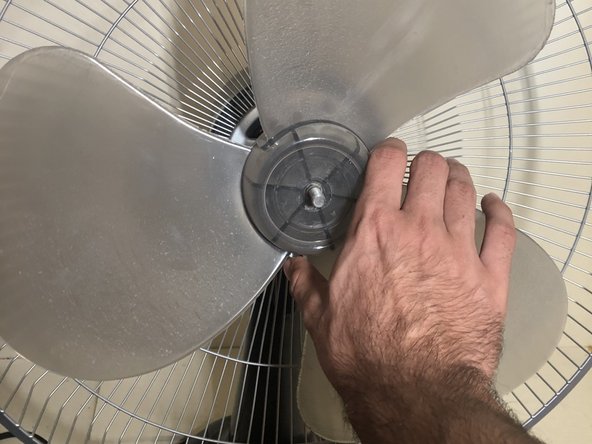
    • Twist the now exposed central fan cap clockwise to remove it from the fan blades.

  5. How to replace or tighten the inner screws of an FC fan: étape 5, image 1 de 2 How to replace or tighten the inner screws of an FC fan: étape 5, image 2 de 2
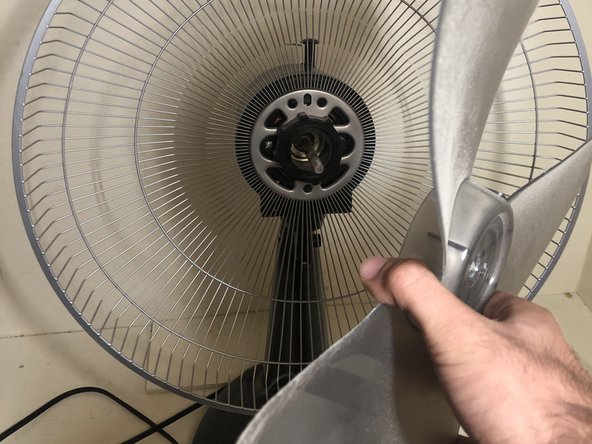
    • Twist the fan blades clockwise to remove them from the central axel.

  6. How to replace or tighten the inner screws of an FC fan: étape 6, image 1 de 3 How to replace or tighten the inner screws of an FC fan: étape 6, image 2 de 3 How to replace or tighten the inner screws of an FC fan: étape 6, image 3 de 3
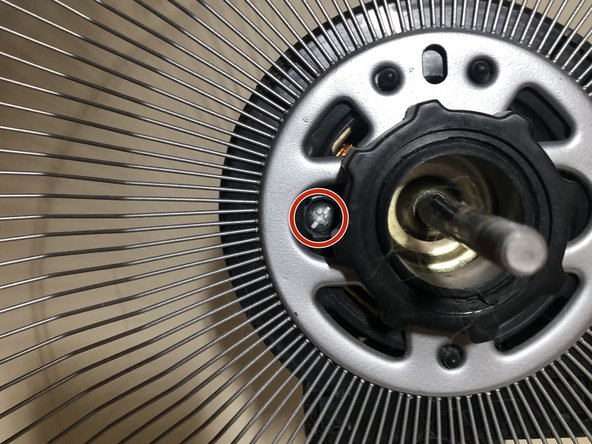
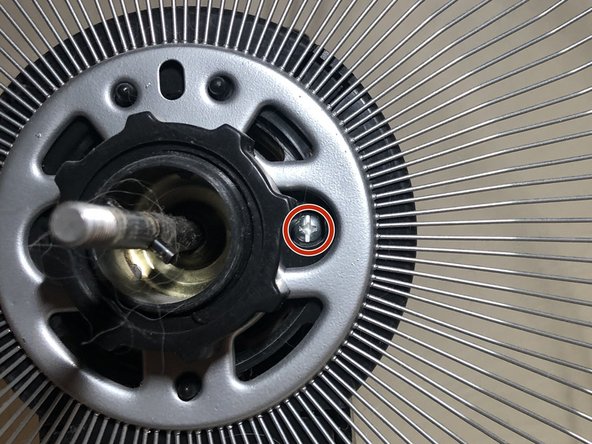
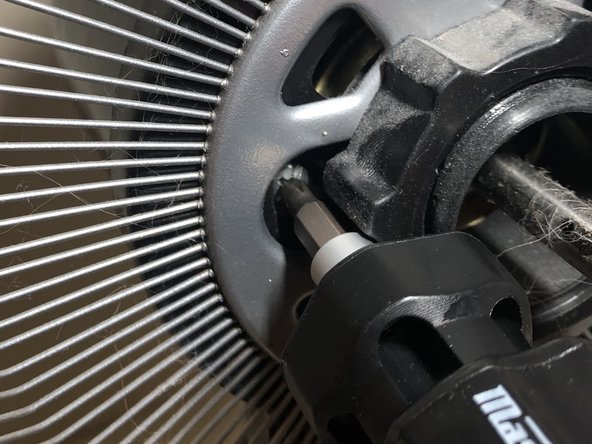
    • Remove or tighten the two inner screws as necessary, making sure the screws are tightened only until you are met with slight resistance when reassembling.

Conclusion

To reassemble your device, follow these instructions in reverse order.

Une autre personne a terminé cette réparation.

Zain Andani

Membre depuis le 09/12/23

133 Réputation

1 tutoriel rédigé

Équipe

York University, Team 2-2, O'Regan Fall 2023 Membre de l'équipe York University, Team 2-2, O'Regan Fall 2023

YORK-O'REGAN-F23S2G2

1 membre

1 tutoriel rédigé

0 commentaires

Ajouter un commentaire

Nombre de vues :

Dernières 24 heures : 0

7 derniers jours : 2

30 derniers jours : 4

Total : 120