Aller au contenu principal

InFocus IN3104 Cooling Fan Replacement

Ce dont vous avez besoin

  1. InFocus IN3104 Cooling Fan Replacement, Top Cover: étape 1, image 1 de 3 InFocus IN3104 Cooling Fan Replacement, Top Cover: étape 1, image 2 de 3 InFocus IN3104 Cooling Fan Replacement, Top Cover: étape 1, image 3 de 3
    • Turn the projector so that the lens is facing you.

    • On the left side of the projector, there is a screw and a knob inside of the small grate.

    • Use a Phillips #1 screwdriver to remove the 6 mm screw that secures top cover.

    • Remove the service cover.

  2. InFocus IN3104 Cooling Fan Replacement: étape 2, image 1 de 3 InFocus IN3104 Cooling Fan Replacement: étape 2, image 2 de 3 InFocus IN3104 Cooling Fan Replacement: étape 2, image 3 de 3
    • Use a Phillips #1 screwdriver to remove the seven 6 mm screws.

    • Use a Phillips #1 screwdriver to remove the two 5 mm screws.

    • Remove the top cover.

    • Do not pull the cover too hard. It may damage the wire that is connected to the motherboard.

  3. InFocus IN3104 Cooling Fan Replacement, InFocus IN3104 Metal Cover Disassembly: étape 3, image 1 de 2 InFocus IN3104 Cooling Fan Replacement, InFocus IN3104 Metal Cover Disassembly: étape 3, image 2 de 2
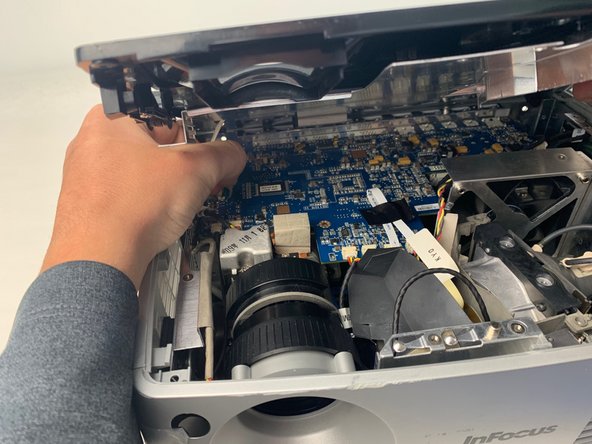
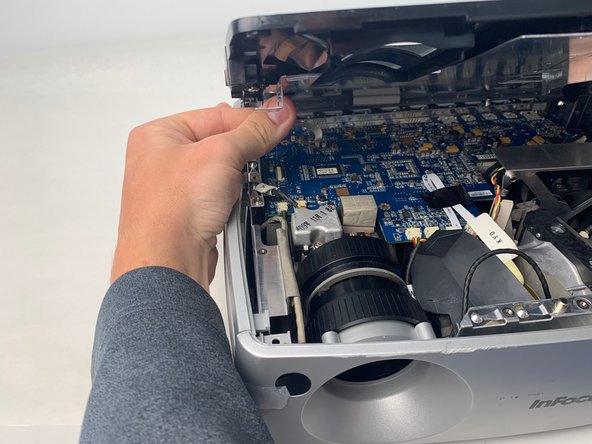
    • Use a Phillips #1 screwdriver to remove the nine 6 mm screws.

    • Lift up the metal cover and set it aside to reveal the motherboard.

  4. InFocus IN3104 Cooling Fan Replacement: étape 4, image 1 de 3 InFocus IN3104 Cooling Fan Replacement: étape 4, image 2 de 3 InFocus IN3104 Cooling Fan Replacement: étape 4, image 3 de 3
    • Carefully pry up the black plastic locking bar of the ZIF connector on the motherboard with a plastic spudger.

    • Pull out the blue-tipped, white ribbon cable from the connector.

    • Remove the metal cover.

  5. InFocus IN3104 Cooling Fan Replacement, Cooling Fan: étape 5, image 1 de 2 InFocus IN3104 Cooling Fan Replacement, Cooling Fan: étape 5, image 2 de 2
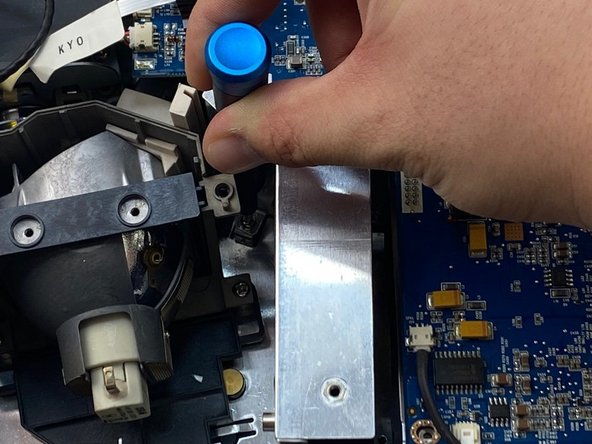
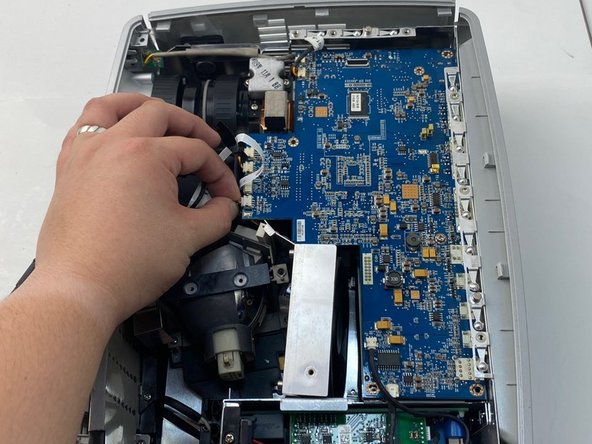
    • Use a Phillips #1 screwdriver to remove the three 6 mm screws on the metal cover beside the lamp.

    • The screws are in a tight location, so you may need a thin screwdriver or an extension to remove them.

  6. InFocus IN3104 Cooling Fan Replacement: étape 6, image 1 de 3 InFocus IN3104 Cooling Fan Replacement: étape 6, image 2 de 3 InFocus IN3104 Cooling Fan Replacement: étape 6, image 3 de 3
    • Unplug the yellow, red, and black colored cable bundle from the motherboard.

    • Remove the cooling fan from the device by lifting it out.

Conclusion

To reassemble your device, follow these instructions in reverse order.

0 commentaires

Ajouter un commentaire

Nombre de vues :

Dernières 24 heures : 0

7 derniers jours : 6

30 derniers jours : 12

Total : 415