Aller au contenu principal

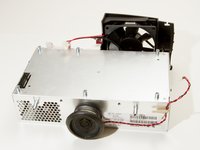
InFocus LP435Z Main Fan Replacement

Ce dont vous avez besoin

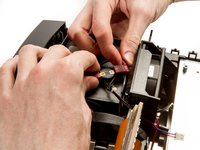
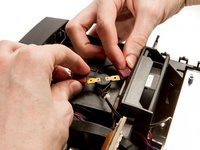
  1. InFocus LP435Z Main Fan Replacement, External Shell: étape 1, image 1 de 2 InFocus LP435Z Main Fan Replacement, External Shell: étape 1, image 2 de 2
    • Place the projector on its back (buttons down) with the lens facing away from you.

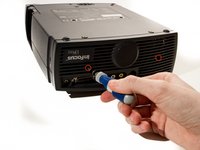
    • Remove the two 84mm screws in the upper left and right corners of the projector using the Phillips #2 screwdriver.

    • Remove the remaining three 8.5mm screws using the Phillips #1 screwdriver.

  2. InFocus LP435Z Main Fan Replacement: étape 2, image 1 de 2 InFocus LP435Z Main Fan Replacement: étape 2, image 2 de 2
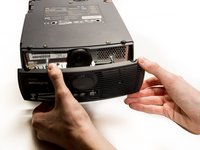
    • Use the plastic opening tools to push down the clips holding the lamp cover in place, and remove it.

    • There is no lamp assembly in the projector used in this guide, yours may appear different.

  3. InFocus LP435Z Main Fan Replacement: étape 3, image 1 de 2 InFocus LP435Z Main Fan Replacement: étape 3, image 2 de 2
    • Remove the two 8.5mm rear screws holding the rear case plate to the projector using the Phillips #1 screwdriver.

    • Pull the rear plate straight off and set it aside.

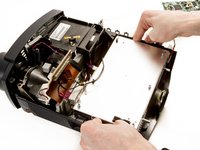
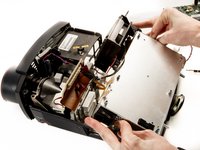
  4. InFocus LP435Z Main Fan Replacement: étape 4, image 1 de 3 InFocus LP435Z Main Fan Replacement: étape 4, image 2 de 3 InFocus LP435Z Main Fan Replacement: étape 4, image 3 de 3
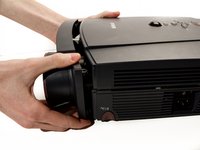
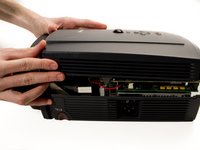
    • Flip the projector over and turn around so that the lens faces you.

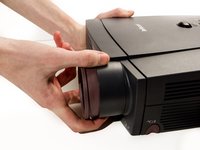
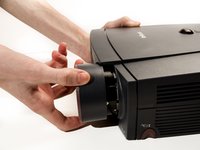
    • Twist the gray zoom adjustment ring clockwise and extend the lens all the way out, and then slide the zoom adjustment ring all the way towards the end of the lens as far as it will go.

    • Slide the front case plate towards the loosened zoom adjustment ring, until the top plate of the projector is freed from underneath the lip of the front case plate.

    • The front case plate will not come all the way off due to the zoom adjustment ring obstructing it. It will merely slide forward a bit.

  5. InFocus LP435Z Main Fan Replacement: étape 5, image 1 de 2 InFocus LP435Z Main Fan Replacement: étape 5, image 2 de 2
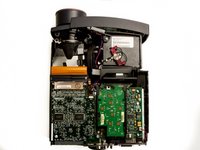
    • Lift away the top case plate and set it aside.

  6. InFocus LP435Z Main Fan Replacement, Main Fan: étape 6, image 1 de 1
    • Remove the four T10 Torx 8.5 mm screws holding the DLP board in place.

  7. InFocus LP435Z Main Fan Replacement: étape 7, image 1 de 1
    • Unplug the small ribbon cable attaching the DLP board to the motherboard.

  8. InFocus LP435Z Main Fan Replacement: étape 8, image 1 de 1
    • Remove Secondary Fan Cable

  9. InFocus LP435Z Main Fan Replacement: étape 9, image 1 de 2 InFocus LP435Z Main Fan Replacement: étape 9, image 2 de 2
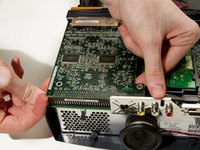
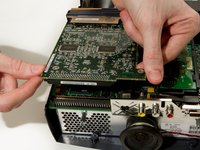
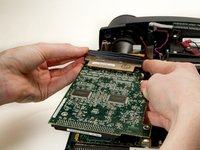
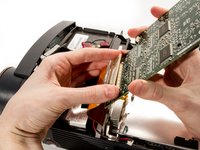
    • Detach the DLP board from where it is connected to the motherboard by a large 100 pin connector.

    • Pry up gently while wiggling from left to right if needed.

    • The ribbon cable on the other side of the board could break if pulled too hard.

  10. InFocus LP435Z Main Fan Replacement: étape 10, image 1 de 1
    • Remove the 2 remaining T10 Torx 8mm screws securing the motherboard to the power supply.

  11. InFocus LP435Z Main Fan Replacement: étape 11, image 1 de 1
    • Remove the speaker power cable.

  12. InFocus LP435Z Main Fan Replacement: étape 12, image 1 de 1
    • Remove DLP Power Cable.

  13. InFocus LP435Z Main Fan Replacement: étape 13, image 1 de 2 InFocus LP435Z Main Fan Replacement: étape 13, image 2 de 2
    • Pry out the DLP support piece by gently wiggling it side to side while applying a steady pull. It will slide out.

  14. InFocus LP435Z Main Fan Replacement: étape 14, image 1 de 2 InFocus LP435Z Main Fan Replacement: étape 14, image 2 de 2
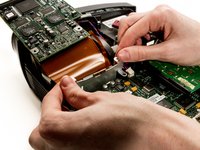
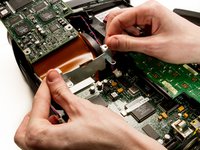
    • Remove the black plastic retaining clip reinforcing the large ribbon cable connector by prying it from the left edge.

    • Gently pry the large ribbon cable connector from the DLP board, and remove the board.

    • Using too much force could damage the connector.

  15. InFocus LP435Z Main Fan Replacement: étape 15, image 1 de 3 InFocus LP435Z Main Fan Replacement: étape 15, image 2 de 3 InFocus LP435Z Main Fan Replacement: étape 15, image 3 de 3
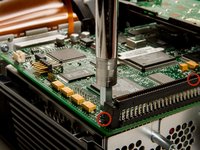
    • Remove the two 1/4" screws using the nut driver.

    • The second screw is located behind the right side of the 100 pin connector.

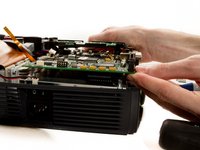
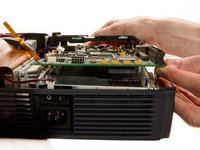
    • Gently pry up the motherboard from the connector on top of the power supply.

  16. InFocus LP435Z Main Fan Replacement: étape 16, image 1 de 2 InFocus LP435Z Main Fan Replacement: étape 16, image 2 de 2
    • Disconnect the lamp power supply cables from the top of the lamp housing, by gently pulling the two wires in opposite directions.

  17. InFocus LP435Z Main Fan Replacement: étape 17, image 1 de 3 InFocus LP435Z Main Fan Replacement: étape 17, image 2 de 3 InFocus LP435Z Main Fan Replacement: étape 17, image 3 de 3
    • Use your thumbs to pry the sides of the external shell away from the power supply so it can be lifted out.

  18. InFocus LP435Z Main Fan Replacement: étape 18, image 1 de 1
    • Detach the main fan power cable from the power supply.

  19. InFocus LP435Z Main Fan Replacement: étape 19, image 1 de 3 InFocus LP435Z Main Fan Replacement: étape 19, image 2 de 3 InFocus LP435Z Main Fan Replacement: étape 19, image 3 de 3
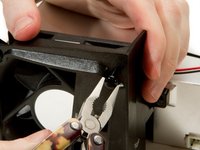
    • Use the needle nose pliers to pull out the grommets securing the main fan to its housing.

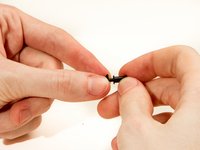
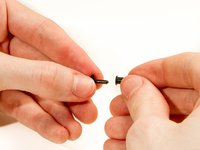
    • To replace grommets, pull the center pins from their housing, and slip the exteriors of the grommets back into their holes in the fan housing, then push the centers in to secure them in place.

  20. InFocus LP435Z Main Fan Replacement: étape 20, image 1 de 1
    • Remove the fan from its housing.

Conclusion

To reassemble your device, follow these instructions in reverse order.

2 autres ont terminé cette réparation.

Andrew Kennedy

Membre depuis le 01/29/13

186 Réputation

6 tutoriels rédigés

Équipe

Cal Poly, Team 20-3, Maness Winter 2013 Membre de l'équipe Cal Poly, Team 20-3, Maness Winter 2013

CPSU-MANESS-W13S20G3

4 membres

6 tutoriels rédigés

0 commentaires

Ajouter un commentaire

Nombre de vues :

Dernières 24 heures : 0

7 derniers jours : 0

30 derniers jours : 1

Total : 2,413