Introduction
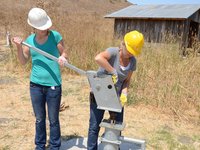
This guide will show you how to pull the riser main from the well using three lifting spanners.
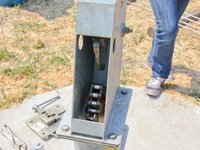
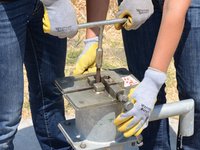
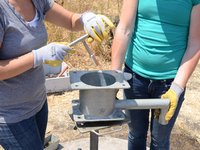
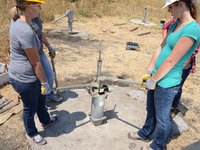
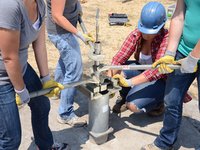
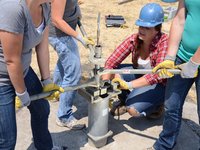
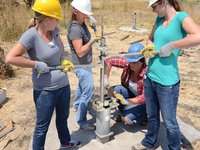
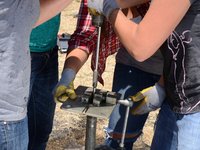
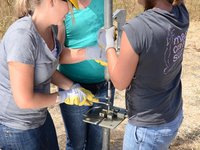
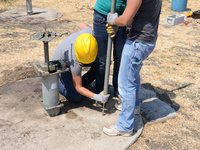
This procedure requires four people: one on each of the lifting arms, and one to control the pipe vise. Communication is very important throughout this procedure. If the person handling the pipe vise opens it before everyone is ready, the riser main could drop through the vise and be lost down the well.
Ce dont vous avez besoin
-
-
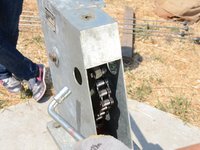
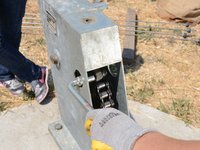
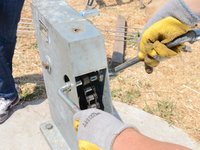
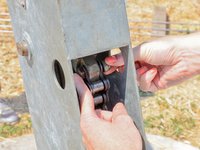
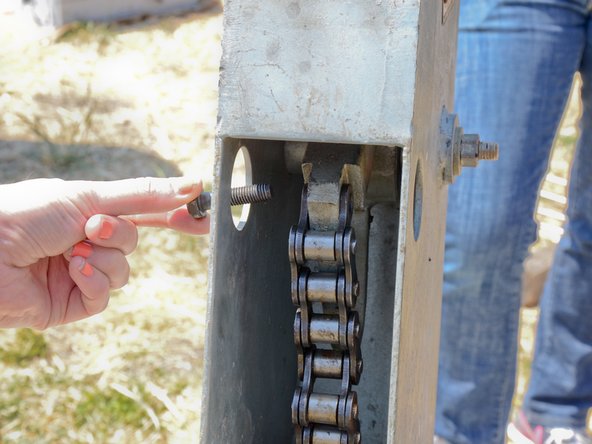
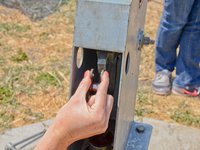
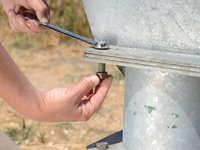
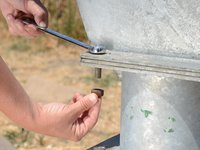
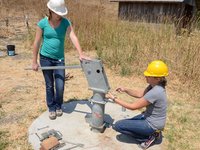
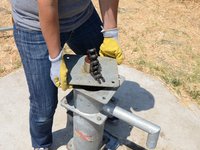
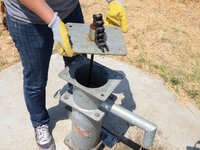
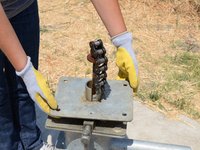
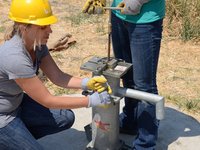
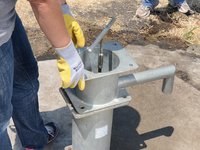
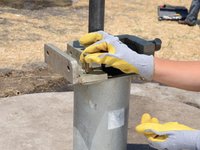
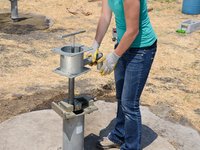
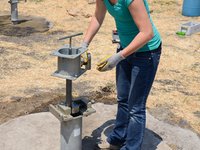
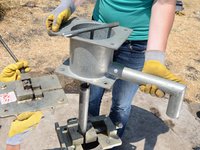
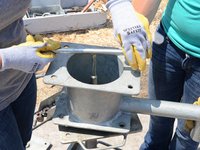
Remove the hex head bolt from the top of the access door on the pump head.
-
-
-
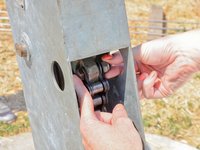
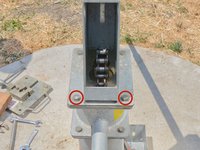
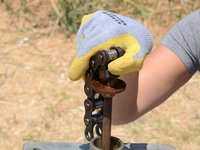
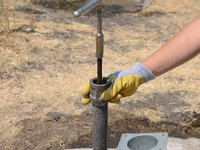
Place the spacer collar around the pump rod below the raised chain, with the beveled side down, and the flat side facing up.
-
-
-
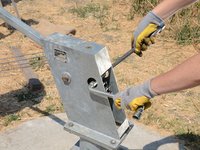
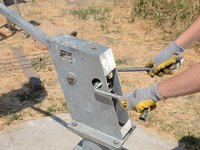
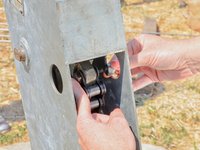
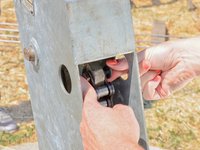
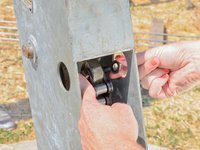
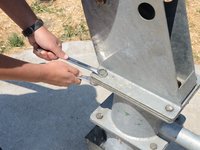
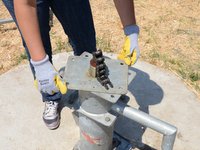
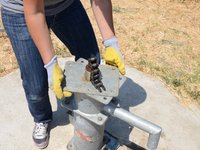
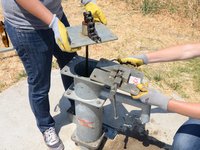
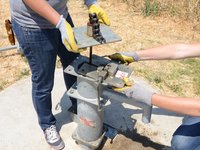
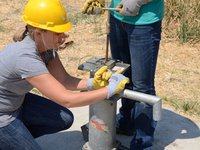
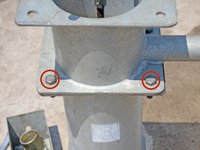
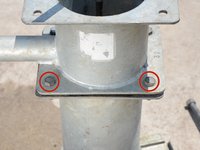
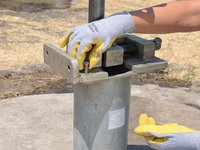
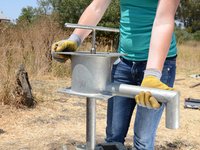
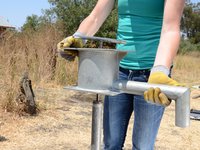
Remove the two bolts from the handle side of the pump head.
-
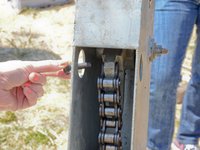
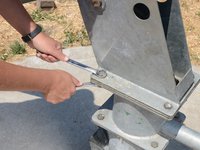
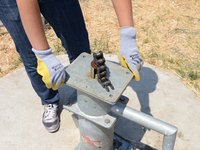
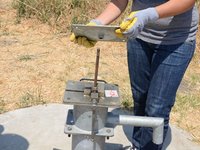
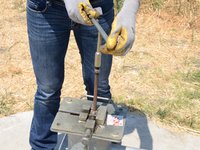
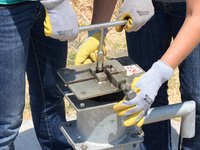
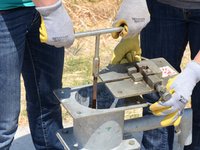
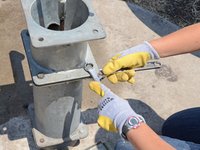
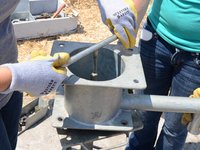
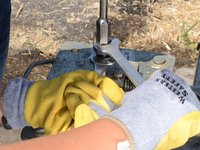
Use one wrench on the bolt and another on the nut beneath. Hold the bolt stationary and loosen the nut.
-
-
-
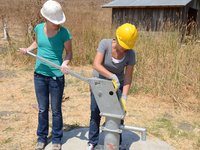
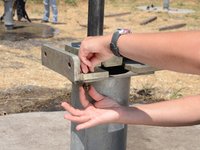
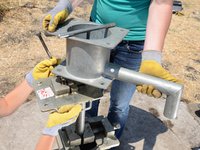
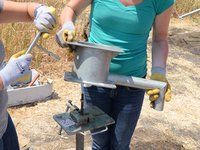
Slightly twist the head flange, until the corners overhang the top of the tank far enough to grab.
-
-
-
-
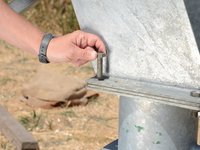
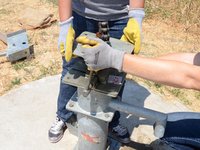
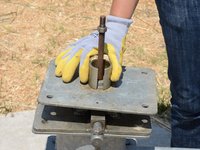
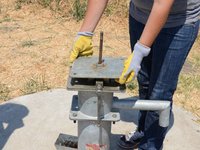
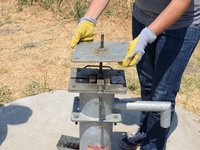
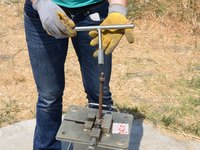
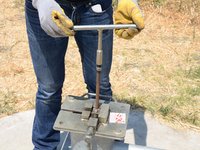
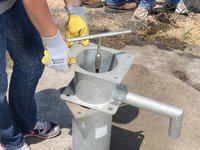
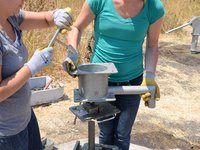
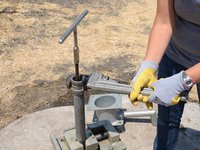
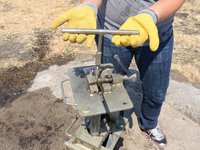
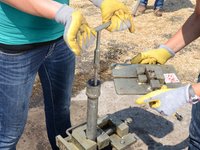
Screw a T-handle onto the top of the pump rod. Tighten the T-handle up against the jam nut.
-
-
-
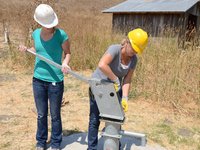
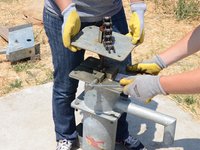
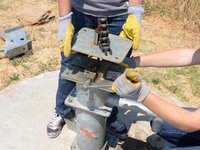
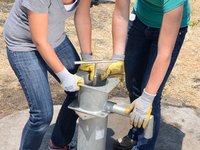
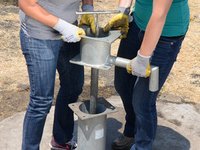
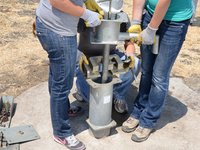
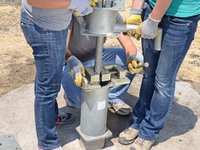
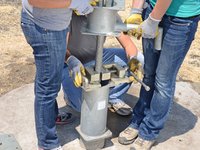
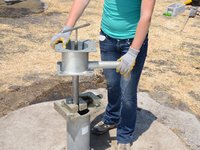
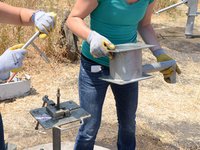
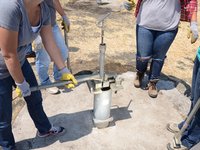
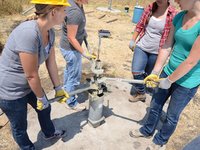
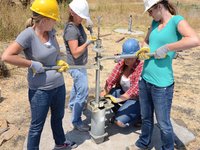
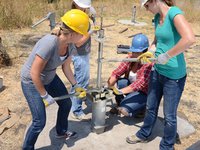
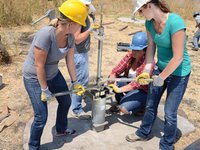
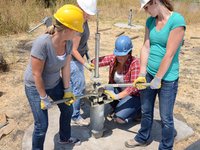
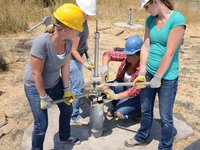
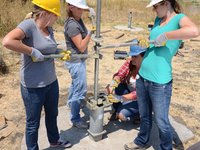
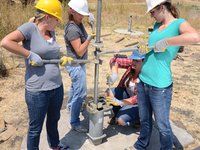
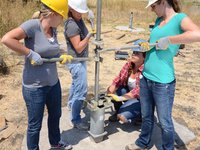
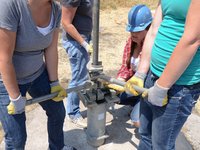
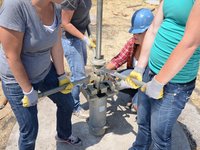
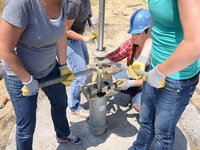
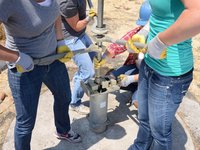
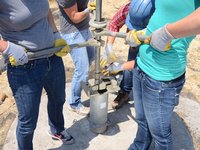
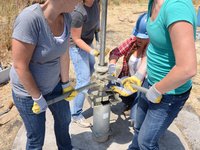
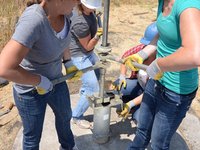
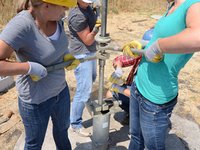
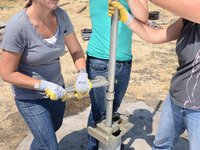
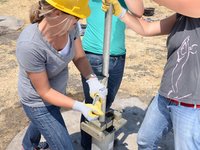
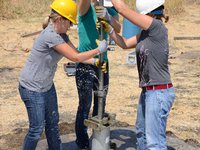
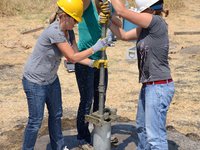
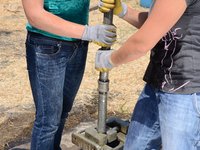
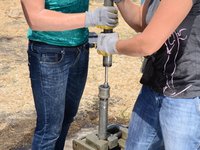
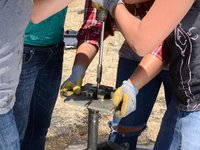
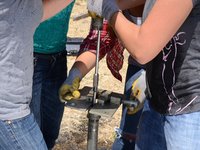
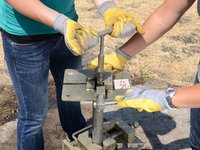
Add the other two lifting arms.
-
Ensure three things about the arms:
-
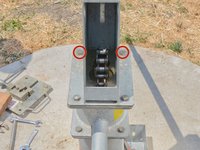
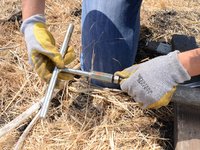
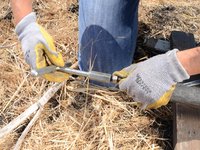
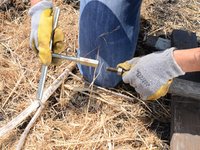
They must be equally spaced around the riser main (120° apart).
-
The arms must not touch each other, the coupling at the top, or the pipe vise at the bottom.
-
The openings should alternate, to keep the riser main secure.
-


To reassemble your device, follow these instructions in reverse order.
To reassemble your device, follow these instructions in reverse order.
