Introduction
This guide will provide information on how to disassemble an Intel NUC8i7BEH or similar.
Ce dont vous avez besoin
-
-
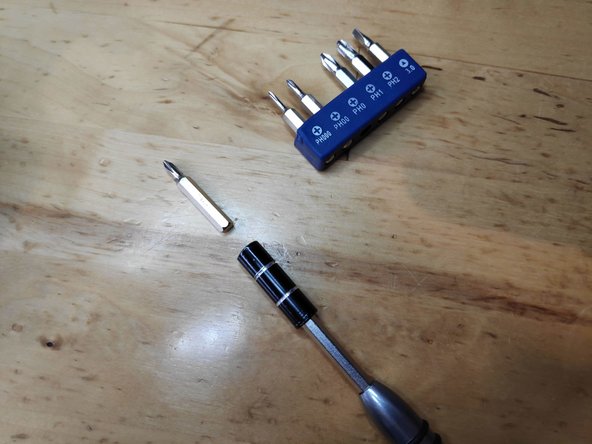
Place the NUC upside down and select a PH2 Phillips screw driver bit
-
-
-
Start by using a Phillips head #2 screw driver to remove the lower screws on the lower case door.
-
These screws are held in with retainers, so they won't fall out when you flip the lid.
-
-
-
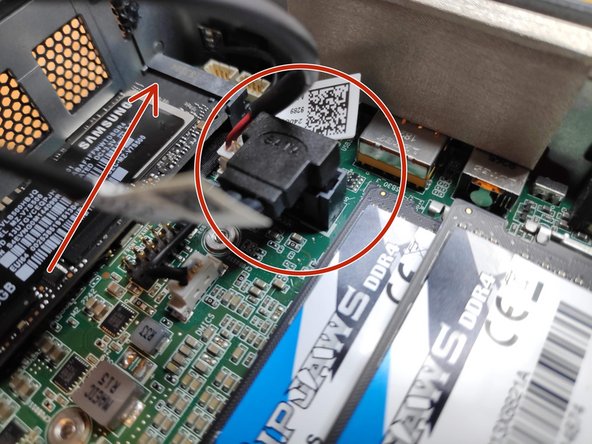
Lift the door, and keep an eye on the cables that connect to the NUC's motherboard. These cables are the power and data cables for the 2.5" hard drive bay.
-
Carefully unplug the cables from the motherboard, and set the bracket aside.
-
In the last photo, the slot for a blade SSD is marked with a red arrow. This is where you would install the blade SSD, and use a screw to hold it in place.
-
-
-
Change the screw driver bit to the PH1 one.
-
Unscrew the V-NAND SSD and carefully slide it out of its connector.
-
-
-
-
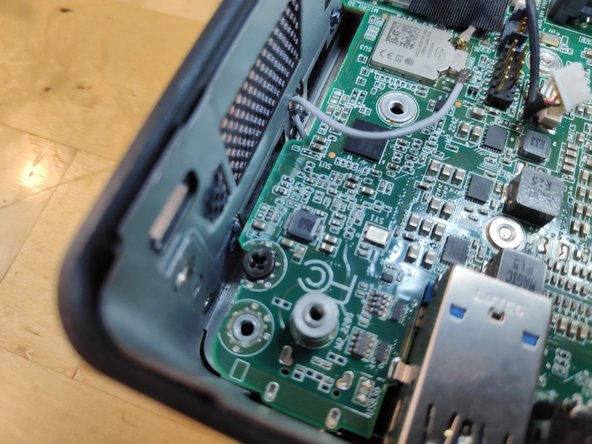
Remove the WiFi and Bluetooth antenna cables (be extremely careful when doing this otherwise you risk to rip the base contact terminal off the PCB)
-
Remove the stereo mic cable from the motherboard connector.
-
Pay attetion to the WiFi cable hidden under a black piece of tape
-
-
-
Use a pry tool to lift the motherboard from the casing
-
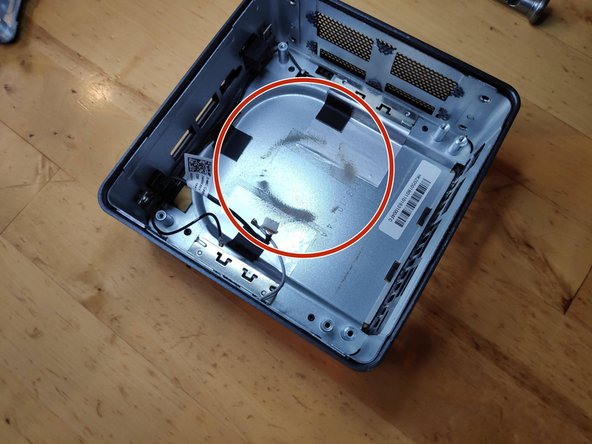
Marked with red circles the dust signs evident on first sight
-
To reassemble your device, follow these instructions in reverse order.
To reassemble your device, follow these instructions in reverse order.
Annulation : je n'ai pas terminé ce tutoriel.
31 autres ont terminé cette réparation.
11 commentaires
I’ve awarded the 30 points because these how to in steps are just great. One little critic, having read other stuff I understood the later models had greater risks of breaking things because of the more complicated wifi and mic cables, and these steps could have been better explained, like do the wifi cables plug in or slide off a splade like connection, and what can I use as a pry tool from around the house. These are the frightening steps to someone who has not done this unit before, while just about everything else isn’t much different to opening and taking parts out of a laptop.
Thank You, I was having fan noise issues with my NUCi7BEH and was trying to figure out how to pop the MOBO from the case.
This guide was fantastic, loads of dust collected on the heat sink, clean air and it seems to be running great now.
Ave temp before this clean out was 65ºC but would spike from 90-100ºC under any load at all, even the VMs just spinning up.
Now after clean, all is good, temps idle sitting at around 35ºC now and under load about 70º C. Huge difference.
Big Thanks to Vladimir for making this wonderful guide.
Thanks, Vladimir Knobel, for putting together this excellent instruction with video and pictures. I used it to remove and replace my fan. I greatly appreciate it!!
merci, ça m’a bien aidé et j’espère avoir résolu ce pb de ventirad, j’ai pu dépoussiérer. encore merci.


