Introduction
Welcome to our guide for replacing passive bass radiators on your JBL Charge 5. This guide is for the TT version, but it's applicable with slight variations for other models. If you're facing bass issues or damaged radiators, follow these steps to restore your device's low-end performance.
Note: This repair may require intermediate technical skills.
If uncertain, seek professional help or contact JBL's customer support.
Guide Highlights:
- Detailed step-by-step instructions with illustrations.
- Read the guide entirely before starting.
- Power off your JBL Charge 5 before repairs.
Check Warranty:
- If under warranty, check with JBL for professional repair.
Post-Repair:
- Perform a sound test to ensure a restored bass response.
- Play various audio types to verify improved performance.
Let's begin the step-by-step process of replacing passive bass radiators to revive the impactful bass in your JBL Charge 5.
Ce dont vous avez besoin
-
-
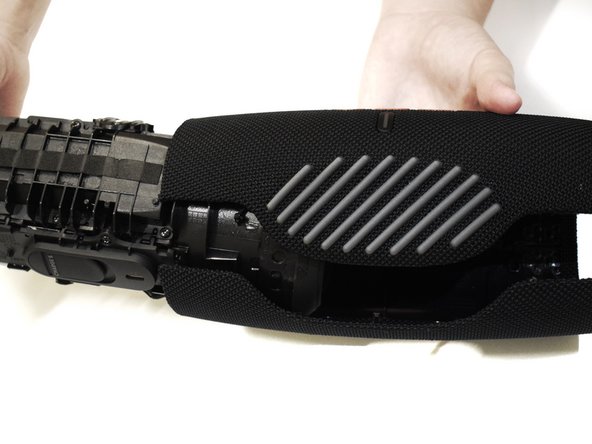
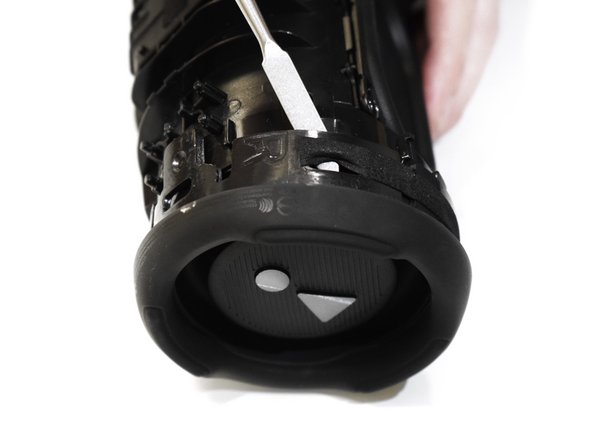
Insert the flat end of the Jimmy into the seam located between the fabric cover on the right side of the seam.
-
Pry upward on the fabric cover to release plastic clips on the right side of the seam.
-
-
-
-
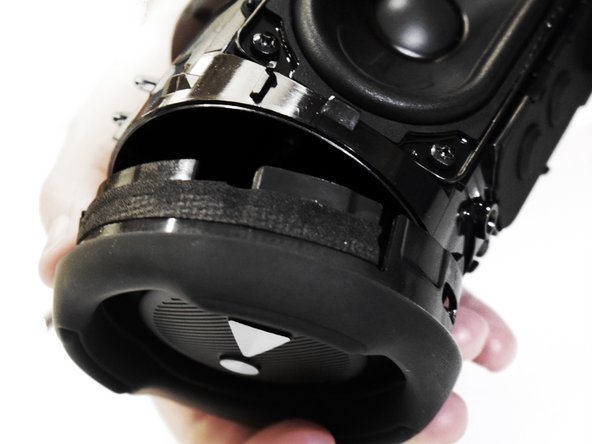
Using a spudger, pry the radiator off of the frame of the device.
-
Repeat on the other side if necessary.
-
To reassemble your device, follow these instructions in reverse order.
To reassemble your device, follow these instructions in reverse order.


