Aller au contenu principal

JVC XL-333 Power Button Replacement

Ce dont vous avez besoin

  1. JVC XL-333 Power Button Replacement, The Power Button: étape 1, image 1 de 2 JVC XL-333 Power Button Replacement, The Power Button: étape 1, image 2 de 2
    • Using your Phillips Head Screwdriver, remove the four screws with the red markup.

    • Then, remove the three orange screws using your screwdriver.

  2. JVC XL-333 Power Button Replacement: étape 2, image 1 de 2 JVC XL-333 Power Button Replacement: étape 2, image 2 de 2
    • Remove the two Phillips screws on both sides of the CD Player.

  3. JVC XL-333 Power Button Replacement: étape 3, image 1 de 3 JVC XL-333 Power Button Replacement: étape 3, image 2 de 3 JVC XL-333 Power Button Replacement: étape 3, image 3 de 3
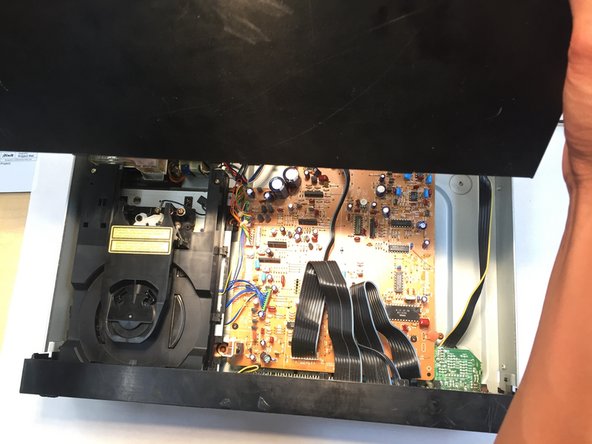
    • Remove the top of the CD Player by holding each side of the roof then sliding it away from the front of the CD player.

  4. JVC XL-333 Power Button Replacement: étape 4, image 1 de 3 JVC XL-333 Power Button Replacement: étape 4, image 2 de 3 JVC XL-333 Power Button Replacement: étape 4, image 3 de 3
    • The disk reader is located above the power button.

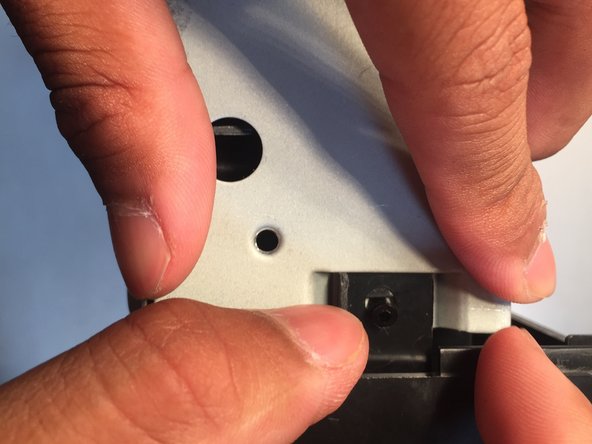
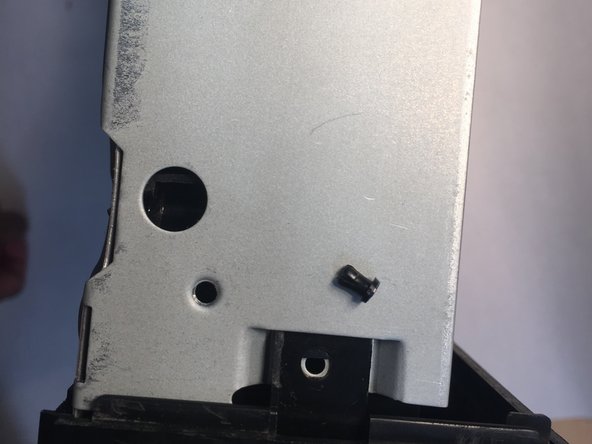
    • Push out these tabs on both sides of the disk reader.

  5. JVC XL-333 Power Button Replacement: étape 5, image 1 de 3 JVC XL-333 Power Button Replacement: étape 5, image 2 de 3 JVC XL-333 Power Button Replacement: étape 5, image 3 de 3
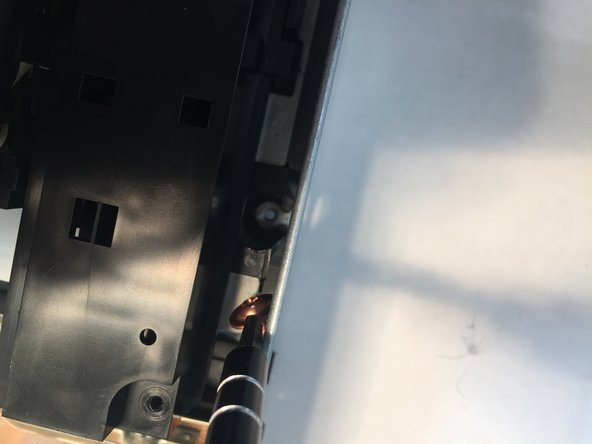
    • Unscrew the four Phillips copper screws located at the four corners of the disc reader.

    • After the screws are removed, gently pull the disc reader up and out of the CD player.

  6. JVC XL-333 Power Button Replacement: étape 6, image 1 de 3 JVC XL-333 Power Button Replacement: étape 6, image 2 de 3 JVC XL-333 Power Button Replacement: étape 6, image 3 de 3
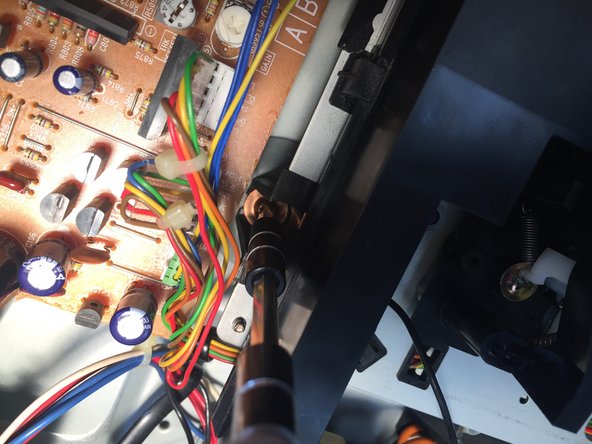
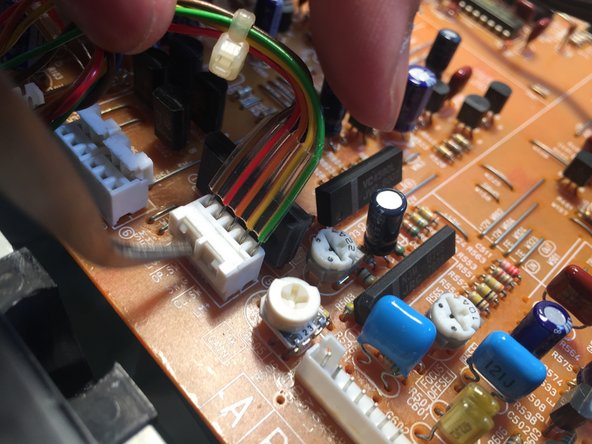
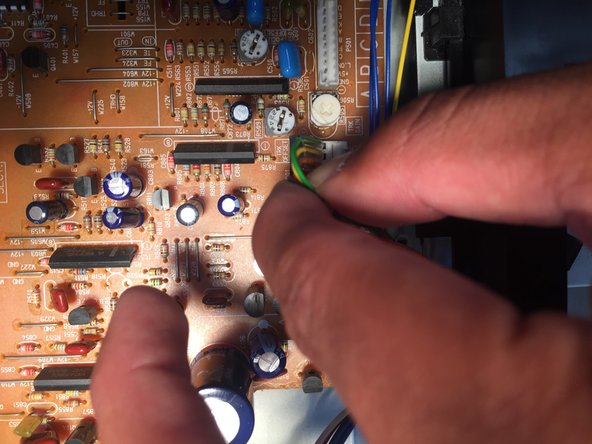
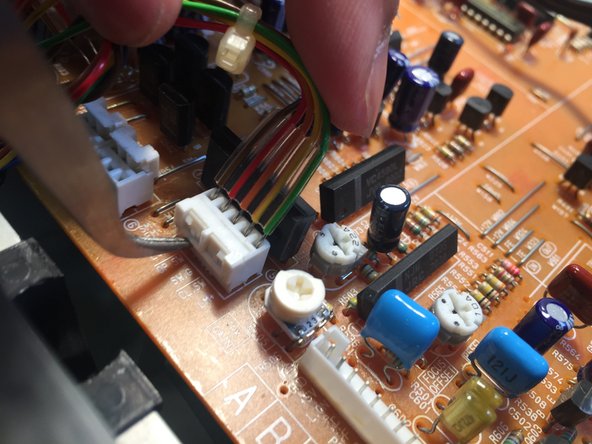
    • Gently pull up to remove the two bunches of wires with a green connector from the motherboard.

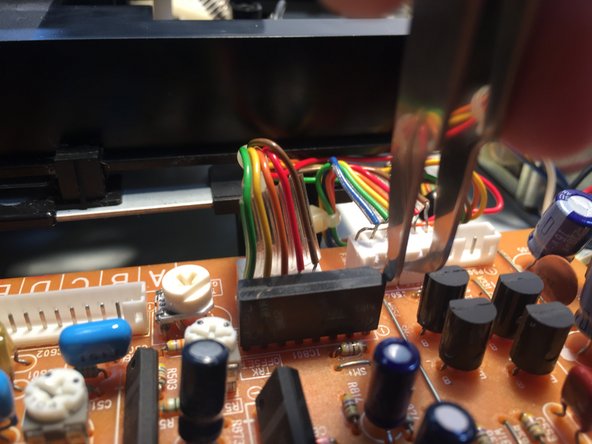
    • Remove the two groups of wires with a white connector by using your spudger or tweezers to pull up on the side of the connector, opposite of the wires. It may require some force

  7. JVC XL-333 Power Button Replacement: étape 7, image 1 de 3 JVC XL-333 Power Button Replacement: étape 7, image 2 de 3 JVC XL-333 Power Button Replacement: étape 7, image 3 de 3
    • These pictures offer other tricks and guidance on how to remove the wire connectors.

    • move your spudger or tweezer in an upward motion to release the wires.

  8. JVC XL-333 Power Button Replacement: étape 8, image 1 de 3 JVC XL-333 Power Button Replacement: étape 8, image 2 de 3 JVC XL-333 Power Button Replacement: étape 8, image 3 de 3
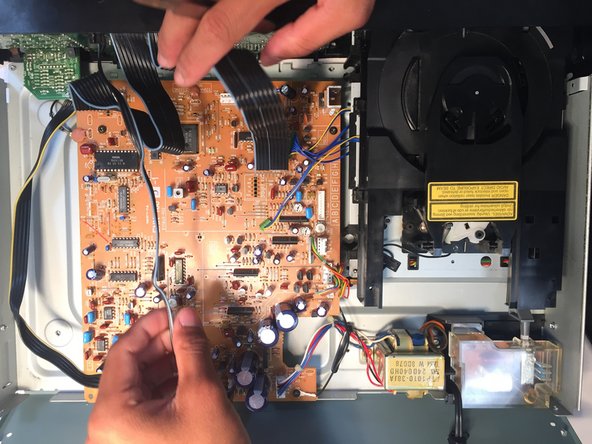
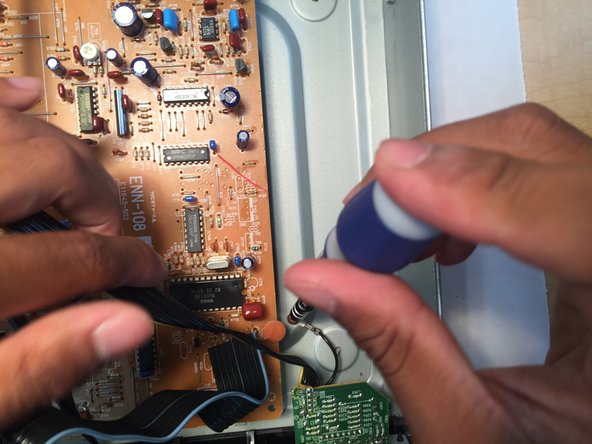
    • Remove the rest of the wires connecting the motherboard to the CD player with your spudger or tweezers.

    • Remove the screw that connects the wire to the motherboard.

  9. JVC XL-333 Power Button Replacement: étape 9, image 1 de 3 JVC XL-333 Power Button Replacement: étape 9, image 2 de 3 JVC XL-333 Power Button Replacement: étape 9, image 3 de 3
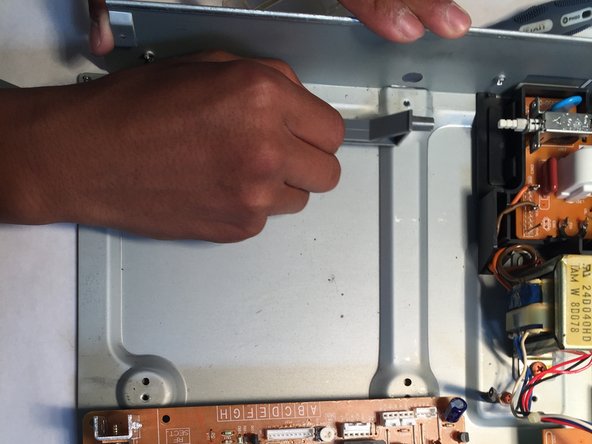
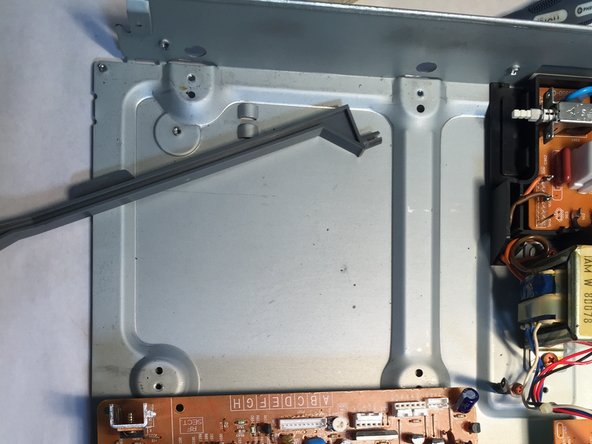
    • Find the power button trigger on the left side of the CD Player. It should be gray.

    • Push it a couple times to make sure it works. If not hold it 3/4 of the way and pull with some force.

    • Replace with a new one.

    • Replace the motherboard, reattach the cables and repeat the rest of the previous tasks in reverse.

Conclusion

To reassemble your device, follow these instructions in reverse order.

Romenick Casabar

Membre depuis le 06/01/16

110 Réputation

1 tutoriel rédigé

Équipe

0 commentaires

Ajouter un commentaire

Nombre de vues :

Dernières 24 heures : 1

7 derniers jours : 6

30 derniers jours : 15

Total : 863