Aller au contenu principal

KATCHY Insect Trap Disassembly and Clean

Ce dont vous avez besoin

  1. KATCHY Insect Trap Disassembly and Clean, KATCHY Insect Trap Disassembly and Clean: étape 1, image 1 de 2 KATCHY Insect Trap Disassembly and Clean, KATCHY Insect Trap Disassembly and Clean: étape 1, image 2 de 2
    • Unplug the Power plug from the device.

  2. KATCHY Insect Trap Disassembly and Clean: étape 2, image 1 de 1
    • Open the tray lid to remove the used insect trap.

  3. KATCHY Insect Trap Disassembly and Clean: étape 3, image 1 de 2 KATCHY Insect Trap Disassembly and Clean: étape 3, image 2 de 2
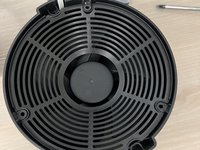
    • Flip the device upside down while leaving the tray lid open.

  4. KATCHY Insect Trap Disassembly and Clean: étape 4, image 1 de 1
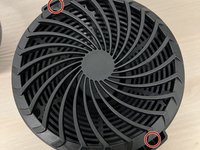
    • Remove the mesh from the base.

  5. KATCHY Insect Trap Disassembly and Clean: étape 5, image 1 de 1
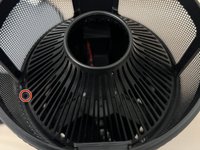
    • Unlock the vent and UV light bar.

  6. KATCHY Insect Trap Disassembly and Clean: étape 6, image 1 de 2 KATCHY Insect Trap Disassembly and Clean: étape 6, image 2 de 2
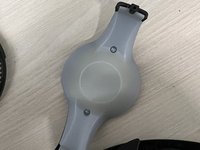
    • Optional: Push the circuit cover case away from the clip to unclip and clean.

  7. KATCHY Insect Trap Disassembly and Clean: étape 7, image 1 de 2 KATCHY Insect Trap Disassembly and Clean: étape 7, image 2 de 2
    • Flip the device so that it is no longer upside down.

    • If the top cover is stuck, grab onto the base and push the cover out with your thumb.

  8. KATCHY Insect Trap Disassembly and Clean: étape 8, image 1 de 1
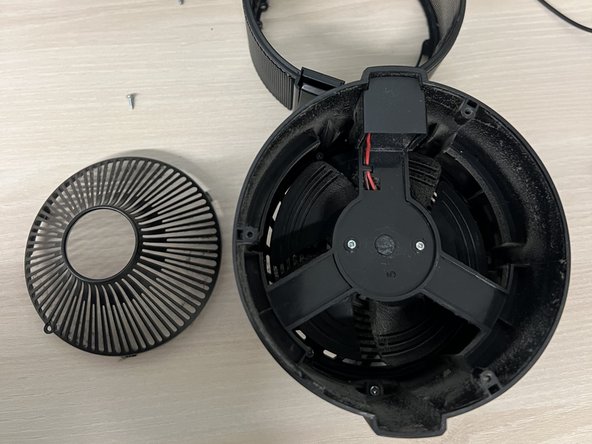
    • Be careful not to damage the wire connecting it to the base. They should be connected still.

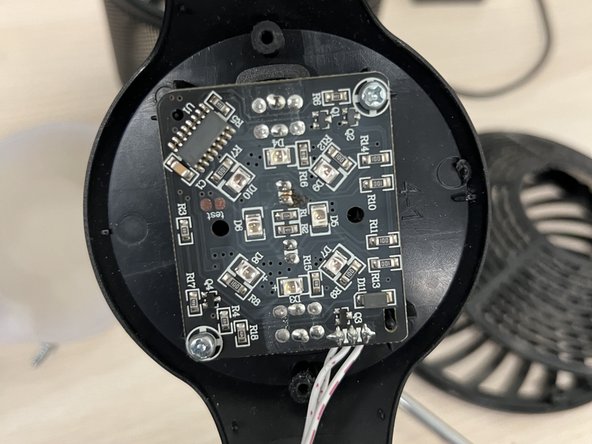
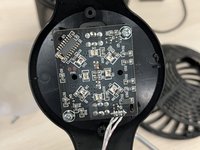
  9. KATCHY Insect Trap Disassembly and Clean: étape 9, image 1 de 2 KATCHY Insect Trap Disassembly and Clean: étape 9, image 2 de 2
    • (Extra) Two screws are protecting the circuit board if you want to do something with it.

  10. KATCHY Insect Trap Disassembly and Clean: étape 10, image 1 de 1
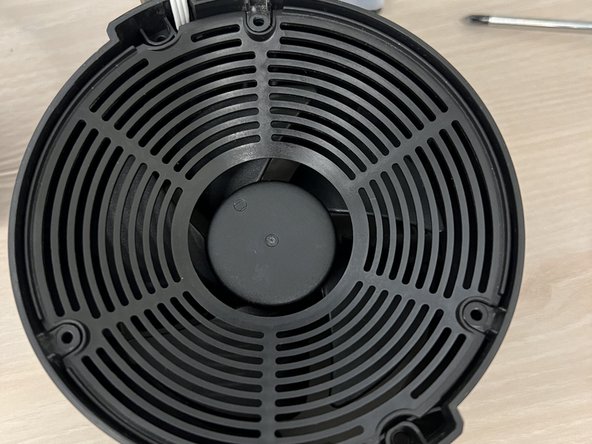
    • Double-check that the fan has no dust to ensure the motor will run more efficiently with less dust.

  11. KATCHY Insect Trap Disassembly and Clean: étape 11, image 1 de 1
    • Retrace steps by going in reverse order to reassemble each part.

Conclusion

To reassemble your device, follow these instructions in reverse order. Plug the power supply into the device and check if everything works. The UV light should display like normal.

2 autres ont terminé cette réparation.

Ryan

Membre depuis le 03/20/24

244 Réputation

1 tutoriel rédigé

Équipe

CSU Los Angeles, Team 77-77, Harris Spring 2024 Membre de l'équipe CSU Los Angeles, Team 77-77, Harris Spring 2024

CSULA-HARRIS-S24S77G77

1 membre

1 tutoriel rédigé

0 Guide Comments

Ajouter un commentaire

Nombre de vues :

Dernières 24 heures : 0

7 derniers jours : 5

30 derniers jours : 14

Total : 962