Introduction
Use this guide to replace the Raspberry Pi in your Kano Computer Kit.
The Raspberry Pi is the brain of your Kano Computer, which is crucial for its operation.
If you notice frequent crashes or freezes, overheating despite proper ventilation, inconsistent power such as the device not powering on, unexpected shutdowns, or issues with the keyboard or mouse, these could be signs that your Raspberry Pi is failing and needs replacement.
Replacing the Raspberry Pi can resolve these issues and restore your Kano Computer to normal functionality.
Before starting the repair process, ensure your Kano Computer is powered off and disconnected from any external power source.
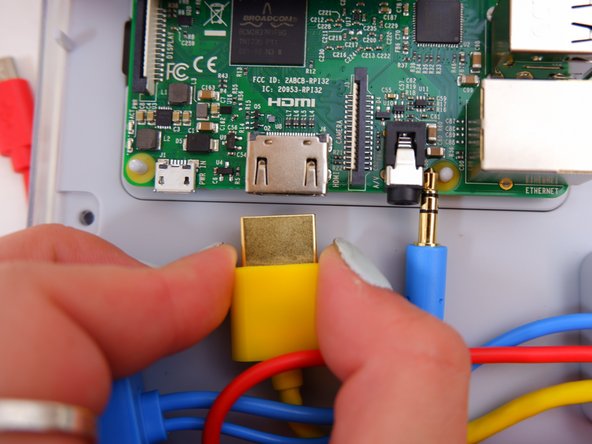
-
-
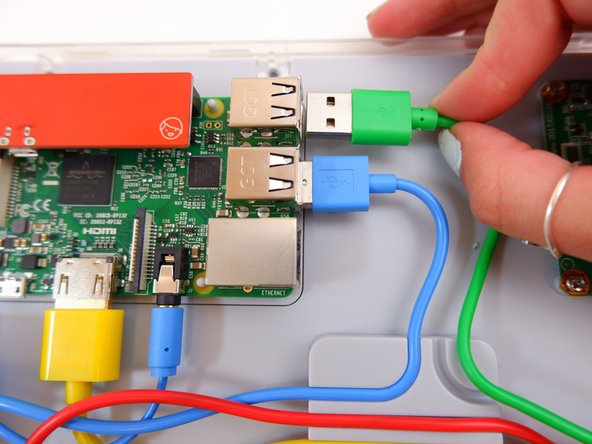
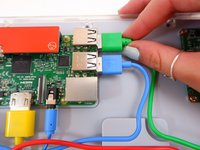
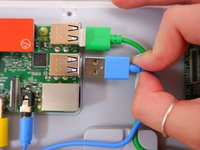
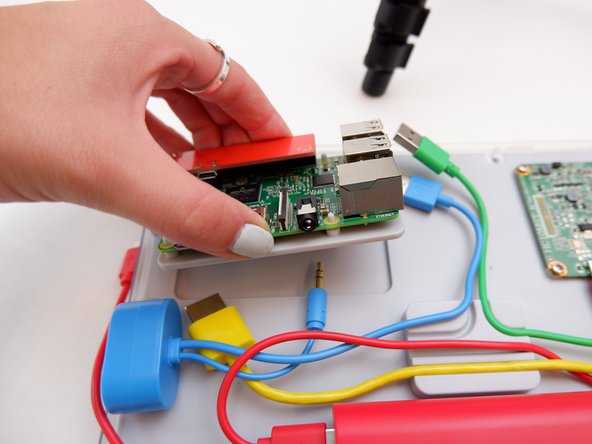
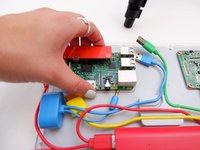
Take off the clear backing of the computer and set it aside.
-
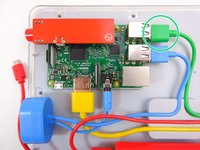
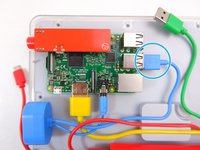
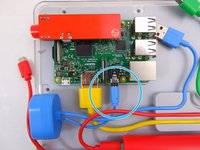
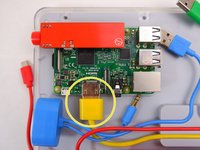
The Raspberry Pi is located in the top right corner of the case.
 Demander à FixBot
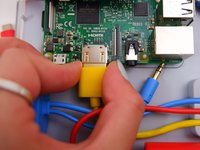
-
-


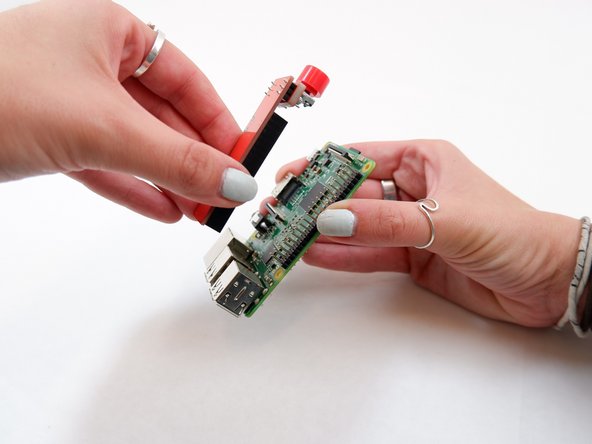


To reassemble your device, follow these instructions in reverse order with the new Raspberry Pi.
Annulation : je n'ai pas terminé ce tutoriel.
Une autre personne a terminé cette réparation.

Équipe

Embry-Riddle Aeronautical University, Team S1-G4, Watkins Fall 2019 Membre de l'équipe Embry-Riddle Aeronautical University, Team S1-G4, Watkins Fall 2019
ERAU-WATKINS-F19S1G4
4 membres
10 tutoriels rédigés