Aller au contenu principal

Karcher Carpet Cleaner 10066730 2014 Breaker Replacement

Ce dont vous avez besoin

  1. Karcher Carpet Cleaner 10066730 2014 Breaker Replacement, Remove the screws securing the front panel: étape 1, image 1 de 1
    • Before beginning repairs, disconnect the device from power, disconnect all hoses, drain and depressurize the system, and let the device cool if the heater was recently used.

    • Use a Phillips screwdriver to remove the six screws securing the front panel.

  2. Karcher Carpet Cleaner 10066730 2014 Breaker Replacement, Tilt the front panel down: étape 2, image 1 de 2 Karcher Carpet Cleaner 10066730 2014 Breaker Replacement, Tilt the front panel down: étape 2, image 2 de 2
    • Grip the front panel at the top and tilt down to reveal the switch electronics.

    • The front panel will stay attached to the device with the flexible tubing.

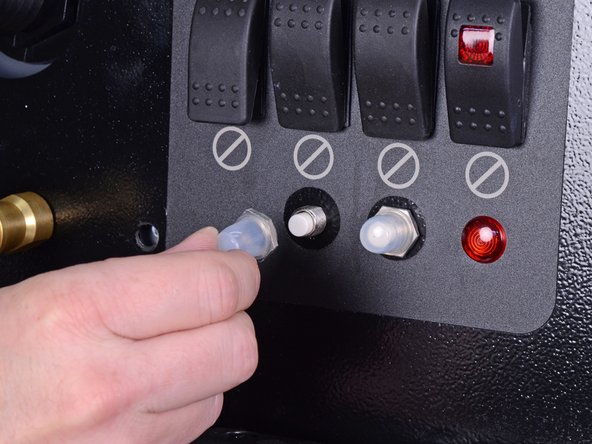
  3. Karcher Carpet Cleaner 10066730 2014 Breaker Replacement, Remove the breaker button cover: étape 3, image 1 de 1
    • Use a 16 mm socket to loosen the nut on the breaker button cover.

  4. Karcher Carpet Cleaner 10066730 2014 Breaker Replacement: étape 4, image 1 de 2 Karcher Carpet Cleaner 10066730 2014 Breaker Replacement: étape 4, image 2 de 2
    • Remove the breaker button cover.

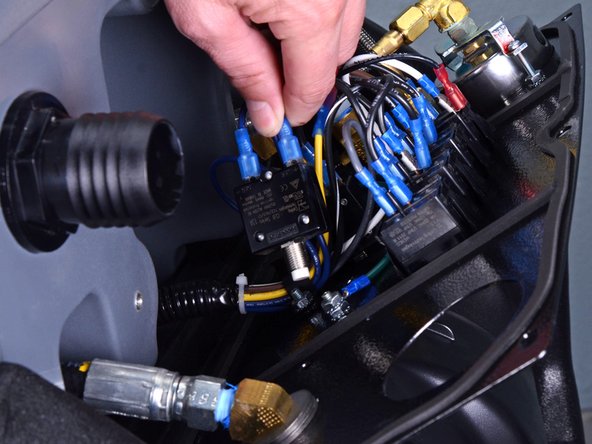
  5. Karcher Carpet Cleaner 10066730 2014 Breaker Replacement, Remove the breaker wires: étape 5, image 1 de 2 Karcher Carpet Cleaner 10066730 2014 Breaker Replacement, Remove the breaker wires: étape 5, image 2 de 2
    • Separate the breaker from the front panel.

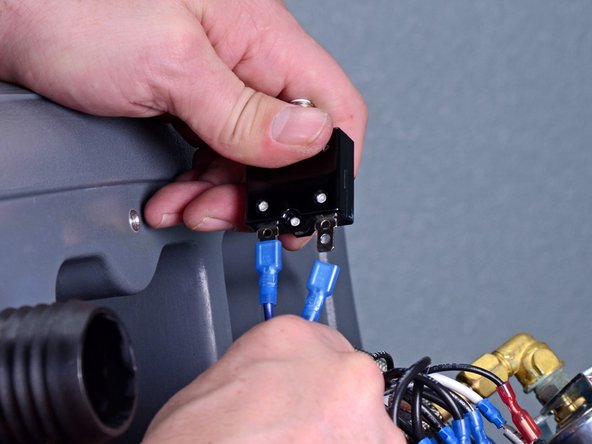
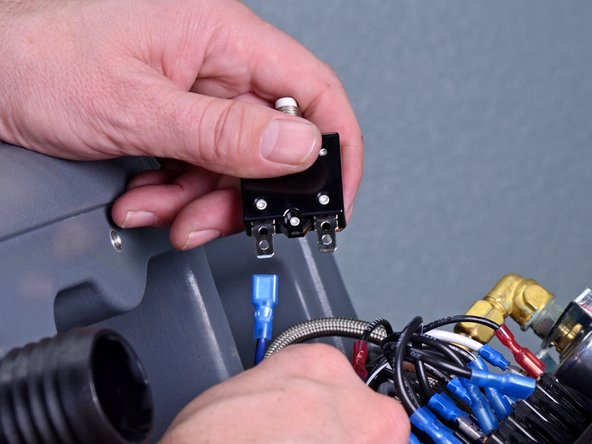
  6. Karcher Carpet Cleaner 10066730 2014 Breaker Replacement, Remove the breaker: étape 6, image 1 de 3 Karcher Carpet Cleaner 10066730 2014 Breaker Replacement, Remove the breaker: étape 6, image 2 de 3 Karcher Carpet Cleaner 10066730 2014 Breaker Replacement, Remove the breaker: étape 6, image 3 de 3
    • Grip the black wire by its blue connector and pull directly away from the breaker to remove it.

    • Grip the dark blue wire by its blue connector and pull directly away from the breaker to remove it.

    • Make a note of which wire goes where to help during reassembly.

    • Only the breaker remains.

Conclusion

To reassemble your device, follow these instructions in reverse order.

Une autre personne a terminé cette réparation.

Carsten Frauenheim

Membre depuis le 03/10/20

114 056 Réputation

338 tutoriels rédigés

Équipe

iFixit Membre de l'équipe iFixit

Staff

135 membres

17 198 tutoriels rédigés

0 commentaires

Ajouter un commentaire

Nombre de vues :

Dernières 24 heures : 0

7 derniers jours : 6

30 derniers jours : 19

Total : 409