Introduction
This guide will demonstrate the disassembly of the Kenwood DRV-N520 and the removal of its internal speaker.
The speaker is used to provide the sound of the proximity alert and should be inspected if that function is not properly operating on your device.
(if after replacing the speaker, the proximity alert is still not functioning we recommend checking out our guide on the replacement of the internal camera. The two components work in tandem to provide this function)
Ce dont vous avez besoin
-
-
Use a Phillips #0 screwdriver to remove the four 3mm screws from the device backing.
-
Remove the backing.
-
-
-
-
Use the screwdriver to remove the two screws holding the motherboard in place.
-
Before attempting to remove the board, disconnect the camera by removing the ribbon cable from its corresponding connection on the board.
-
To remove the ribbon cable, use a plastic spudger to gently apply pressure to the lever that secures the cable in place while simultaneously applying a light pulling pressure on the ribbon cable.
-
Disconnect the speaker connections (red and black wires) from the motherboard by applying pressure to the clip on its corresponding socket.
-
Once all connections have been severed, gently remove the motherboard from the device casing.
-
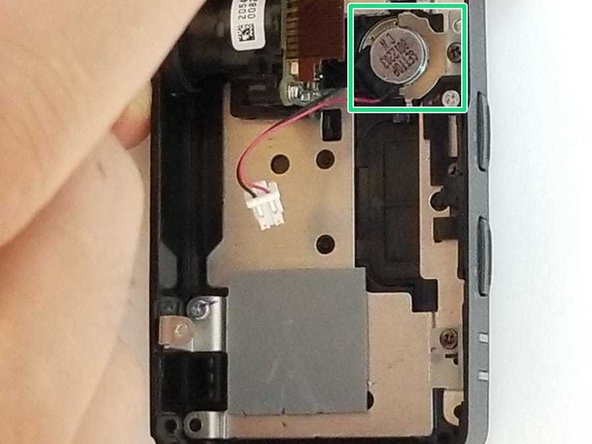
The speaker unit and corresponding mounting hardware should now be visible.
-


To re-assemble your device, follow these steps in reverse order.
To re-assemble your device, follow these steps in reverse order.
Équipe

ERAU-LAMOTHE-S20S14G1 Membre de l'équipe ERAU-LAMOTHE-S20S14G1
Local Repair Groups
4 membres
3 tutoriels rédigés