Aller au contenu principal

Keurig Mini B-31 Top Needle Replacement

Ce dont vous avez besoin

  1. Keurig Mini B-31 Top Needle Replacement, K-cup holder: étape 1, image 1 de 1
    • Lift up the handle of the Keurig Mini.

  2. Keurig Mini B-31 Top Needle Replacement: étape 2, image 1 de 2 Keurig Mini B-31 Top Needle Replacement: étape 2, image 2 de 2
    • Make sure to avoid the needles above and inside the K-cup because may puncture your hand

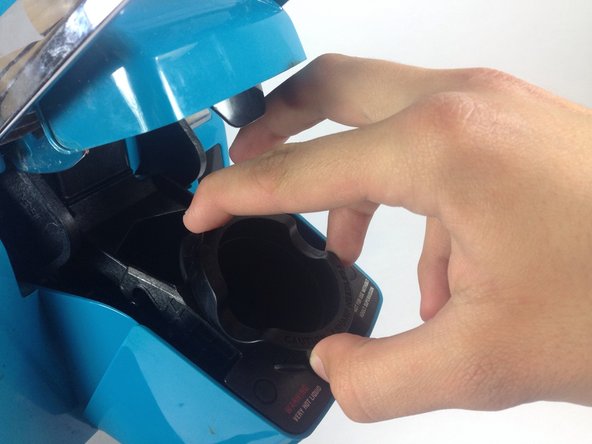
    • Firmly place a finger on each one of the three tabs that hold the K-cup holder into place, pushing in lightly. The tabs are difficult to see, but they are there and will make the removal easier. The top tab is located in the same location as the white triangle and the bottom two are located under the plastic bumps highlighted in the picture.

  3. Keurig Mini B-31 Top Needle Replacement: étape 3, image 1 de 2 Keurig Mini B-31 Top Needle Replacement: étape 3, image 2 de 2
    • Firmly rock the K-cup holder from side to side, loosening the K-cup holder from its seat.

  4. Keurig Mini B-31 Top Needle Replacement: étape 4, image 1 de 1
    • Pull the K-cup holder straight out.

  5. Keurig Mini B-31 Top Needle Replacement, Top: étape 5, image 1 de 3 Keurig Mini B-31 Top Needle Replacement, Top: étape 5, image 2 de 3 Keurig Mini B-31 Top Needle Replacement, Top: étape 5, image 3 de 3
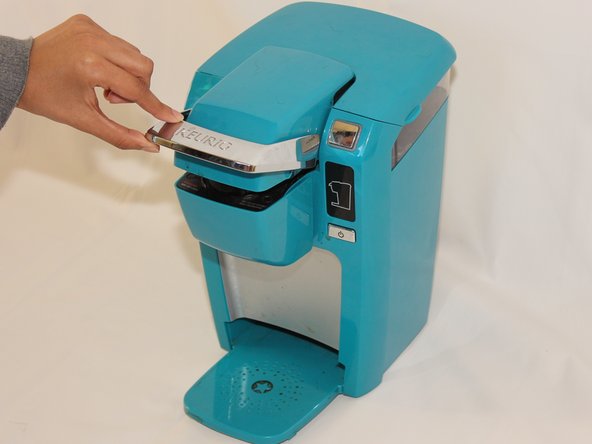
    • Open the top lid of the Keurig.

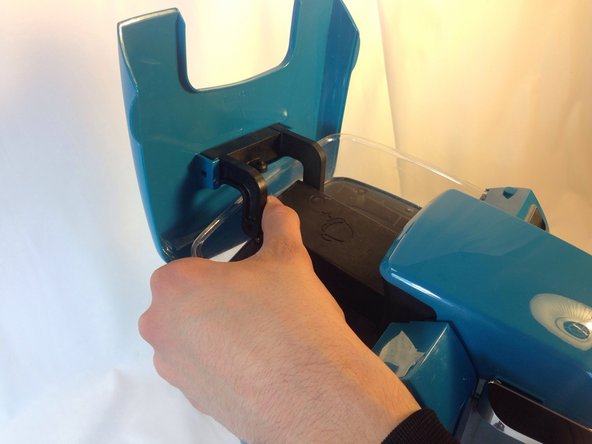
    • Pull directly outwards on one of the arms that holds the top lid in place. It will take some force to get the arm off the peg. Once one side is off, repeat the process on the second arm.

  6. Keurig Mini B-31 Top Needle Replacement: étape 6, image 1 de 1
    • Lay the Keurig on its back with the water reservoir pointing away from you.

  7. Keurig Mini B-31 Top Needle Replacement: étape 7, image 1 de 1
    • Avoid the top needle as it may puncture your hand.

    • Unscrew the two 9mm #1 Philips screws that hold the top plastic cover in place.

  8. Keurig Mini B-31 Top Needle Replacement: étape 8, image 1 de 1
    • Set the Keurig in an upright position with the front side facing you.

    • Pull the cover off the top of the Keurig. It should come off easily with little force.

  9. Keurig Mini B-31 Top Needle Replacement: étape 9, image 1 de 1
    • Firmly grasp the hose and pull it off of the plastic nozzle.

  10. Keurig Mini B-31 Top Needle Replacement, Top Needle: étape 10, image 1 de 1
    • Unscrew the two 9 mm #1 Philips screws at the top of the device.

  11. Keurig Mini B-31 Top Needle Replacement: étape 11, image 1 de 1
    • Push down lightly on the nozzle that the hose was attached to. The plastic housing along with the needle should pop off without much force.

Conclusion

To reassemble your device, follow these instructions in reverse order.

Une autre personne a terminé cette réparation.

Andrew Adriance

Membre depuis le 01/14/14

1 914 Réputation

7 tutoriels rédigés

Équipe

Cal Poly, Team 17-1, Forte Winter 2014 Membre de l'équipe Cal Poly, Team 17-1, Forte Winter 2014

CPSU-FORTE-W14S17G1

5 membres

17 tutoriels rédigés

Un commentaire

This is great but where do I buy the top needle replacement part?

Jen - Réponse

Ajouter un commentaire

Nombre de vues :

Dernières 24 heures : 1

7 derniers jours : 21

30 derniers jours : 77

Total : 16,886