Introduction
In this guide, I will demonstrate how to replace their broken kitchen drawer mounts. This issue can be very common if drawers were not built with quality material when building the house. To get the material needed you can take in your broken track or mount into a hardware store and find the correct size. This is a quick and easy repair that will take little time and basic knowledge of repairs/tools.
Ce dont vous avez besoin
-
-
Remove all utensils from the drawer and remove the drawer from the slot.
-
-


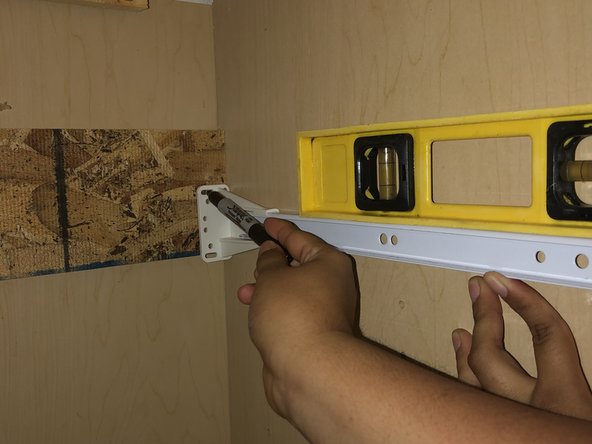


Now that your repair is done make sure your drawer is sliding smoothly if not you will need to remove it and clean the tracks. Another thing to look for is if the tracks are perfectly aligned if not you can go back in and fix them by following the same steps again.
Now that your repair is done make sure your drawer is sliding smoothly if not you will need to remove it and clean the tracks. Another thing to look for is if the tracks are perfectly aligned if not you can go back in and fix them by following the same steps again.
Annulation : je n'ai pas terminé ce tutoriel.
Une autre personne a terminé cette réparation.

Équipe

Eastern Washington University, Team S25-G1, Crane Spring 2020 Membre de l'équipe Eastern Washington University, Team S25-G1, Crane Spring 2020
EWU-CRANE-S20S25G1
4 membres
1 tutoriel rédigé