Aller au contenu principal
Pour réparer ensemble - Je crée un compte

Kitchen Gourmet 2-Slice Cool Touch W14A4694

Ce dont vous avez besoin

    1. Kitchen Gourmet 2-Slice Cool Touch W14A4694, Kitchen Gourmet 2-Slice Cool Touch W14A4694: étape 1, image 1 de 3 Kitchen Gourmet 2-Slice Cool Touch W14A4694, Kitchen Gourmet 2-Slice Cool Touch W14A4694: étape 1, image 2 de 3 Kitchen Gourmet 2-Slice Cool Touch W14A4694, Kitchen Gourmet 2-Slice Cool Touch W14A4694: étape 1, image 3 de 3
      • To access the crumb tray, turn the toaster around and pull the handle straight out.

      Demander à FixBot

      Ajouter un commentaire

    2. Kitchen Gourmet 2-Slice Cool Touch W14A4694: étape 2, image 1 de 2 Kitchen Gourmet 2-Slice Cool Touch W14A4694: étape 2, image 2 de 2
      • Remove the handle of the toaster.

      • This will take a bit of force, but be sure to pull straight out and not bend the plastic piece that the handle attaches to

      Demander à FixBot

      Ajouter un commentaire

    3. Kitchen Gourmet 2-Slice Cool Touch W14A4694: étape 3, image 1 de 1
      • Turn over the toaster and remove the four 13 mm recessed Phillips #2 screws.

      Demander à FixBot

      Ajouter un commentaire

    4. Kitchen Gourmet 2-Slice Cool Touch W14A4694: étape 4, image 1 de 3 Kitchen Gourmet 2-Slice Cool Touch W14A4694: étape 4, image 2 de 3 Kitchen Gourmet 2-Slice Cool Touch W14A4694: étape 4, image 3 de 3
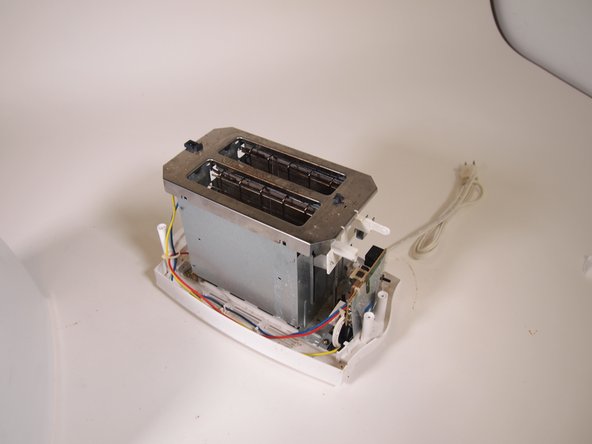
      • Remove the cover of the toaster. This may take some wiggling.

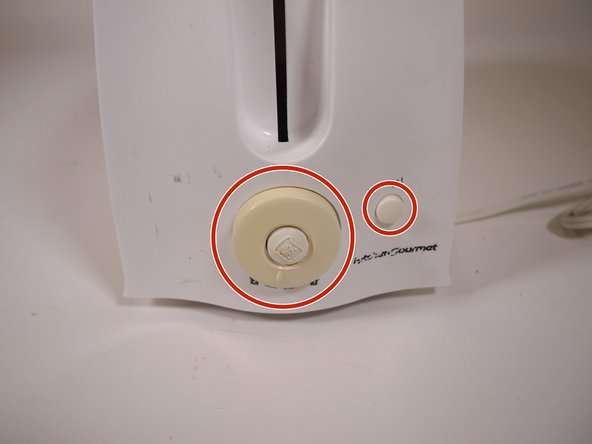
      • The control knob may fall out or stay attached to the cover.

      • Be careful not to break the bagel button as you remove the cover.

      Demander à FixBot

      Ajouter un commentaire

    5. Kitchen Gourmet 2-Slice Cool Touch W14A4694: étape 5, image 1 de 3 Kitchen Gourmet 2-Slice Cool Touch W14A4694: étape 5, image 2 de 3 Kitchen Gourmet 2-Slice Cool Touch W14A4694: étape 5, image 3 de 3
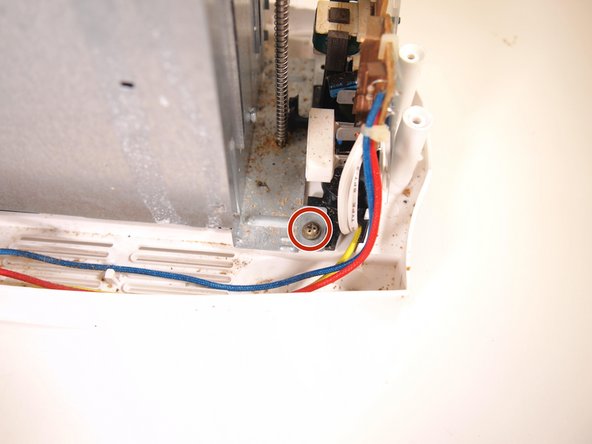
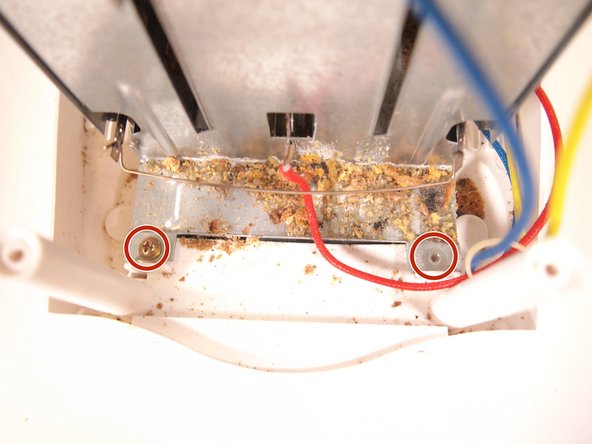
      • Remove the two 8 mm Philips #2 front screws and the two 12mm rear screws that attach the heating system to the base and lift straight up.

      • Watch for the wires that are zip-tied to the nearby post at the rear of the toaster.

      Demander à FixBot

      Ajouter un commentaire

    6. Kitchen Gourmet 2-Slice Cool Touch W14A4694: étape 6, image 1 de 2 Kitchen Gourmet 2-Slice Cool Touch W14A4694: étape 6, image 2 de 2
      • Upon removal of the heating system, the circuit board can be popped out in the direction of the back of the toaster.

      • The board will still be attached by wires to the heating system and power cord from the bottom, so be careful.

      Demander à FixBot

      Ajouter un commentaire

    7. Kitchen Gourmet 2-Slice Cool Touch W14A4694: étape 7, image 1 de 2 Kitchen Gourmet 2-Slice Cool Touch W14A4694: étape 7, image 2 de 2
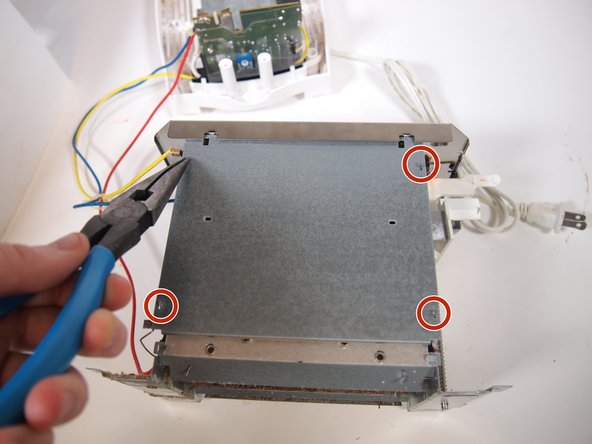
      • Unfold the four metal tabs on each side of the heating system but don’t remove the panels yet.

      • Don't forget to unfold the four tabs on BOTH sides of the toaster.

      Demander à FixBot

      Ajouter un commentaire

    8. Kitchen Gourmet 2-Slice Cool Touch W14A4694: étape 8, image 1 de 2 Kitchen Gourmet 2-Slice Cool Touch W14A4694: étape 8, image 2 de 2
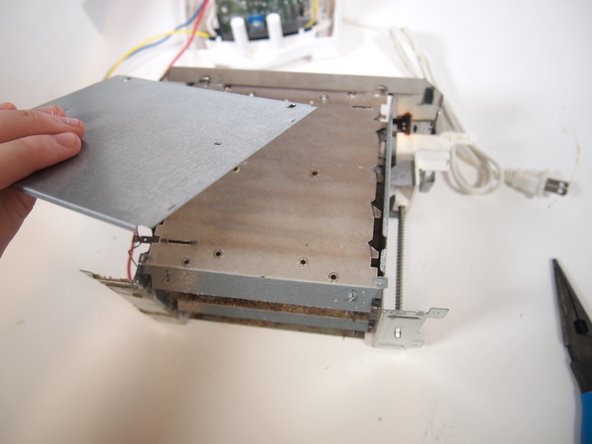
      • The panels will still be attached at the top, so pull the bottom out and unfold the two tabs shown below.

      • Once the panels come loose, remove them.

      Demander à FixBot

      Ajouter un commentaire

    9. Kitchen Gourmet 2-Slice Cool Touch W14A4694: étape 9, image 1 de 2 Kitchen Gourmet 2-Slice Cool Touch W14A4694: étape 9, image 2 de 2
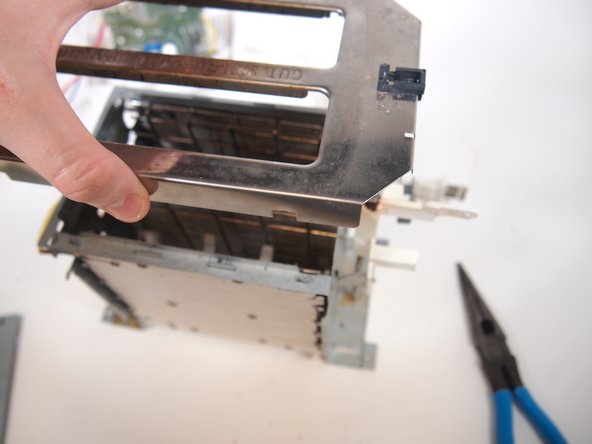
      • Upon completing the previous two steps for each side of the toaster, the top should come loose as well. Remove this by pulling straight up.

      Demander à FixBot

      Ajouter un commentaire

    10. Kitchen Gourmet 2-Slice Cool Touch W14A4694: étape 10, image 1 de 2 Kitchen Gourmet 2-Slice Cool Touch W14A4694: étape 10, image 2 de 2
      • You now have access to the insides of the heating element. To remove the springs or grates that hold the food item, unfold the metal tabs.

      • To fully remove these pieces from the toaster, cut the three heating wires. To regain the function of the toaster after snipping the wires, reattach them back in place.

      Demander à FixBot

      Ajouter un commentaire

    11. Kitchen Gourmet 2-Slice Cool Touch W14A4694: étape 11, image 1 de 1
      • The toaster operates in a simple yet difficult-to-understand way. Upon plugging the device in, it receives power but will not engage the heating element until the handle is pushed to the bottom position. This movement engages a switch that electrifies the circuit board and its components.

      • This electrifies an electromagnet which attracts a metal piece attached to the handle that consequently holds it in the down position until the timer is up. Within this circuit is a potentiometer that restricts the flow of power depending on its position.

      • On a lower setting, it lets through more power making the timer end faster and releasing the magnet, popping up the toast, and disconnecting the power from the heating elements.

      • This works in the opposite way if the dial is turned to a higher setting. Less power is let through allowing the toast to cook longer before releasing the magnet. The cool button works by bypassing the potentiometer and allowing electricity to flow to the timer without resistance making it end quickly, release the magnet and break the circuit.

      Demander à FixBot

      Ajouter un commentaire

Ligne d'arrivée

Annulation : je n'ai pas terminé ce tutoriel.

Pièces jointes

kalanbrunell

Membre depuis le 09/13/23

293 Réputation

1 tutoriel rédigé

0 commentaires de tutoriel

Ajouter un commentaire

Nombre de vues :

Dernières 24 heures : 0

7 derniers jours : 5

30 derniers jours : 23

Total : 492