Cette version peut contenir des modifications incorrectes. Passez au dernier aperçu vérifié.
Ce dont vous avez besoin
-
Cette étape n’est pas traduite. Aidez à la traduire
-
With the screen faced up, insert the metal spudger into the crevice so that it is sticking out between the side panel and the screen.
-
-
Cette étape n’est pas traduite. Aidez à la traduire
-
Take the spudger and slide it around the perimeter of the device.
-
Pull gently on the edges to get the panel to pop up.
-
-
Cette étape n’est pas traduite. Aidez à la traduire
-
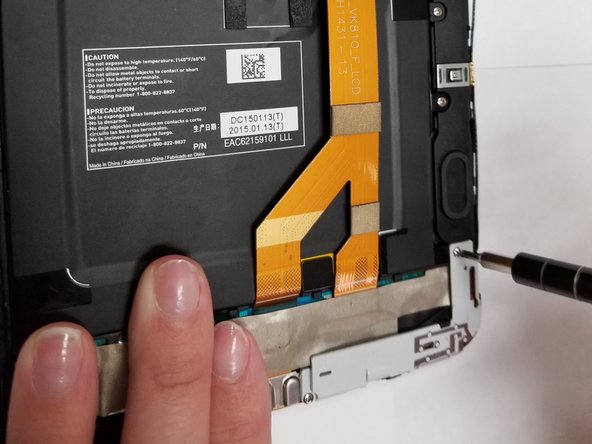
Remove the 4 1.5 mm screws holding the speakers in place.
-
-
Cette étape n’est pas traduite. Aidez à la traduire
-
Put the spudger underneath the gold cap of the cable and lift to disconnect from device.
-
-
Cette étape n’est pas traduite. Aidez à la traduire
-
Pull the cable back and out of the way of the speaker.
-
-
Cette étape n’est pas traduite. Aidez à la traduire
-
Place the spudger in between the speaker and the device to pop the speaker out of place.
-
Pull the speaker out of the device.
-
-
-
Cette étape n’est pas traduite. Aidez à la traduire
-
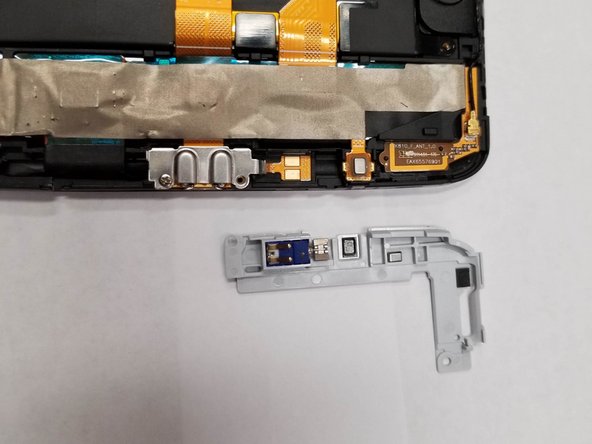
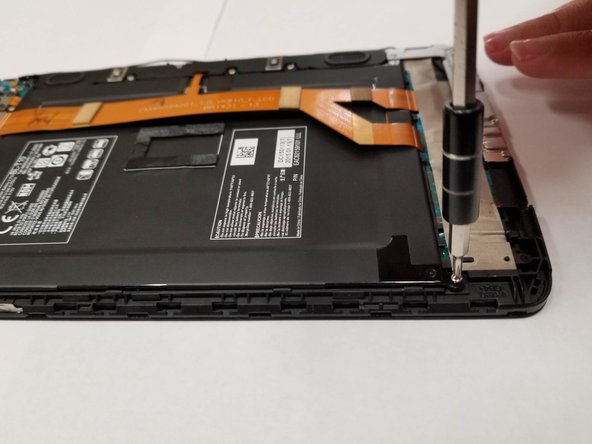
Remove the two screws on the white panel on the bottom right side.
-
-
Cette étape n’est pas traduite. Aidez à la traduire
-
Remove the vibrator from the underside of the white panel.
-
-
Cette étape n’est pas traduite. Aidez à la traduire
-
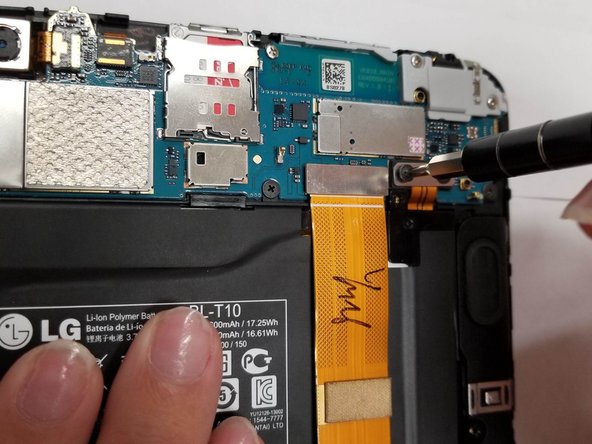
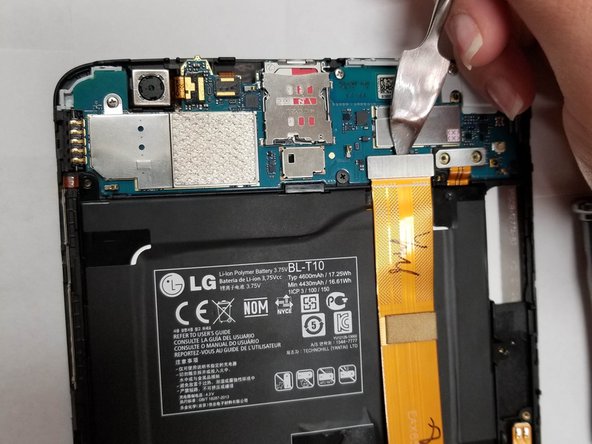
Insert metal spudger under the side of the gold strip and pull.
-
-
Cette étape n’est pas traduite. Aidez à la traduire
-
Place spudger under the top of the gold bar and gently pry up.
-
-
Cette étape n’est pas traduite. Aidez à la traduire
-
Pull on top of the silver block until gold bar lifts.
-
-
Cette étape n’est pas traduite. Aidez à la traduire
-
Place spudger under the battery and run it around the edge to loosen it.
-


Équipe

University of North Texas, Team S4-G3, Raign Fall 2018 Membre de l'équipe University of North Texas, Team S4-G3, Raign Fall 2018
UNT-RAIGN-F18S4G3
4 membres
5 tutoriels rédigés
Un commentaire
I have followed your guide (LG G Pad 8.3 4G Battery Replacement) but what see when I pry off the screen is not what is on your pic of step 2.
It appears that I have to pry off the back panel to actually see the battery, the speakers and the gold cable.
How can I pry off the back panel?
Thanks,
Ed