Introduction
If your LG G Pad F 8.0 isn’t powering on and can not be charged, use this guide to replace the battery.
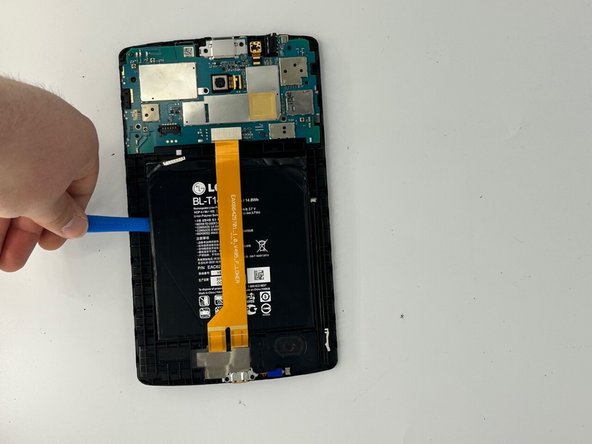
The battery powers on the tablet. A faulty battery will not keep charge and stay dead until the battery is replaced.
Before using this guide, inspect the charging cable. Typically, a faulty charging cable can prevent the tablet to be charged.
Before beginning, make sure to power off your phone completely and disconnect from any external power source.
Ce dont vous avez besoin
-
-
Place the tablet with the screen facing down.
-
Open the SIM port on the top right corner of the tablet.
-
Press the SIM card to pop it out.
-
Remove the SIM card from the tablet.
-
-


To reassemble your device, follow these instructions in reverse order.
To reassemble your device, follow these instructions in reverse order.
Équipe

University of North Texas, Team 2-2, Saru Jimmy Spring 2023 Membre de l'équipe University of North Texas, Team 2-2, Saru Jimmy Spring 2023
UNT-SARU JIMMY-S23S2G2
4 membres
5 tutoriels rédigés