Aller au contenu principal

LG Optimus T Button Replacement

Ce dont vous avez besoin

    • Working on your device while it is turned on may result in electric shock. Make sure to shut down and unplug your device before you begin.

    • Using a prying device, such as a Spudger, remove the phone's back cover. At the top of the phone, there's an indentation to put the Spudger into to pop the case off.

  1. LG Optimus T Button Replacement: étape 2, image 1 de 1
    • Remove the battery. There's an indentation to the left of the camera lens to pull up on the battery with your finger.

  2. LG Optimus T Button Replacement: étape 3, image 1 de 1
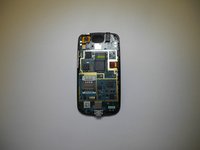
    • Use a J0 screwdriver to remove the six 4.5 mm screws.

  3. LG Optimus T Button Replacement: étape 4, image 1 de 2 LG Optimus T Button Replacement: étape 4, image 2 de 2
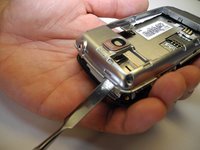
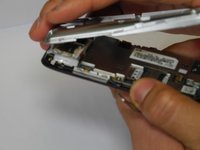
    • Remove interior case. Insert the spudger into the indentations at the top or bottom of the phone to pry off the interior case.

    • You might have difficulty popping the case off. You may use the metal spudger if the plastic one fails. Be cautious when using it, as the metal spudger may damage your phone.

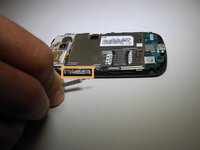
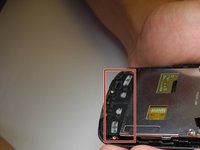
  4. LG Optimus T Button Replacement: étape 5, image 1 de 3 LG Optimus T Button Replacement: étape 5, image 2 de 3 LG Optimus T Button Replacement: étape 5, image 3 de 3
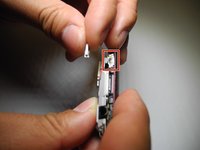
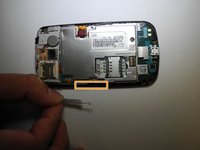
    • Remove power button found on top of the phone.

    • Remove the volume button found on the side of the phone.

    • There is an indentation that has been marked near the edge that part of the volume button inserts in to. You will use this when reassembling your phone.

    • When reassembling your phone, place buttons on the metal nodes that have been marked.

  5. LG Optimus T Button Replacement: étape 6, image 1 de 1
    • Pull up on connector tab.

  6. LG Optimus T Button Replacement: étape 7, image 1 de 2 LG Optimus T Button Replacement: étape 7, image 2 de 2
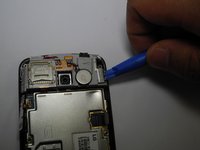
    • Remove SD card mount. Insert a plastic opening tool on the right side to pop off.

  7. LG Optimus T Button Replacement: étape 8, image 1 de 2 LG Optimus T Button Replacement: étape 8, image 2 de 2
    • There are 4 retaining points to insert a plastic opening tool into and pop off panel.

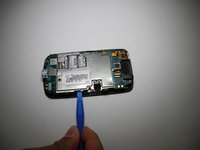
  8. LG Optimus T Button Replacement: étape 9, image 1 de 1
    • Remove 2 black J0 Phillip's head 1.8 mm screws from charging port.

    • Charging port and motherboard are connected.

    • Remove motherboard.

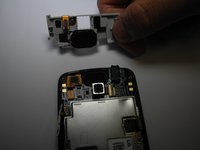
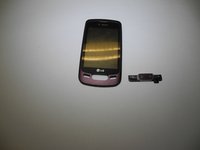
  9. LG Optimus T Button Replacement: étape 10, image 1 de 2 LG Optimus T Button Replacement: étape 10, image 2 de 2
    • Pop off home buttons.

Conclusion

To reassemble your device, follow these instructions in reverse order.

Patrick Esguerra

Membre depuis le 02/07/17

105 Réputation

1 tutoriel rédigé

Équipe

Ohio State, Team 1-3, Wilder Spring 2017 Membre de l'équipe Ohio State, Team 1-3, Wilder Spring 2017

OSU-WILDER-S17S1G3

4 membres

5 tutoriels rédigés

0 commentaires

Ajouter un commentaire

Nombre de vues :

Dernières 24 heures : 1

7 derniers jours : 5

30 derniers jours : 8

Total : 144