Aller au contenu principal

LG Voyager Keyboard Replacement

Ce dont vous avez besoin

  1. LG Voyager Keyboard Replacement, Battery: étape 1, image 1 de 1
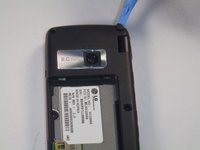
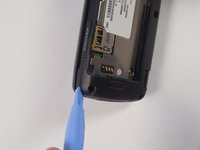
    • Turn over the phone so the front screen is facing down and the back side is up.

  2. LG Voyager Keyboard Replacement: étape 2, image 1 de 1
    • Pull down on the button at the bottom of the phone. The battery will pop up and can then be safely removed.

  3. LG Voyager Keyboard Replacement: étape 3, image 1 de 1
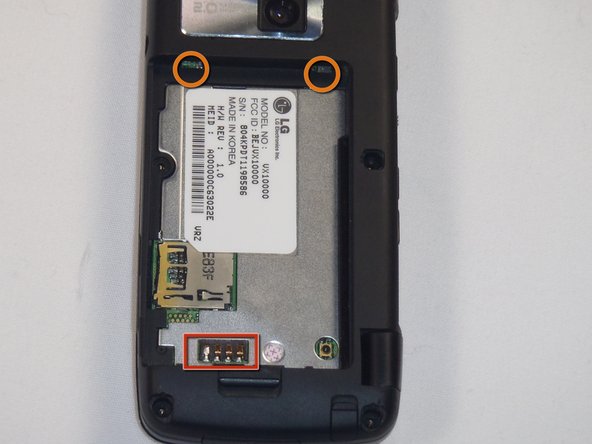
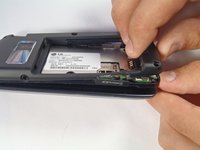
    • To install the new battery, position the battery so that the three small metal contacts of the battery are facing the three metal contacts of the phone

    • Insert the top of the battery, with the two plastic tabs, into their respective holes in the top

    • Then press down on the bottom of the battery and it should snap into place

  4. LG Voyager Keyboard Replacement, Keyboard: étape 4, image 1 de 2 LG Voyager Keyboard Replacement, Keyboard: étape 4, image 2 de 2
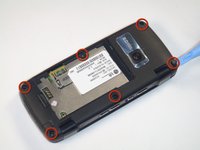
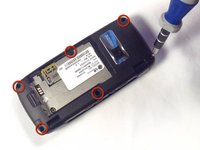
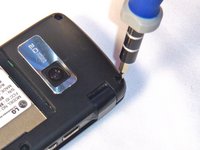
    • First remove the rubber stoppers covering the screws on the back of the phone by prying them up and away from the phone.

  5. LG Voyager Keyboard Replacement: étape 5, image 1 de 2 LG Voyager Keyboard Replacement: étape 5, image 2 de 2
    • Remove the 3.61mm length, Phillips screws from the back of the phone using the #00 screwdriver.

  6. LG Voyager Keyboard Replacement: étape 6, image 1 de 2 LG Voyager Keyboard Replacement: étape 6, image 2 de 2
    • Now pry open the back of the phone.

    • Make sure that you use the plastic opening tool to go around the entire phone to help open the phone.

  7. LG Voyager Keyboard Replacement: étape 7, image 1 de 2 LG Voyager Keyboard Replacement: étape 7, image 2 de 2
    • Carefully separate the keyboard from the top of the phone.

    • Be careful not to break the ribbon cable.

  8. LG Voyager Keyboard Replacement: étape 8, image 1 de 1
    • Detach the keyboard from the phone by taking off the little metal latches.

    • When replacing the old keyboard with a new one you will have to solder the metal latches to the new board.

Conclusion

To reassemble your device, follow these instructions in reverse order.

Lance Collins

Membre depuis le 04/12/12

7 Réputation

1 tutoriel rédigé

Équipe

Cal Poly, Team 17-26, Amido Spring 2012 Membre de l'équipe Cal Poly, Team 17-26, Amido Spring 2012

CPSU-AMIDO-S12S17G26

4 membres

4 tutoriels rédigés

0 commentaires

Ajouter un commentaire

Nombre de vues :

Dernières 24 heures : 0

7 derniers jours : 1

30 derniers jours : 1

Total : 409