Ce dont vous avez besoin
-
-
First step is to disassemble the guitar procesor. That is done by removing the screws from side and bottom of the device.
-
-
-
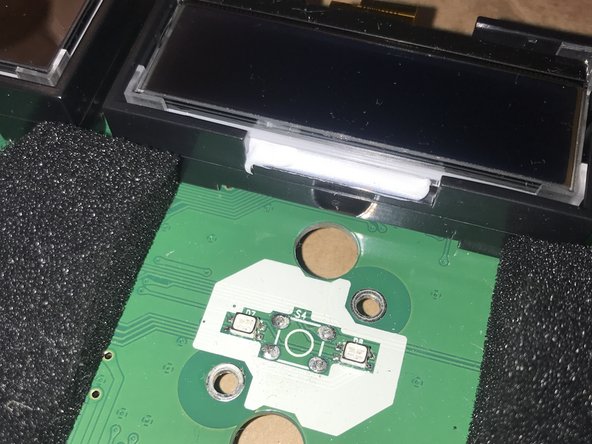
Unscrew the PCB that can be seen on the pictures. Then use a knife to remove the glue sticking the connectors togehter. Be extremely careful doing that since that could destroy your device. Don't forget to unscrew the grounding cable.
-
-
-
-
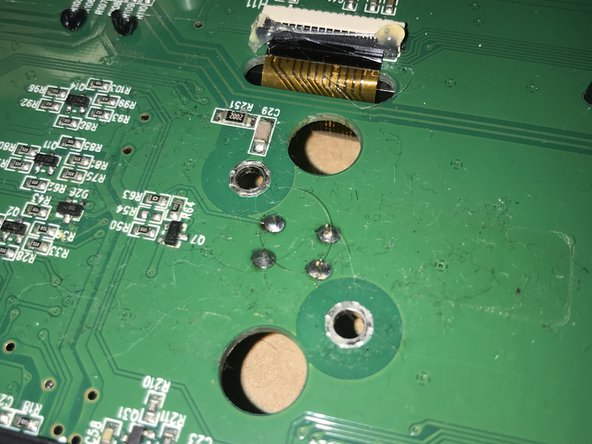
The old tactile switches have to be removed. This could be done by cutting their pins with cutting pliers. After the old switch is removed, old pins have to be desoldered. Move the heating iron next to the pin and use tweezers to remove the pin from the hole.
-
Use soldering iron and solder wick to remove any residual solder from the holes. Then insert new tactile switch and solder it's pins to the PCB.
-
-
-
After soldering the switches to it's place device has to be assembled again. To achive this you have to screw the PCB with switches back to the device. Then plug the flat cables to the connectors and use hot glue gun to stick them into place. Then add a side and back part back to the device and add the remaining screws.
-


Annulation : je n'ai pas terminé ce tutoriel.
Une autre personne a terminé cette réparation.