Introduction
This is how to remove and replace a screen on a first gen Lenovo 100e Chromebook.
Ce dont vous avez besoin
-
-
use a 00 Philips head to remove the 10 screws holding the back of it.
-
-
-
4 screws (00 Philips head)
-
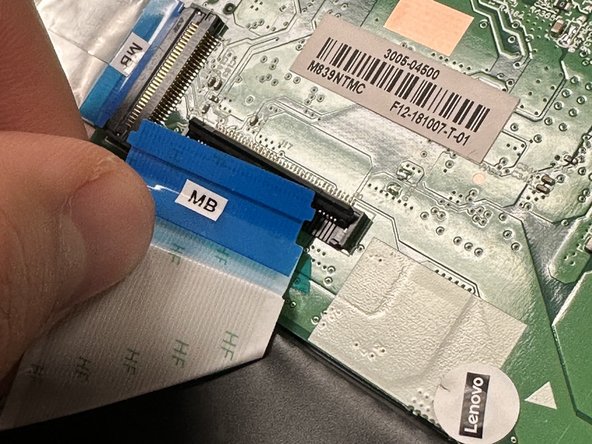
2 connectors from I/O (DB) to motherboard (DB)
-
battery to motherboard connection
-
-
-
-
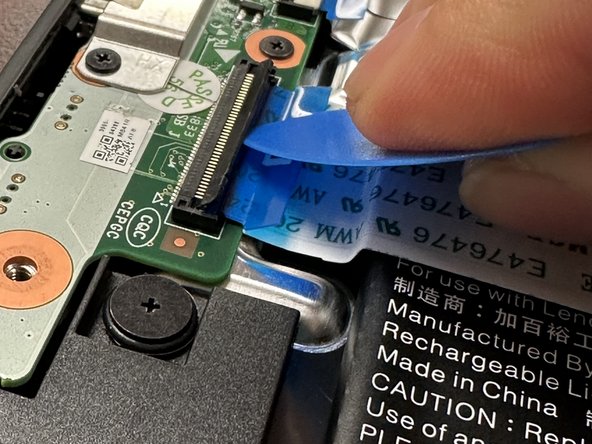
For the ribbon cable, Carefully lift the locking flap on the connector, which secures the ribbon cable in place. These flaps are usually very delicate, so use a spudger or your fingernail to gently lift it up. It doesn’t come off entirely; just lifts up a little to release the tension on the cable.
-
Once the flap is lifted, gently pull the ribbon cable out of the connector. Pull straight out and avoid side-to-side motion to ensure the cable and its contacts aren’t damaged.
-
-
-
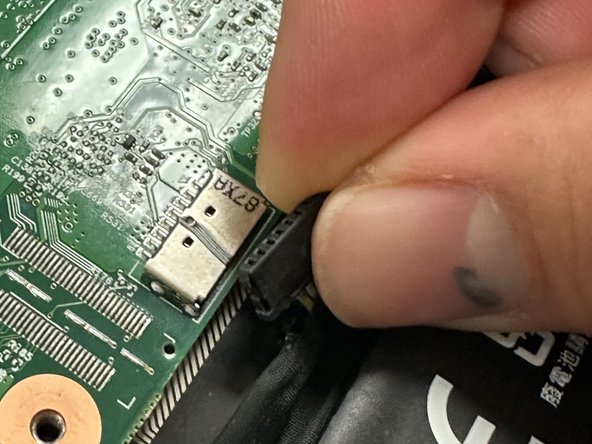
Use a plastic tool such as the opening tool or opening pick to carefully disconnect the battery from the motherboard
-
This part is kind of difficult be careful not to break this cord pushing it out.
-
-
-
flip device over to remove the screen bezel.
-
Using a spudger, go along the edge of the screen and pop the connections between the cover and the back side out.
-
Insert the spudger into the gap between the hinges and pull up to detach the connections.
-
Set aside once removed
-
-
-
Remove 4 screws using the Phillips #00 screwdriver bit.
-
Carefully pull the screen back onto the lower assembly.
-
-
-
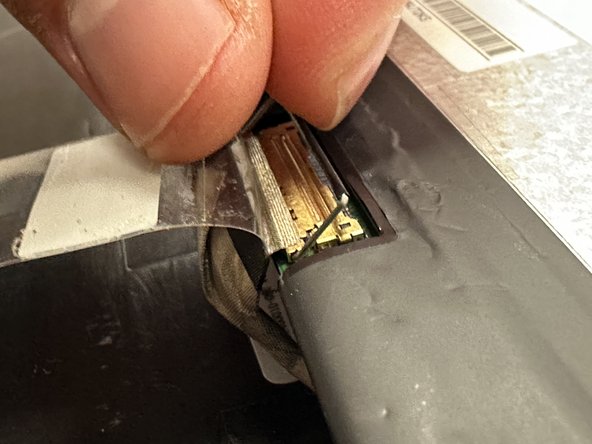
Peel back the protective tape over the display cable using the spudger. Gently lift the black bar latch holding the cable in place, until the cable becomes loose. Pull the cable free and remove the display.
-


To reassemble your device, follow these instructions in reverse order.
To reassemble your device, follow these instructions in reverse order.
