Aller au contenu principal

Lenovo IdeaPad 110-17IKB Fan Replacement

Ce dont vous avez besoin

  1. Lenovo IdeaPad 110-17IKB Fan Replacement, Lower Case: étape 1, image 1 de 1
    • First, before you do anything, make sure the computer has been turned off and unplugged.

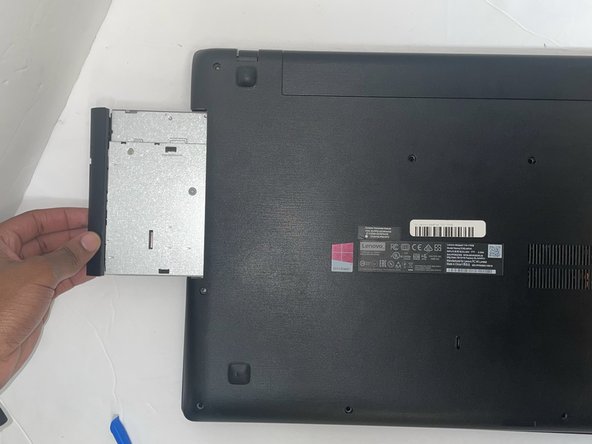
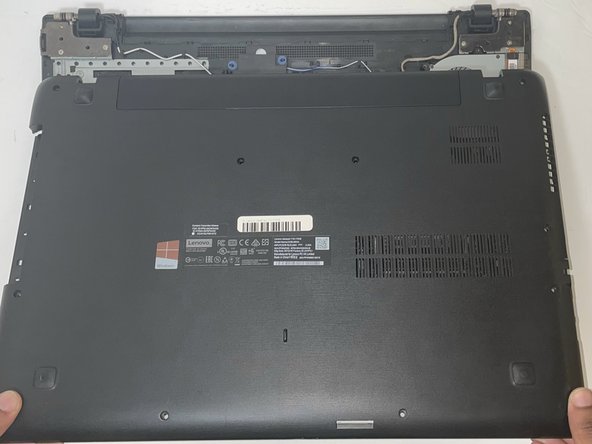
    • Place the the computer bottom facing up. Unscrew the eleven 6 mm screws using a Phillips #0 screwdriver.

  2. Lenovo IdeaPad 110-17IKB Fan Replacement: étape 2, image 1 de 2 Lenovo IdeaPad 110-17IKB Fan Replacement: étape 2, image 2 de 2
    • Use an opening tool to gently disconnect the clips on the side of the back panel.

    • DO NOT try to force open the panel, as this may cause damage to it.

  3. Lenovo IdeaPad 110-17IKB Fan Replacement: étape 3, image 1 de 2 Lenovo IdeaPad 110-17IKB Fan Replacement: étape 3, image 2 de 2
    • Pry out the optical drive opposite of the laptop.

    • Since the screws have already been removed, you will not need to worry about any more screws on the optical drive.

  4. Lenovo IdeaPad 110-17IKB Fan Replacement: étape 4, image 1 de 3 Lenovo IdeaPad 110-17IKB Fan Replacement: étape 4, image 2 de 3 Lenovo IdeaPad 110-17IKB Fan Replacement: étape 4, image 3 de 3
    • Release the remaining clasp and remove the lower case.

  5. Lenovo IdeaPad 110-17IKB Fan Replacement, Fan: étape 5, image 1 de 2 Lenovo IdeaPad 110-17IKB Fan Replacement, Fan: étape 5, image 2 de 2
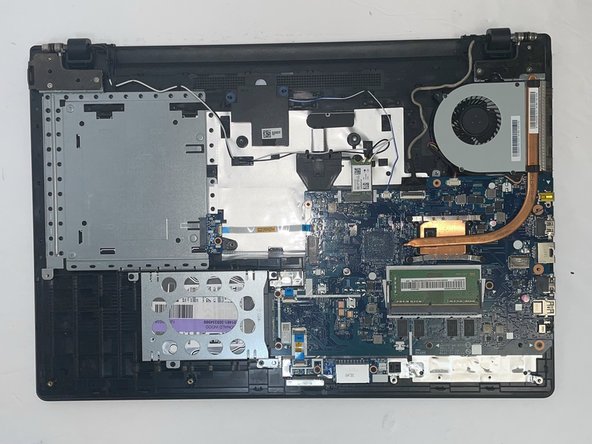
    • Unscrew the four 6 mm Phillips #0 screws that secure the fan.

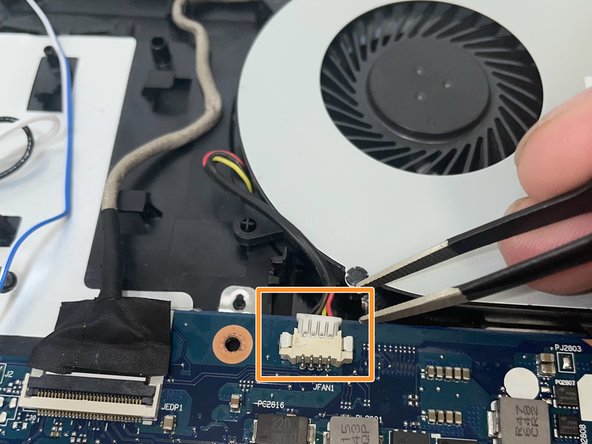
    • Push the white fan connector directly out of its port tweezers or a pry tool.

    • Lift the fan up and out of the chassis.

Conclusion

To reassemble your device, follow these instructions in reverse order.

Cameron Mounce

Membre depuis le 09/05/23

668 Réputation

5 tutoriels rédigés

Équipe

Gateway, Team 1-3, Pee Fall 2023 Membre de l'équipe Gateway, Team 1-3, Pee Fall 2023

GCC-PEE-F23S1G3

4 membres

7 tutoriels rédigés

0 commentaires

Ajouter un commentaire

Nombre de vues :

Dernières 24 heures : 0

7 derniers jours : 0

30 derniers jours : 1

Total : 40