Introduction
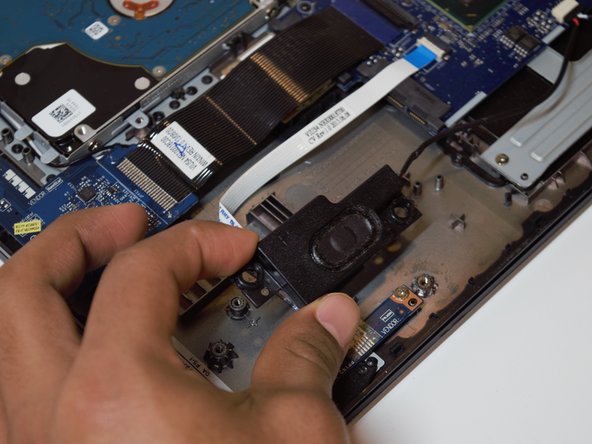
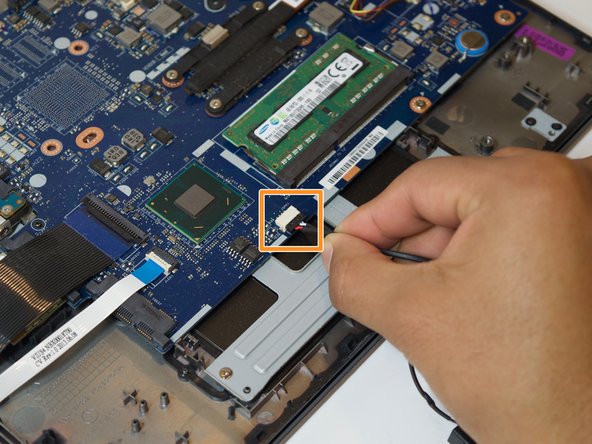
Follow this guide to replace the speakers in a Lenovo IdeaPad S400 Touch. Before removing the speakers, follow the troubleshooting steps linked here to make sure there is not a different technical issue causing audio malfunctions. If the problem is rooted in faulty speakers, damaged by physical trauma or another cause, you will need to purchase a set of replacement speakers. A link to purchase replacement speakers can be found in the list of tools and parts.
Ce dont vous avez besoin
-
-
Turn your computer over so the back is face up.
-
Use your forefinger to unlock the two tabs located on the back. Slide the tabs until you see the red showing.
-
The battery cover will then pop up allowing you access to the battery.
-
-
-
Remove the five 6mm Phillips #0 screws from the back panel.
-
Pull back the rubber tabs from the corners of the laptop backing to expose the screws.
-
Remove the four 4mm Phillips #0 screws that are underneath the rubber tabs.
-
Remove the three 6mm Phillips #0 screws from under the battery.
-
-
To reassemble your device, follow these instructions in reverse order.
To reassemble your device, follow these instructions in reverse order.
Annulation : je n'ai pas terminé ce tutoriel.
Une autre personne a terminé cette réparation.


