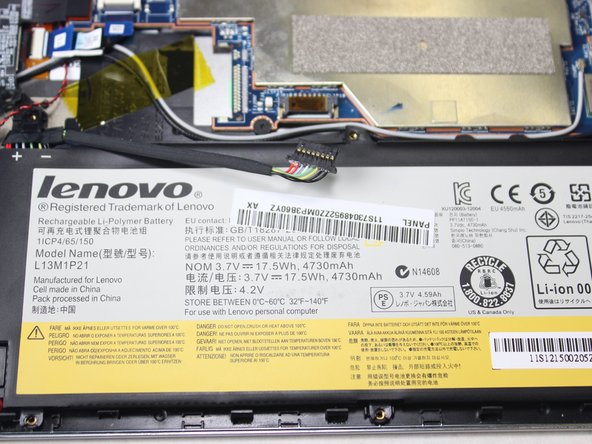
Aller au contenu principal

Lenovo Miix 2 Motherboard Replacement

Ce dont vous avez besoin

  1. Lenovo Miix 2 Motherboard Replacement, Battery: étape 1, image 1 de 2 Lenovo Miix 2 Motherboard Replacement, Battery: étape 1, image 2 de 2
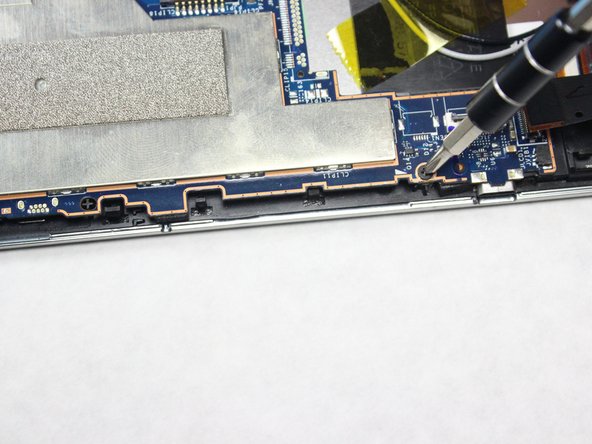
    • Remove the back cover of the tablet by inserting a nylon or metal spudger in the small hole between the screen and rear cover near the volume button. Slide the tool along the edge of the tablet to release the internal clasps.

    • You should have to apply a good amount of force, but pry carefully in order to avoid damaging the clasps or the internals.

  2. Lenovo Miix 2 Motherboard Replacement: étape 2, image 1 de 2 Lenovo Miix 2 Motherboard Replacement: étape 2, image 2 de 2
    • Unscrew the six 3mm screws surrounding the battery dock using a Phillips #0 screwdriver.

  3. Lenovo Miix 2 Motherboard Replacement: étape 3, image 1 de 2 Lenovo Miix 2 Motherboard Replacement: étape 3, image 2 de 2
    • Using a plastic spudger, slowly push each side of the battery connector (back and forward a couple of times) out of its socket on the motherboard.

  4. Lenovo Miix 2 Motherboard Replacement: étape 4, image 1 de 2 Lenovo Miix 2 Motherboard Replacement: étape 4, image 2 de 2
    • Remove the battery by prying up with your fingers or a plastic opening tool.

  5. Lenovo Miix 2 Motherboard Replacement, Speakers: étape 5, image 1 de 2 Lenovo Miix 2 Motherboard Replacement, Speakers: étape 5, image 2 de 2
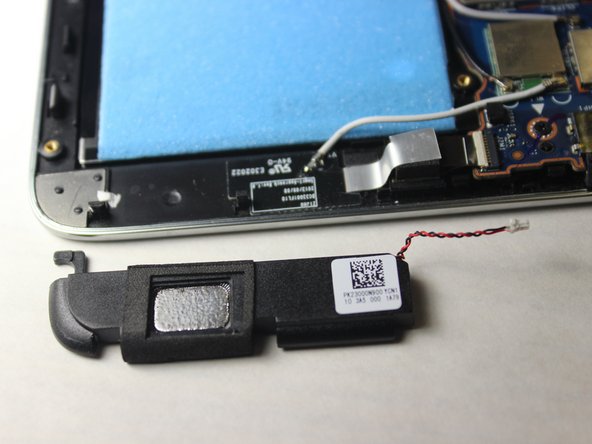
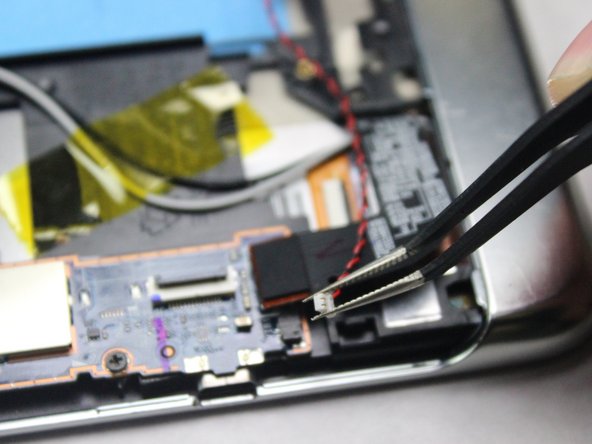
    • Remove the red and black connector cable linking the speakers to the motherboard with tweezers by pulling the connector to the left with a light degree of force.

    • To properly remove the speakers from the casing, push gently left until it shifts, then pull directly up.

  6. Lenovo Miix 2 Motherboard Replacement, Motherboard: étape 6, image 1 de 2 Lenovo Miix 2 Motherboard Replacement, Motherboard: étape 6, image 2 de 2
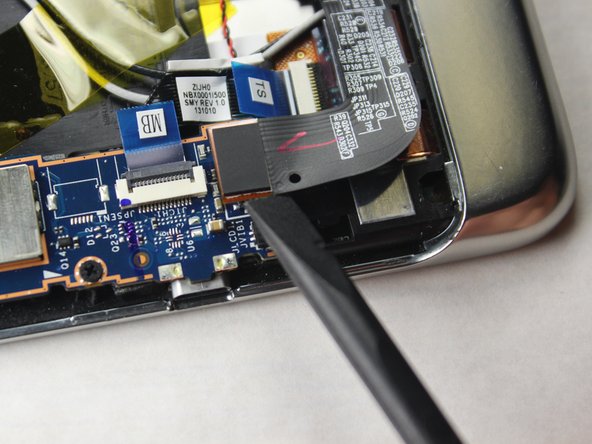
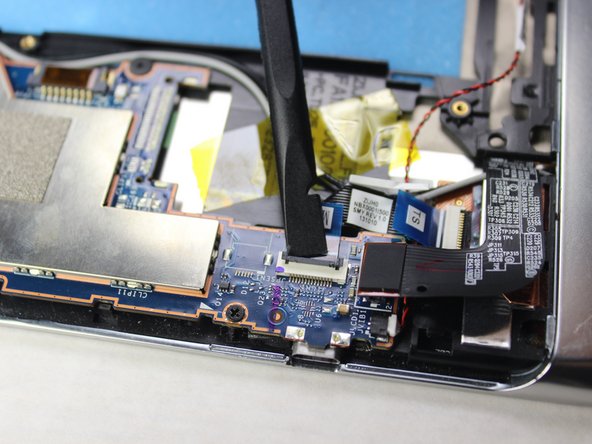
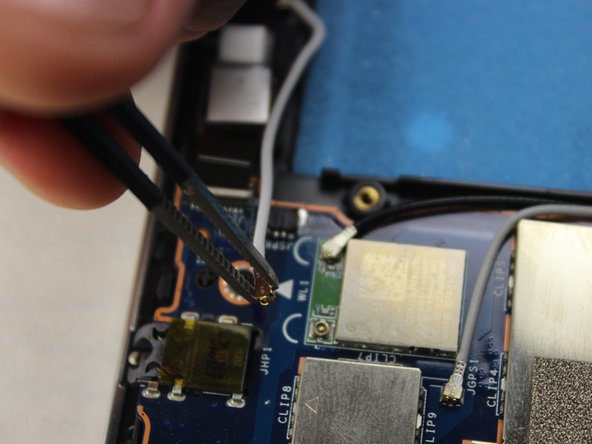
    • Locate the LCD cable connector and gently pry it directly up with a spudger.

  7. Lenovo Miix 2 Motherboard Replacement: étape 7, image 1 de 3 Lenovo Miix 2 Motherboard Replacement: étape 7, image 2 de 3 Lenovo Miix 2 Motherboard Replacement: étape 7, image 3 de 3
    • Remove the 5 ribbon cables. use the tip of the spudger to flip up the retaining flap, making sure to lift on the hinge and not the connector itself, then remove the cable from the connector.

    • The flaps and connectors vary in color.

    • Once the hinge has been lifted, the ribbon cable should take no force to remove.

  8. Lenovo Miix 2 Motherboard Replacement: étape 8, image 1 de 2 Lenovo Miix 2 Motherboard Replacement: étape 8, image 2 de 2
    • Remove the 3 antenna cables using the tweezers by slowly pulling up.

    • We found that pulling up and twisting a bit works best.

  9. Lenovo Miix 2 Motherboard Replacement: étape 9, image 1 de 2 Lenovo Miix 2 Motherboard Replacement: étape 9, image 2 de 2
    • Remove the 4 1.6mm screws with a J0 head.

  10. Lenovo Miix 2 Motherboard Replacement: étape 10, image 1 de 2 Lenovo Miix 2 Motherboard Replacement: étape 10, image 2 de 2
    • Remove the red and black cable using the tweezers by gently pulling the connector to the right.

  11. Lenovo Miix 2 Motherboard Replacement: étape 11, image 1 de 1
    • Lift the motherboard out of the tablet's case.

Conclusion

To reassemble your device, follow these instructions in reverse order.

4 autres ont terminé cette réparation.

Diana Chiu

Membre depuis le 07/14/14

654 Réputation

4 tutoriels rédigés

Équipe

Kid fixers Membre de l'équipe Kid fixers

Community

153 membres

291 tutoriels rédigés

3 commentaires

Do i need to update the BIOS once i have done this?

Do i also need to update the serial number of the machine?

dennis bortolin - Réponse

No, you should not have to upflash the BIOS and re-tattoo the machine - Assuming your replacement board has the proper OS entitlements already tattooed onto the UEFI , it should be picked up by the OS (Windows 10, I hope) and automatically re-activated. In fact, I imaged a Miix 2 8 out using a bootable USB drive + Clonezilla, and was able to image it into a new board and have everything re-activate just fine.

Kevin Kwan -

Is the micro usb port detachable? It seems soldered on from the pictures. I'm having trouble with the port. It charges the device but when I add an OTG cable the device dosnt power the USB and it dosnt detect it. Tried with a keyboard too, no response.

Dave - Réponse

Ajouter un commentaire

Nombre de vues :

Dernières 24 heures : 0

7 derniers jours : 1

30 derniers jours : 12

Total : 4,591