Cette version peut contenir des modifications incorrectes. Passez au dernier aperçu vérifié.
Ce dont vous avez besoin
-
Cette étape n’est pas traduite. Aidez à la traduire
-
Start at the microSD slot.
-
Use the opening pick to slide underneath the back cover of the tablet.
-
Slide the opening pick around the tablet until the back cover is off.
-
-
Cette étape n’est pas traduite. Aidez à la traduire
-
Remove the 8 screws with a Phillips #000 screwdriver [bit].
-
There is a screw under the blue "s" sticker.
-
Remove tape holding plate down.
-
Use precision tweezers or your fingers to remove plate.
-
-
Cette étape n’est pas traduite. Aidez à la traduire
-
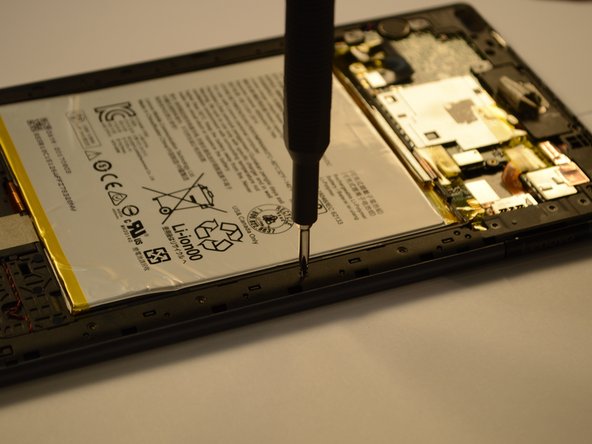
Remove yellow tape.
-
Use a spudger or plastic opening tool to remove the battery's ribbon cable from the motherboard.
-
-
-
Cette étape n’est pas traduite. Aidez à la traduire
-
Gently pull on the two stretch release adhesive strips. Do not pull up, pull away from battery.
-
Once the tabs are off, lift the battery up from the frame.
-
-
Cette étape n’est pas traduite. Aidez à la traduire
-
Remove 16 screws from the midframe with Phillips #000 screwdriver [bit].
-
-
Cette étape n’est pas traduite. Aidez à la traduire
-
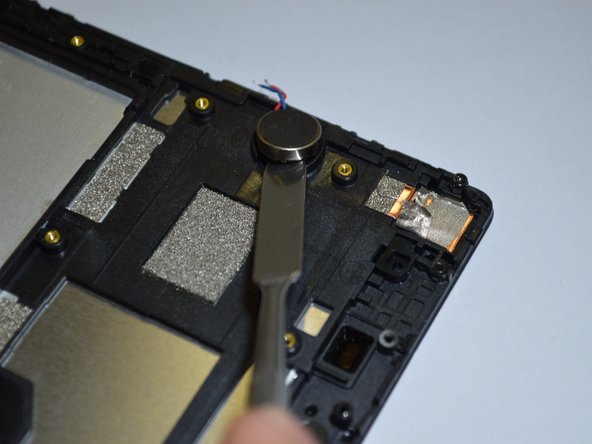
Using an opening pick, find a spot to lift the bracket around the tablet.
-
When the opening pick is inserted between the bracket and tablet, move the pick around the whole tablet to completely detach the bracket.
-
-
Cette étape n’est pas traduite. Aidez à la traduire
-
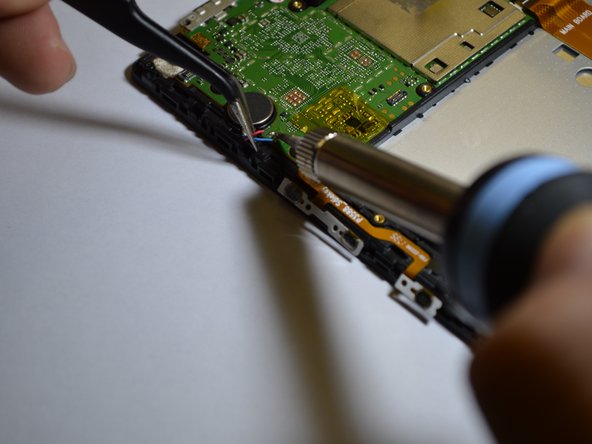
Desolder the blue and red wires from the motherboard.
-
Once wires are detached, use a metal spudger tool to lift the vibrator.
-


Équipe

Purdue University Northwest, Team S2-G4, Hingst Spring 2019 Membre de l'équipe Purdue University Northwest, Team S2-G4, Hingst Spring 2019
PNW-HINGST-S19S2G4
5 membres
6 tutoriels rédigés