Introduction
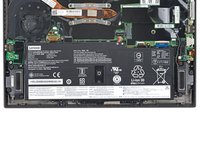
This guide will explain how to replace the motherboard in the Lenovo ThinkPad X1 Carbon 7th Gen.
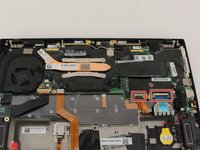
With a damaged motherboard, the computer will likely not have any display, and remain a blank screen after being powered on. See our troubleshooting page for more details. The motherboard is required for components of the computer to communicate between each other, allowing the computer to run.
Before starting any replacement, ensure you power off and unplug your device.
Ce dont vous avez besoin
-
-
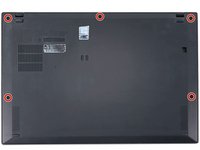
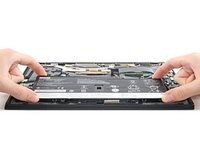
Use a Phillips #1 screwdriver to loosen the five captive screws securing the back cover.
-
-
-
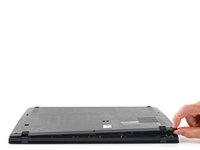
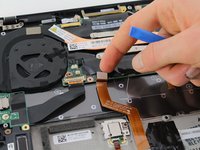
Insert an opening pick at a 45˚ angle between the back cover and frame near the rear middle screw.
-
Pry up on the pick to release the clips securing the back cover to the frame.
-
-
-
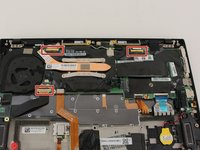
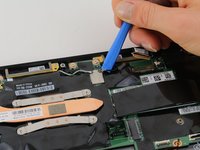
Use a Phillips #0 screwdriver to remove the six 4.9 mm-long screws securing the battery.
-
-
-
-
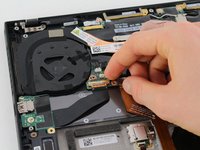
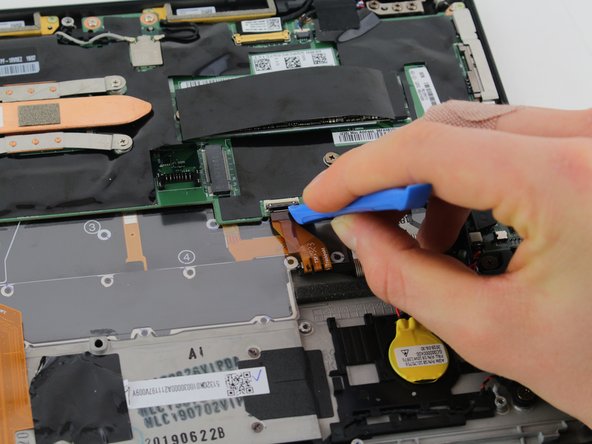
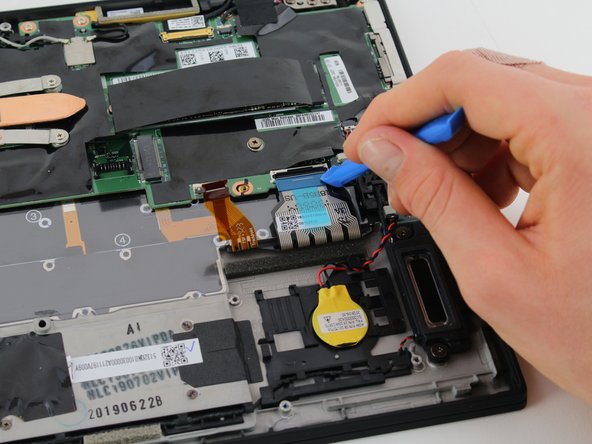
Remove the connectors with bar latches by lifting up on the small bar behind the port and pulling the circuit ribbon away from the port.
-


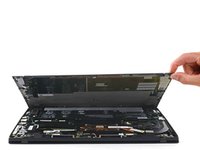


To reassemble your device, follow these instructions in reverse order.
To reassemble your device, follow these instructions in reverse order.
Annulation : je n'ai pas terminé ce tutoriel.
2 autres ont terminé cette réparation.
Équipe

Cal Poly, Team S19-G2, White Winter 2020 Membre de l'équipe Cal Poly, Team S19-G2, White Winter 2020
CPSU-WHITE-W20S19G2
4 membres
20 tutoriels rédigés
Un commentaire
Do you have this motherboard? I bought this laptop a year ago and It does not power on. If you have any idea on it mail me at biplavraut@gmail.com or any link would be helpful. Thank you in advance.