Introduction
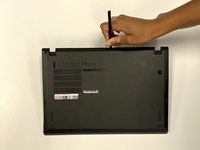
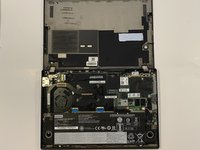
This replacement guide will show users how to remove the back panel of your Lenovo ThinkPad X280. This guide will function as a prerequisite guide to all other replacement guides included, with the exception of the keyboard replacement. Once the user has properly removed the back panel of the device, they can move forward with the replacement process of the desired part.
Ce dont vous avez besoin


To reassemble your device, follow these instructions in reverse order.
To reassemble your device, follow these instructions in reverse order.
Annulation : je n'ai pas terminé ce tutoriel.
2 autres ont terminé cette réparation.
Équipe

University of Alabama, Team 1-3, Bedsole Fall 2021 Membre de l'équipe University of Alabama, Team 1-3, Bedsole Fall 2021
UA-BEDSOLE-F21S1G3
4 membres
6 tutoriels rédigés