Aller au contenu principal

Lenovo ThinkPad Yoga 14 20FY Hard Drive Replacement

Ce dont vous avez besoin

  1. Lenovo ThinkPad Yoga 14 20FY Hard Drive  Replacement, Back Cover: étape 1, image 1 de 2 Lenovo ThinkPad Yoga 14 20FY Hard Drive  Replacement, Back Cover: étape 1, image 2 de 2
    • Remove the indicated nine M2 x 6 mm nylon-coated screws using a Phillips head screwdriver.

    • The screws do not come all the way out. Do not force them out.

  2. Lenovo ThinkPad Yoga 14 20FY Hard Drive  Replacement: étape 2, image 1 de 2 Lenovo ThinkPad Yoga 14 20FY Hard Drive  Replacement: étape 2, image 2 de 2
    • After removing all of the screws, gently lift up on all covers to remove the back plate and reveal the interior of the device.

  3. Lenovo ThinkPad Yoga 14 20FY Hard Drive  Replacement, Hard Drive: étape 3, image 1 de 2 Lenovo ThinkPad Yoga 14 20FY Hard Drive  Replacement, Hard Drive: étape 3, image 2 de 2
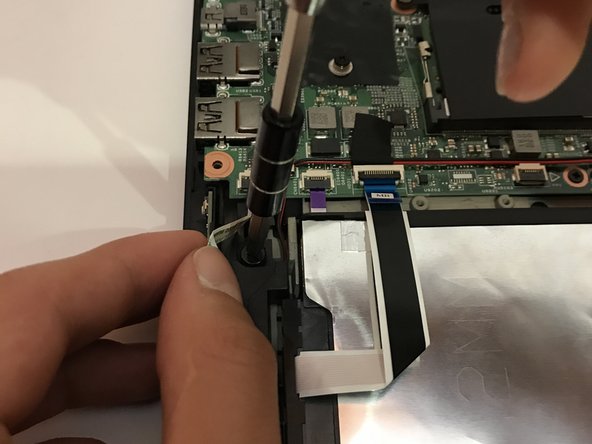
    • Once the back cover is exposed, remove the two screws holding the hard drive in place.

  4. Lenovo ThinkPad Yoga 14 20FY Hard Drive  Replacement: étape 4, image 1 de 1
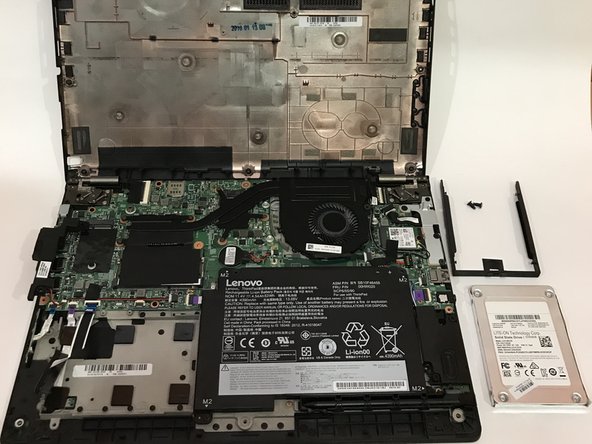
    • Remove the plastic encasing holding down the hard drive after screws are removed.

    • This is the plastic encasing covering the SATA connection on the hard drive. There will be another plastic encasing that will be required to remove in a later step.

  5. Lenovo ThinkPad Yoga 14 20FY Hard Drive  Replacement: étape 5, image 1 de 2 Lenovo ThinkPad Yoga 14 20FY Hard Drive  Replacement: étape 5, image 2 de 2
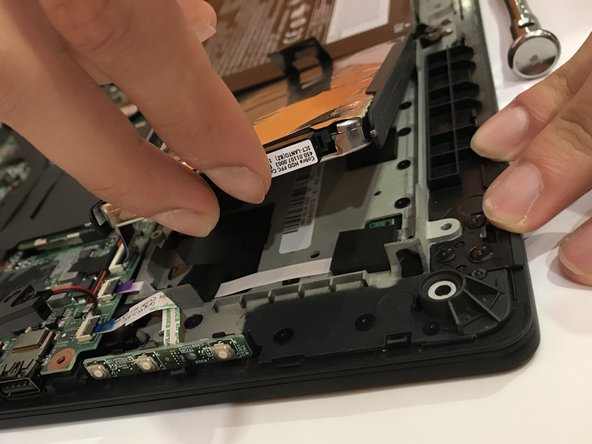
    • Using two fingers, carefully remove the hard drive.

  6. Lenovo ThinkPad Yoga 14 20FY Hard Drive  Replacement: étape 6, image 1 de 2 Lenovo ThinkPad Yoga 14 20FY Hard Drive  Replacement: étape 6, image 2 de 2
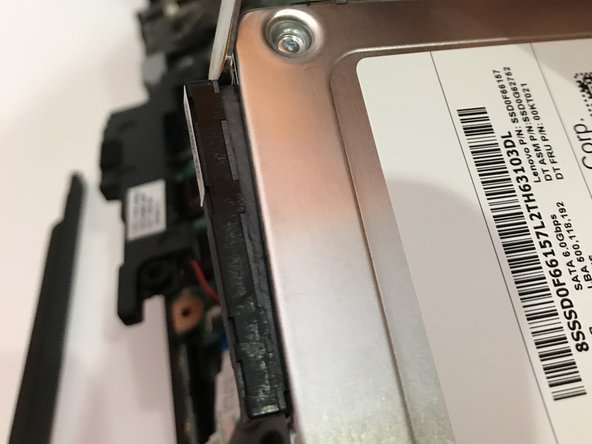
    • Carefully remove the plastic encasing surrounding the perimeter of the hard drive.

  7. Lenovo ThinkPad Yoga 14 20FY Hard Drive  Replacement: étape 7, image 1 de 3 Lenovo ThinkPad Yoga 14 20FY Hard Drive  Replacement: étape 7, image 2 de 3 Lenovo ThinkPad Yoga 14 20FY Hard Drive  Replacement: étape 7, image 3 de 3
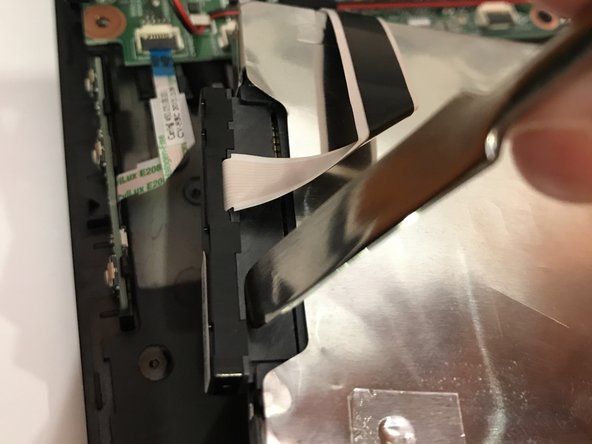
    • This step requires the most precision. Forcefully using the prying tool to remove the SATA connector may damage the hard drive and the connection. Remove the connection slowly to a point where you can safely finish removing the connection with your fingers.

    • Use a nylon spudger to remove the SATA connector from the hard drive.

  8. Lenovo ThinkPad Yoga 14 20FY Hard Drive  Replacement: étape 8, image 1 de 2 Lenovo ThinkPad Yoga 14 20FY Hard Drive  Replacement: étape 8, image 2 de 2
    • After the SATA connection is removed, gently pop off the hard drive from its socket.

Conclusion

To reassemble your device, follow these instructions in reverse order.

5 autres ont terminé cette réparation.

Richard Terre

Membre depuis le 04/19/17

243 Réputation

1 tutoriel rédigé

Équipe

Cal Poly, Team S14-G2, Banghart Spring 2017 Membre de l'équipe Cal Poly, Team S14-G2, Banghart Spring 2017

CPSU-BANGHART-S17S14G2

5 membres

6 tutoriels rédigés

Un commentaire

After the SATA connection is removed, gently pop off the hard drive from its socket.

jhonson - Réponse

Ajouter un commentaire

Nombre de vues :

Dernières 24 heures : 1

7 derniers jours : 5

30 derniers jours : 18

Total : 5,230