Introduction
If your Lenovo Thinkpad X1 Carbon 4th Generation is experiencing black screens or going blank randomly, use this guide to replace the screen (also known as the display).
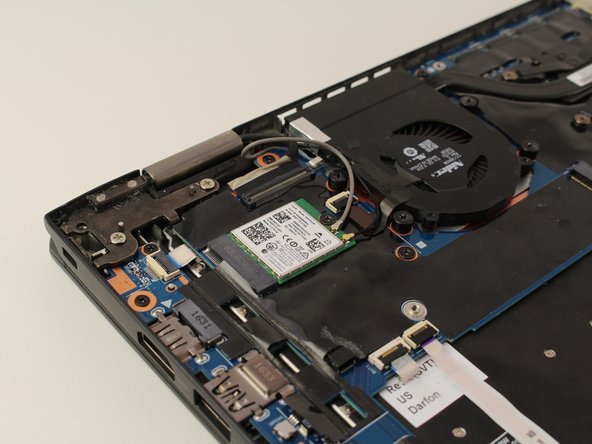
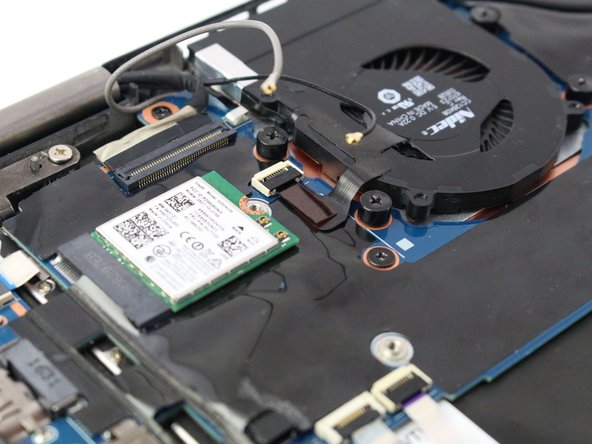
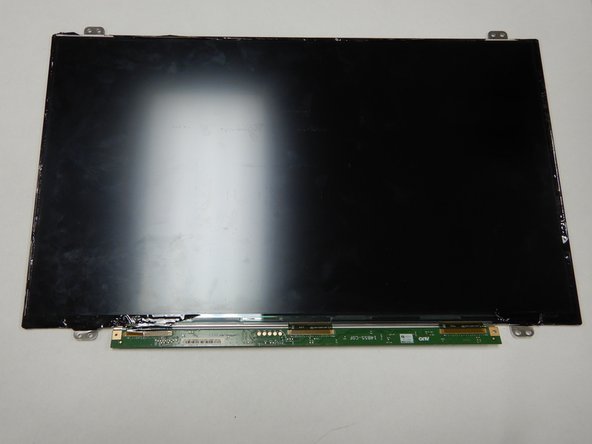
The screen uses a ribbon cable to send the information to the motherboard. A loose ribbon cable connection will cause the same issues like a broken screen.
Before using this guide, inspect the ribbon cable connection for a loose or non-existent connection, which has the possibility of making the screen dysfunctional. Be sure to fully reassemble the computer before testing the screen.
Before beginning, make sure to power off your computer completely and disconnect from any external power source.
Ce dont vous avez besoin
-
-
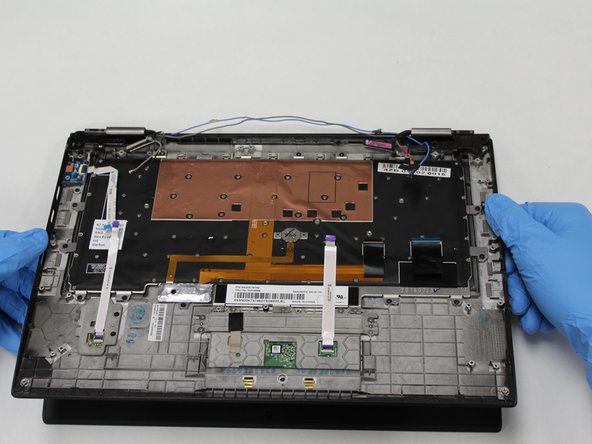
Unscrew the nine captive screws on the bottom cover of the laptop using a Phillips #1 screwdriver.
-
There are a few small clips around the edge that you may need to pry at to free them. An opening pick may be helpful for this process.
-
-
-
Peel back the plastic protective cover above the main battery section to expose the coin-cell's red and black wires.
-
-
-
Carefully lift the far end of the battery connector with an opening tool facing towards you.
-
Remove the connector by pushing it forward and lifting.
-
-
-
-
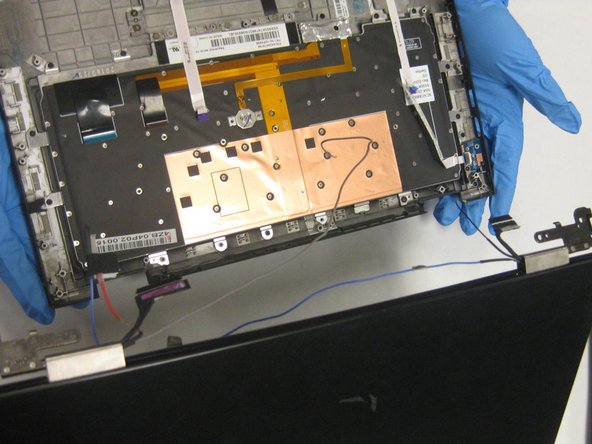
Using a Phillips #0 screwdriver, remove the two 5 mm screws securing the USB ports on the righthand side of the motherboard.
-
-
-
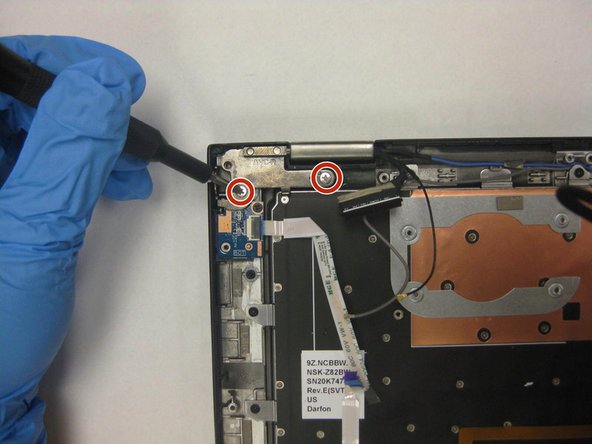
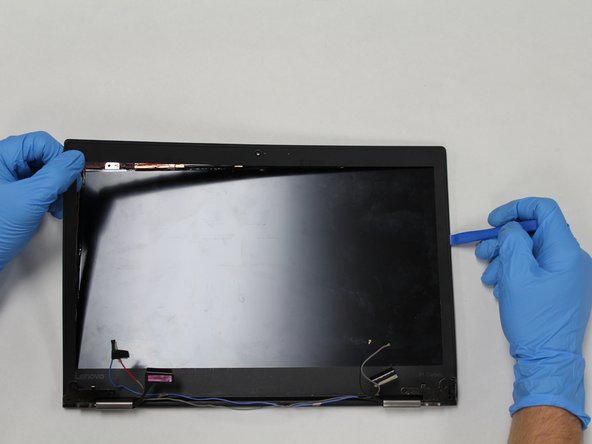
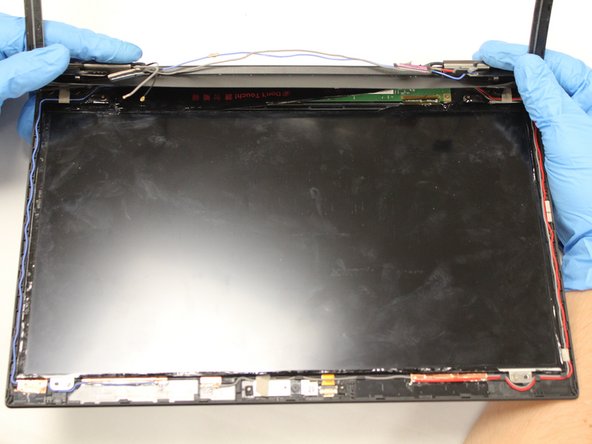
Using a Phillips #0 screwdriver, remove the four 5 mm silver screws from the display hinges.
-


To reassemble your device, follow these instructions in reverse order.
To reassemble your device, follow these instructions in reverse order.
Annulation : je n'ai pas terminé ce tutoriel.
2 autres ont terminé cette réparation.
Équipe

The Citadel Military College of South Carolina, Team S2-G12, Eggleston Fall 2020 Membre de l'équipe The Citadel Military College of South Carolina, Team S2-G12, Eggleston Fall 2020
CMCSC-EGGLESTON-F20S2G12
3 membres
3 tutoriels rédigés