Aller au contenu principal

Lenovo Yoga 710-11ISK Hinge Replacement

Ce dont vous avez besoin

  1. Lenovo Yoga 710-11ISK Hinge Replacement, Hinge: étape 1, image 1 de 1
    • Remove the eleven screws that secure the bottom panel using a T5 Torx screwdriver.

  2. Lenovo Yoga 710-11ISK Hinge Replacement: étape 2, image 1 de 1
    • Insert an opening tool between the bottom panel and chassis, then pry around the entire perimeter until the five clips detach, releasing the bottom panel.

  3. Lenovo Yoga 710-11ISK Hinge Replacement: étape 3, image 1 de 1
    • Use a Phillips #000 screwdriver to remove the ten black screws on the two hinge brackets.

  4. Lenovo Yoga 710-11ISK Hinge Replacement: étape 4, image 1 de 3 Lenovo Yoga 710-11ISK Hinge Replacement: étape 4, image 2 de 3 Lenovo Yoga 710-11ISK Hinge Replacement: étape 4, image 3 de 3
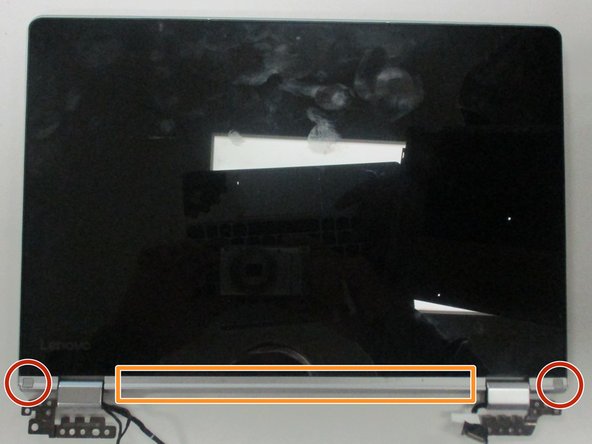
    • Wedge an opening tool between the display and display housing, then slide the opening tool around the perimeter of the display while gently prying until the display releases.

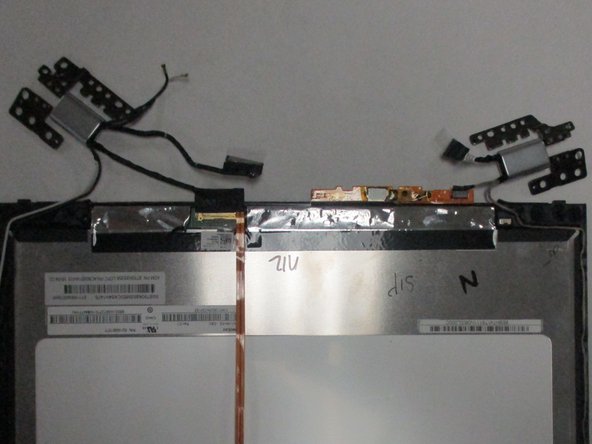
    • Remove the screw covers located near the hinges on the display side using an opening tool.

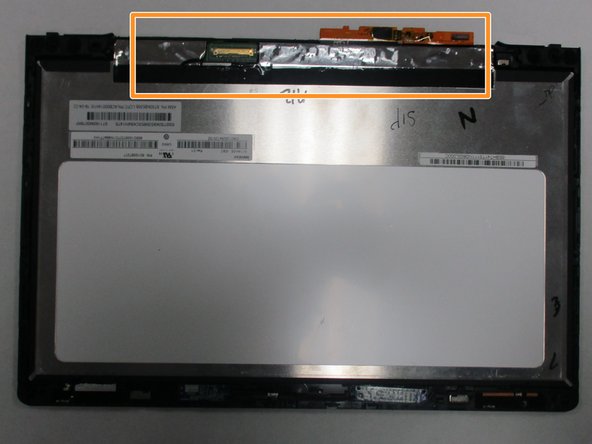
    • Remove the cover panel between the screw covers using an opening tool.

  5. Lenovo Yoga 710-11ISK Hinge Replacement: étape 5, image 1 de 1
    • Remove the screws securing the hinge brackets with a Phillips #000 screwdriver.

    • Remove the plastic cover that holds the wires in place.

  6. Lenovo Yoga 710-11ISK Hinge Replacement: étape 6, image 1 de 3 Lenovo Yoga 710-11ISK Hinge Replacement: étape 6, image 2 de 3 Lenovo Yoga 710-11ISK Hinge Replacement: étape 6, image 3 de 3
    • Disconnect the black and white wires from the sides of the display.

    • Disconnect the orange ribbon cable.

    • Remove the tape, covers, and stickers that hold in the components.

  7. Lenovo Yoga 710-11ISK Hinge Replacement: étape 7, image 1 de 2 Lenovo Yoga 710-11ISK Hinge Replacement: étape 7, image 2 de 2
    • Soldering/desoldering presents potential for device damage and burns. Always solder/desolder in a well-ventilated environment.

    • Use a soldering iron to disconnect the ends of both wires that are embedded into the display.

    • Remove the hinges and their components from the computer.

Conclusion

To reassemble your device, follow these instructions in reverse order.

Jarrett Stoll

Membre depuis le 02/10/22

385 Réputation

3 tutoriels rédigés

0 commentaires

Ajouter un commentaire

Nombre de vues :

Dernières 24 heures : 5

7 derniers jours : 13

30 derniers jours : 30

Total : 883