Aller au contenu principal

Logitech Circle Ribbon Cable Replacement

Ce dont vous avez besoin

  1. Logitech Circle Ribbon Cable Replacement, Ribbon Cable: étape 1, image 1 de 2 Logitech Circle Ribbon Cable Replacement, Ribbon Cable: étape 1, image 2 de 2
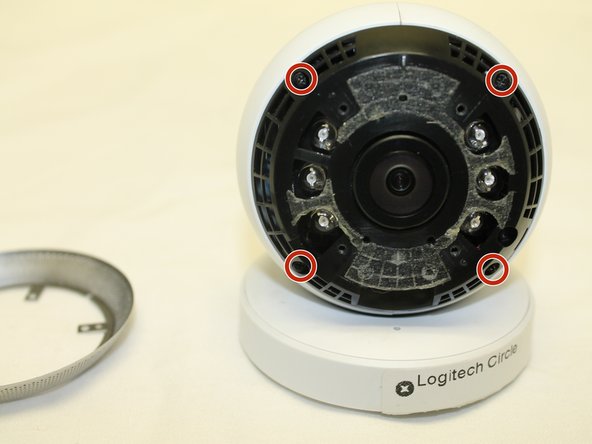
    • Wedge the plastic opening tool under the black circle lens and gently pry it off.

    • The lens is only attached with sticky tape and should remove relatively easily.

  2. Logitech Circle Ribbon Cable Replacement: étape 2, image 1 de 2 Logitech Circle Ribbon Cable Replacement: étape 2, image 2 de 2
    • Remove the four 3mm Phillips #0 screws that hold down the first ring.

  3. Logitech Circle Ribbon Cable Replacement: étape 3, image 1 de 2 Logitech Circle Ribbon Cable Replacement: étape 3, image 2 de 2
    • Remove the four 3mm Phillips #0 screws that hold down the second ring.

  4. Logitech Circle Ribbon Cable Replacement: étape 4, image 1 de 2 Logitech Circle Ribbon Cable Replacement: étape 4, image 2 de 2
    • Remove the four 3mm Phillips #0 screws that hold down the final ring. Do not remove the lens/battery bundle yet.

    • The lens/battery bundle is attached to the base by a ribbon cable that can break, so be very careful handling the circle.

  5. Logitech Circle Ribbon Cable Replacement: étape 5, image 1 de 2 Logitech Circle Ribbon Cable Replacement: étape 5, image 2 de 2
    • Gently remove the lens/battery bundle from the base of the circle, being mindful of the ribbon cable.

  6. Logitech Circle Ribbon Cable Replacement: étape 6, image 1 de 2 Logitech Circle Ribbon Cable Replacement: étape 6, image 2 de 2
    • Gently pull the ribbon cable loose from the lens/battery bundle.

    • While this is not an entirely necessary step, it helps to ensure the ribbon cable will not break during the rest of the replacement.

  7. Logitech Circle Ribbon Cable Replacement: étape 7, image 1 de 3 Logitech Circle Ribbon Cable Replacement: étape 7, image 2 de 3 Logitech Circle Ribbon Cable Replacement: étape 7, image 3 de 3
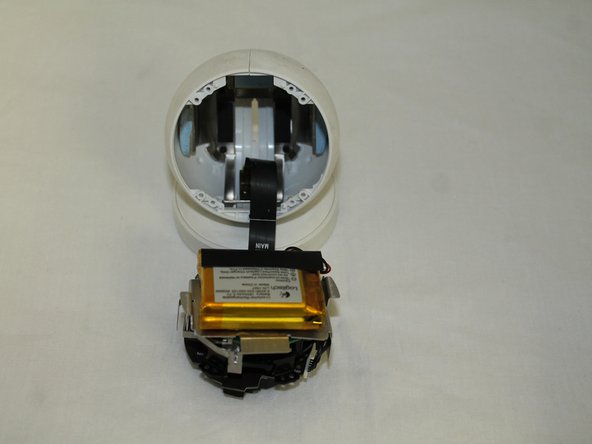
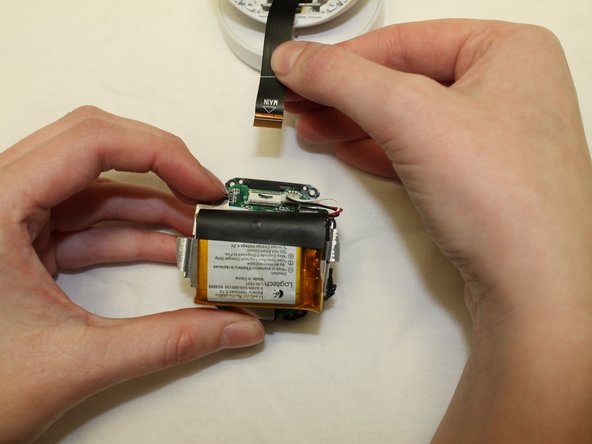
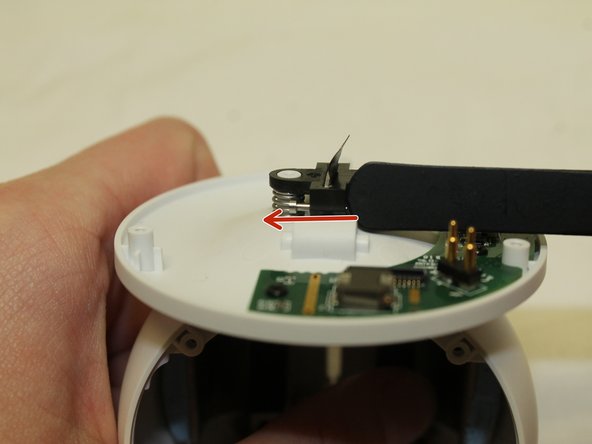
    • Once the old ribbon cable has been detached from the lens/battery bundle it's time to release the other side from the base.

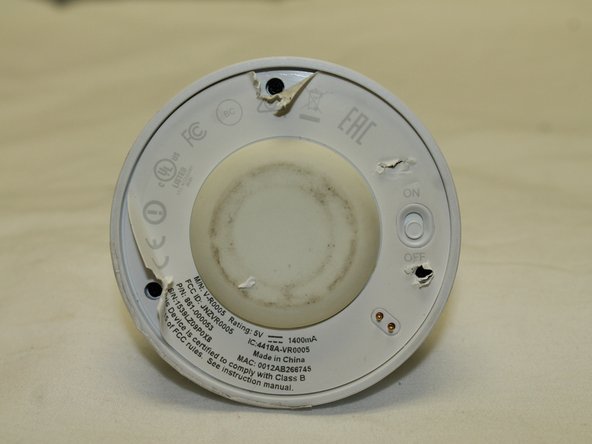
    • Locate the screws holding the base together by feeling for the soft spots underneath the manufacturer's sticker. Punch through with your screwdriver and remove the three 3mm Phillips #0 screws.

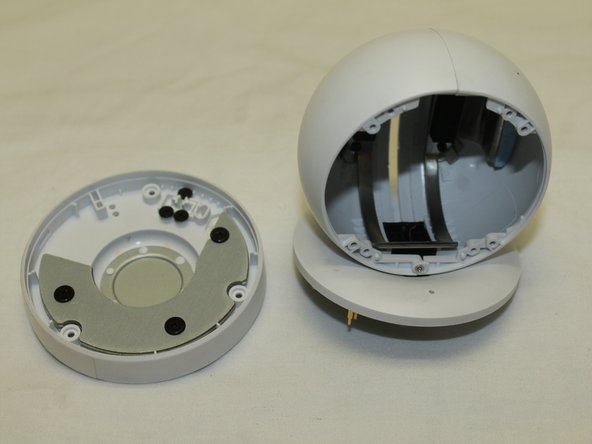
    • The two pieces of the base can now be easily pulled apart.

  8. Logitech Circle Ribbon Cable Replacement: étape 8, image 1 de 2 Logitech Circle Ribbon Cable Replacement: étape 8, image 2 de 2
    • Gently pull the ribbon cable loose from its connection to the base.

  9. Logitech Circle Ribbon Cable Replacement: étape 9, image 1 de 2 Logitech Circle Ribbon Cable Replacement: étape 9, image 2 de 2
    • Slide the push pin holding the plastic connector/ribbon cable in place out on both sides.

  10. Logitech Circle Ribbon Cable Replacement: étape 10, image 1 de 1
    • Remove the black plastic connector and the two springs from the base of the device.

  11. Logitech Circle Ribbon Cable Replacement: étape 11, image 1 de 1
    • Reach inside the circle and pull the ribbon cable free from the device.

Conclusion

To reassemble your device, follow these instructions in reverse order.

Haley Williams

Membre depuis le 09/28/17

112 Réputation

1 tutoriel rédigé

Équipe

University of Maine, Team S1-G4, Diaz Fall 2017 Membre de l'équipe University of Maine, Team S1-G4, Diaz Fall 2017

UMAINE-DIAZ-F17S1G4

3 membres

7 tutoriels rédigés

6 commentaires

where can I buy such a cable?

kersop@gmail.com

Nico Kersop - Réponse

The cable I received from China is not the right one. Where do you buy the correct one?

Helen - Réponse

Can you advise where to buy the correct cable?

Michele Ingratta - Réponse

I have cable has beark off. I need that cable.

Where can I find

Alican Döşlü - Réponse

i also need that cable

l_samin - Réponse

Ajouter un commentaire

Nombre de vues :

Dernières 24 heures : 0

7 derniers jours : 4

30 derniers jours : 19

Total : 1,964