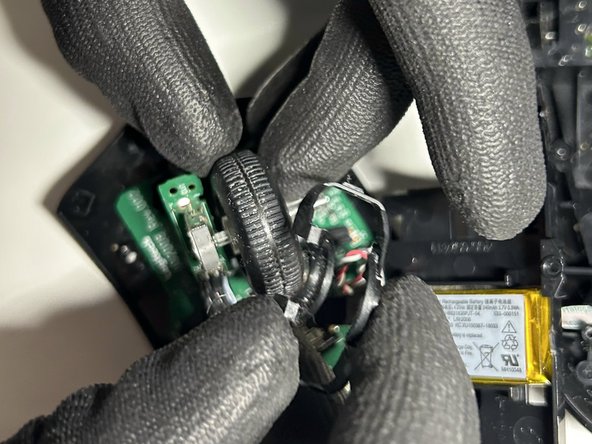
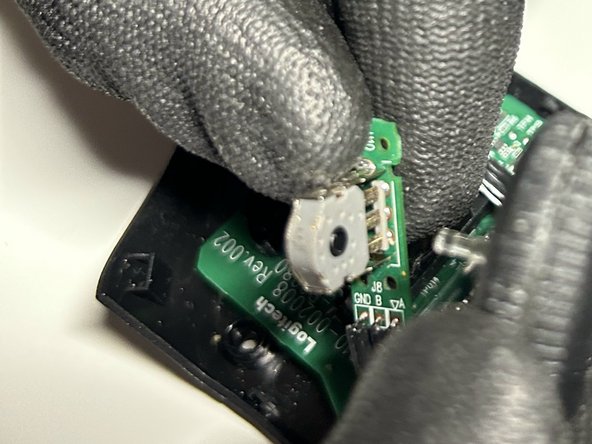
Aller au contenu principal

Logitech G703 Lightspeed Scroll Wheel Replacement

Ce dont vous avez besoin

  1. Logitech G703 Lightspeed Scroll Wheel Replacement, Scroll Wheel: étape 1, image 1 de 2 Logitech G703 Lightspeed Scroll Wheel Replacement, Scroll Wheel: étape 1, image 2 de 2
    • Flip the switch to OFF before proceeding.

  2. Logitech G703 Lightspeed Scroll Wheel Replacement: étape 2, image 1 de 3 Logitech G703 Lightspeed Scroll Wheel Replacement: étape 2, image 2 de 3 Logitech G703 Lightspeed Scroll Wheel Replacement: étape 2, image 3 de 3
    • Take the mouse skates off by using the flathead screwdriver.

  3. Logitech G703 Lightspeed Scroll Wheel Replacement: étape 3, image 1 de 2 Logitech G703 Lightspeed Scroll Wheel Replacement: étape 3, image 2 de 2
    • Unscrew the four 5.4 mm countersunk screws using the Phillips #00 screwdriver.

  4. Logitech G703 Lightspeed Scroll Wheel Replacement: étape 4, image 1 de 3 Logitech G703 Lightspeed Scroll Wheel Replacement: étape 4, image 2 de 3 Logitech G703 Lightspeed Scroll Wheel Replacement: étape 4, image 3 de 3
    • Pull apart the two halves of the mouse.

    • Be careful as you might break the tab to lock it back in place.

  5. Logitech G703 Lightspeed Scroll Wheel Replacement: étape 5, image 1 de 2 Logitech G703 Lightspeed Scroll Wheel Replacement: étape 5, image 2 de 2
    • Unscrew the two 4.9 mm countersunk screws using the Phillips #00 screwdriver.

  6. Logitech G703 Lightspeed Scroll Wheel Replacement: étape 6, image 1 de 2 Logitech G703 Lightspeed Scroll Wheel Replacement: étape 6, image 2 de 2
    • Unscrew the two 4.7 mm countersunk screws that secure the scroll wheel in using the Phillips #00 Screwdriver.

  7. Logitech G703 Lightspeed Scroll Wheel Replacement: étape 7, image 1 de 3 Logitech G703 Lightspeed Scroll Wheel Replacement: étape 7, image 2 de 3 Logitech G703 Lightspeed Scroll Wheel Replacement: étape 7, image 3 de 3
    • Remove the rubber piece protecting the scroll wheel.

    • Detach the scroll wheel from the white plastic piece and replace.

Conclusion

To reassemble your device, follow these instructions in reverse order.

2 autres ont terminé cette réparation.

Nail Ninja Johnson

Membre depuis le 09/18/23

208 Réputation

1 tutoriel rédigé

Équipe

York University, Team B-10, Woodhouse Fall 2023 Membre de l'équipe York University, Team B-10, Woodhouse Fall 2023

YORK-WOODHOUSE-F23SBG10

1 membre

1 tutoriel rédigé

0 commentaires

Ajouter un commentaire

Nombre de vues :

Dernières 24 heures : 5

7 derniers jours : 57

30 derniers jours : 266

Total : 1,060