Introduction
If the volume scroll wheel on your Logitech G733 Wireless Headset is no longer working/spinning, you can replace it with this guide. Since getting to the scroll wheel requires taking off the circuit board, you can also access the power button using similar steps For this guide, you will need a T4 Torx screwdriver and a Phillips #000 screwdriver.
Ce dont vous avez besoin
-
-
Gently pull the left ear pad off, starting from the top.
-
Slide your finger around the edges until it releases completely.
-
-
-
-
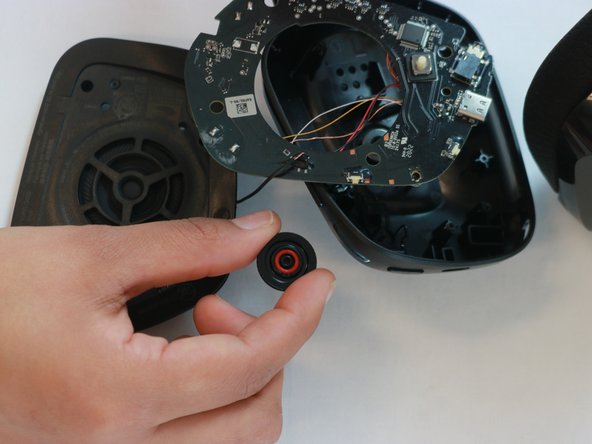
The plastic cover should be lose now and you should be able to pull it back to reveal the circuit board inside.
-
Unscrew the screw on the bottom right-hand side of the headphone using the #000 Phillips Screwdriver.
-
Finally, use your thumb to gently pull back the tab at the upper right-hand corner of the headphone and simultaneously pull the circuit board out.
-


To reassemble your device, follow these instructions in reverse order.
To reassemble your device, follow these instructions in reverse order.


Équipe

Western Carolina University, Team 1-5, Virtue Spring 2023 Membre de l'équipe Western Carolina University, Team 1-5, Virtue Spring 2023
WCU-VIRTUE-S23S1G5
4 membres
7 tutoriels rédigés
