Introduction
Use this guide to remove and replace the volume wheel on the Logitech G915 TKL keyboard. The volume wheel may need to be replaced if it's come loose due it breaking and is no longer working properly.
A Phillips #00 Screwdriver is necessary to complete this guide.
Ce dont vous avez besoin
-
-
Turn the keyboard around and peel back the Logitech sticker near the top center of the keyboard, as well as the plastic layer underneath.
-
Unscrew the two 2.5 mm #0 Phillips screws circled in the picture provided.
-
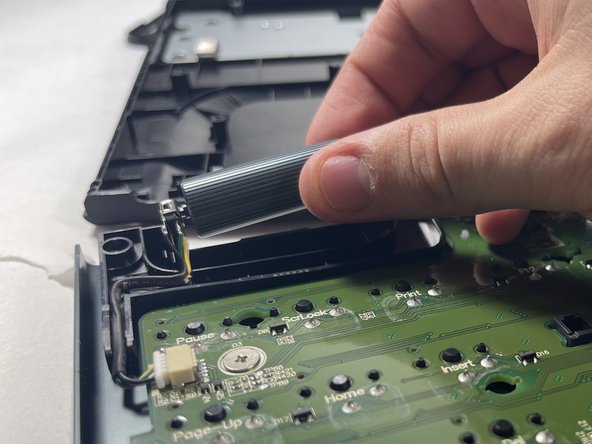
Remove the backplate by grabbing the notch to the right and pulling up.
-
-


To reassemble your device, follow these instructions in reverse order.
To reassemble your device, follow these instructions in reverse order.
Annulation : je n'ai pas terminé ce tutoriel.
Une autre personne a terminé cette réparation.
Équipe

UMass Dartmouth, Team 3-6, Petersen Spring 2023 Membre de l'équipe UMass Dartmouth, Team 3-6, Petersen Spring 2023
UMASSD-PETERSEN-S23S3G6
4 membres
14 tutoriels rédigés