Aller au contenu principal

Logitech Harmony Smart Control Charging Port Replacement

Ce dont vous avez besoin

  1. Logitech Harmony Smart Control Charging Port Replacement, Charging Port: étape 1, image 1 de 2 Logitech Harmony Smart Control Charging Port Replacement, Charging Port: étape 1, image 2 de 2
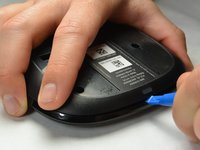
    • Use the plastic opening tool to lift up the rubber pad.

    • With your fingers, pull back the rubber pad. This will expose the screw holes on the bottom of the device.

    • Repeat the step above for the second rubber pad on the bottom of the hub.

  2. Logitech Harmony Smart Control Charging Port Replacement: étape 2, image 1 de 2 Logitech Harmony Smart Control Charging Port Replacement: étape 2, image 2 de 2
    • Using the PH00 bit, remove the four 6mm Phillips screws

  3. Logitech Harmony Smart Control Charging Port Replacement: étape 3, image 1 de 2 Logitech Harmony Smart Control Charging Port Replacement: étape 3, image 2 de 2
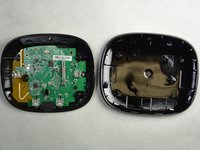
    • Use the plastic opening tool to pry open and separate the pieces of plastic from each other.

  4. Logitech Harmony Smart Control Charging Port Replacement: étape 4, image 1 de 2 Logitech Harmony Smart Control Charging Port Replacement: étape 4, image 2 de 2
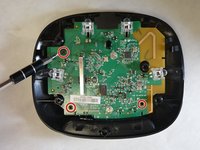
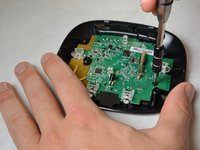
    • Using the PH00 bit, remove the three 4mm Phillips screws.

  5. Logitech Harmony Smart Control Charging Port Replacement: étape 5, image 1 de 3 Logitech Harmony Smart Control Charging Port Replacement: étape 5, image 2 de 3 Logitech Harmony Smart Control Charging Port Replacement: étape 5, image 3 de 3
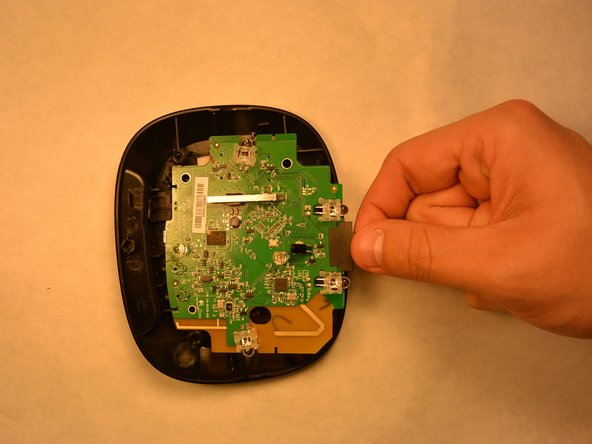
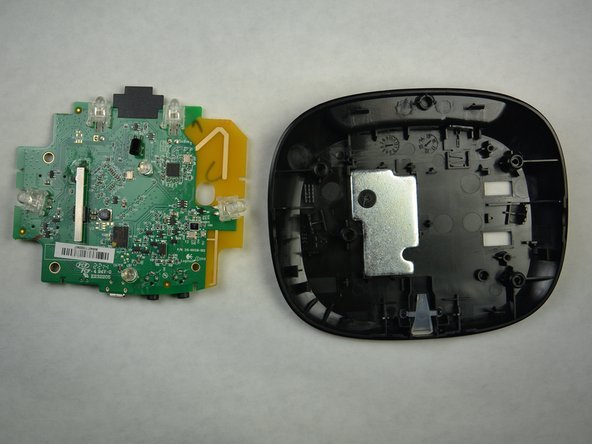
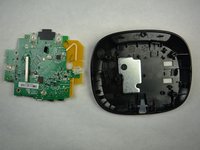
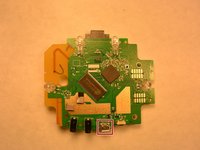
    • Starting at the yellow corner, use a plastic opening tool to pry the circuit board from the housing.

  6. Logitech Harmony Smart Control Charging Port Replacement: étape 6, image 1 de 3 Logitech Harmony Smart Control Charging Port Replacement: étape 6, image 2 de 3 Logitech Harmony Smart Control Charging Port Replacement: étape 6, image 3 de 3
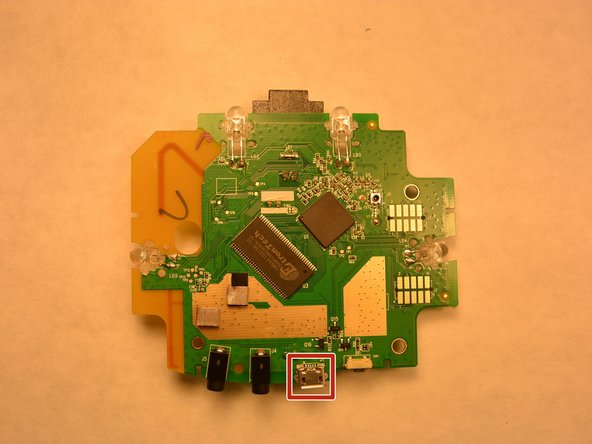
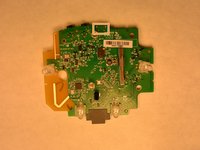
    • Locate the defective charging port.

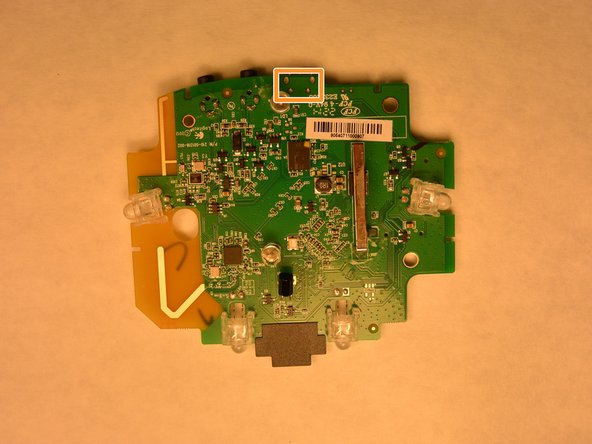
    • Turn the circuit board over to expose the charging solder.

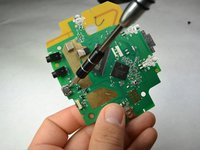
    • Using a soldering iron, remove the solder and the charging port. Install a new charging port and solder.

Conclusion

To reassemble your device, follow these instructions in reverse order.

Une autre personne a terminé cette réparation.

Josh Hendricks

Membre depuis le 09/17/15

464 Réputation

4 tutoriels rédigés

Équipe

IUPUI, Team 3-2, Harley Fall 2015 Membre de l'équipe IUPUI, Team 3-2, Harley Fall 2015

IUPUI-HARLEY-F15S3G2

4 membres

5 tutoriels rédigés

0 commentaires

Ajouter un commentaire

Nombre de vues :

Dernières 24 heures : 0

7 derniers jours : 2

30 derniers jours : 9

Total : 712