Aller au contenu principal
MSI GE62 6QF Apache Pro Bottom Case Replacement

MSI GE62 6QF Apache Pro Bottom Case Replacement

Justice Owens

Justice Owens et 4 autres contributeurs

Dernière mise à jour le January 11, 2021

5 minutes
Facile

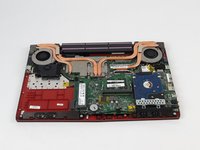
Use this guide to remove the bottom case of the device.

Ce dont vous avez besoin

Outils

Afficher plus…

  1. MSI GE62 6QF Apache Pro Bottom Case Replacement, Optical Drive: étape 1, image 1 de 1
    • Use a Phillips screwdriver to remove the 5mm screw securing the optical drive to the bottom case.

  2. MSI GE62 6QF Apache Pro Bottom Case Replacement: étape 2, image 1 de 1
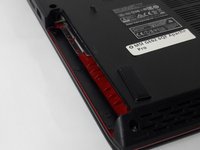
    • Slide Optical Drive out of the computer.

  3. MSI GE62 6QF Apache Pro Bottom Case Replacement, Bottom Case: étape 3, image 1 de 1
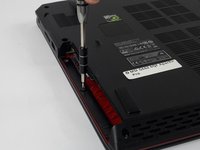
    • Use a Phillips screwdriver to remove the fourteen 5mm screws on the back of the laptop.

    • One of these screws is hidden under a sticker.

  4. MSI GE62 6QF Apache Pro Bottom Case Replacement: étape 4, image 1 de 3 MSI GE62 6QF Apache Pro Bottom Case Replacement: étape 4, image 2 de 3 MSI GE62 6QF Apache Pro Bottom Case Replacement: étape 4, image 3 de 3
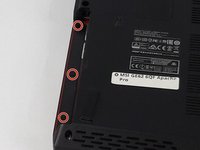
    • Remove the three PH #0 2mm screws that were hidden underneath the optical drive.

  5. MSI GE62 6QF Apache Pro Bottom Case Replacement: étape 5, image 1 de 2 MSI GE62 6QF Apache Pro Bottom Case Replacement: étape 5, image 2 de 2
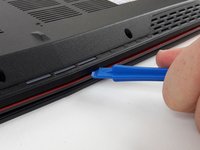
    • Use an opening tool to run along the seam of the case where the upper and bottom case meet.

    • Pry the bottom case and remove from the upper part.

Conclusion

To reassemble your device, follow these instructions in reverse order.

2 autres ont terminé cette réparation.

Justice Owens

Membre depuis le 09/26/17

604 Réputation

4 tutoriels rédigés

Équipe

USF Tampa, Team S2-G3, Passmore Fall 2017 Membre de l'équipe USF Tampa, Team S2-G3, Passmore Fall 2017

USFT-PASSMORE-F17S2G3

3 membres

5 tutoriels rédigés

0 commentaires de tutoriel

Ajouter un commentaire

Nombre de vues :

Dernières 24 heures : 1

7 derniers jours : 7

30 derniers jours : 44

Total : 5,091