Aller au contenu principal

Mac Mini Mid 2011 Hard Drive Replacement

Conditions préalables uniquement
Ce tutoriel est uniquement destiné à être utilisé comme prérequis d'autres tutoriels. Il ne se suffit pas à lui-même.
  1. Mac Mini Mid 2011 Hard Drive Replacement, Hard Drive: étape 1, image 1 de 2 Mac Mini Mid 2011 Hard Drive Replacement, Hard Drive: étape 1, image 2 de 2
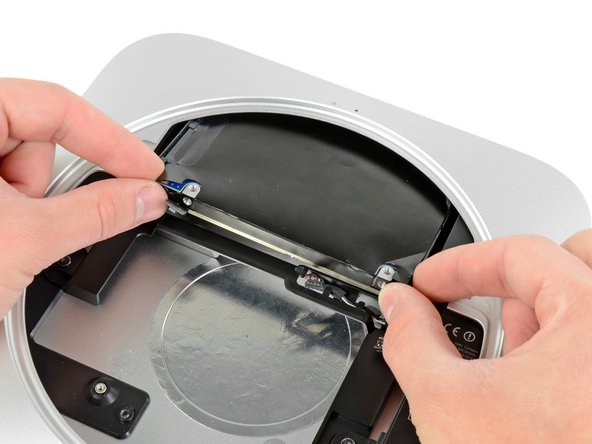
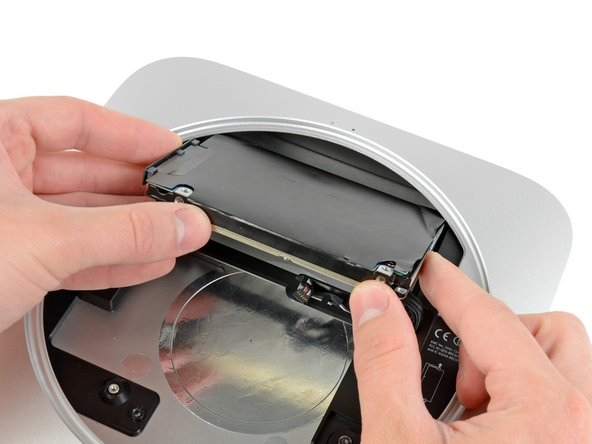
    • Pull the hard drive away from the front edge of the mini and remove it from the outer case.

    • During reassembly, there are two pins on the inside edge of the hard drive that fit into the case. The holes have rubber grommets around them, so it may be difficult to tell when you have seated the hard drive correctly.

    • There are two pairs of holes in the case. Insert the pins into the holes closest to the bottom of the case.

Conclusion

To reassemble your device, follow these instructions in reverse order.

0 commentaires

Ajouter un commentaire

Nombre de vues :

Dernières 24 heures : 0

7 derniers jours : 1

30 derniers jours : 13

Total : 1,037