Aller au contenu principal

Mac mini (PowerPC) Upper Case Replacement

Ce dont vous avez besoin

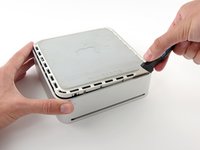
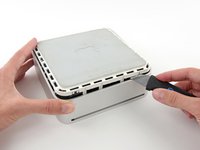
  1. Mac mini (PowerPC) Upper Case Replacement, Top Housing: étape 1, image 1 de 2 Mac mini (PowerPC) Upper Case Replacement, Top Housing: étape 1, image 2 de 2
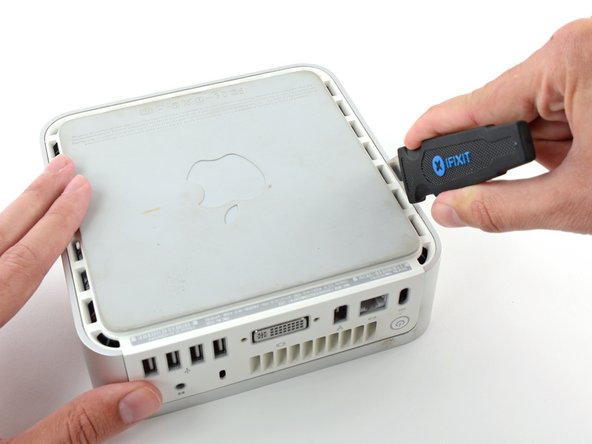
    • Power down your Mac mini, disconnect all of the cables, and flip it over.

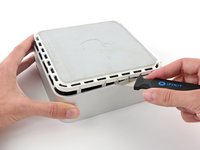
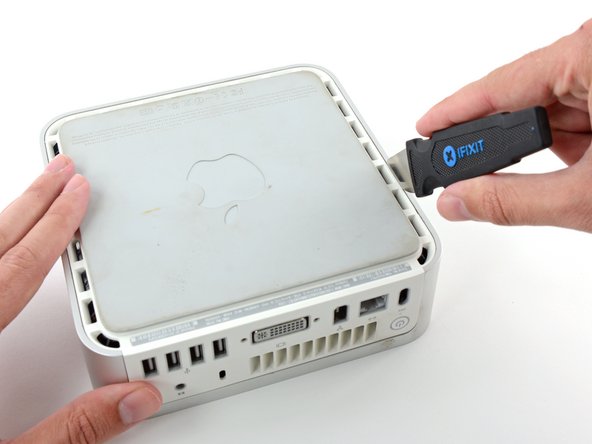
    • Insert the Jimmy into the crack between the aluminum top housing and the plastic lower housing.

    • The Jimmy should reach a stop about 3/8" down.

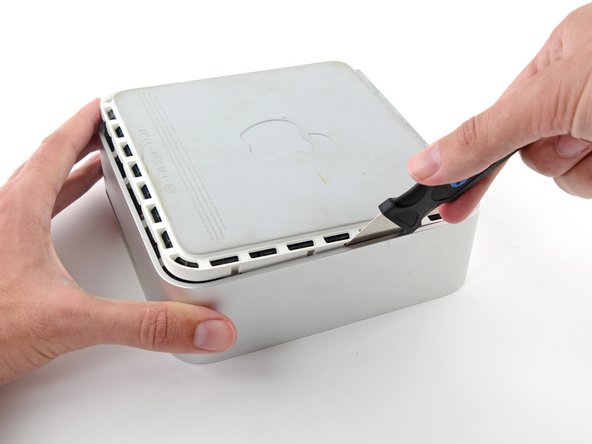
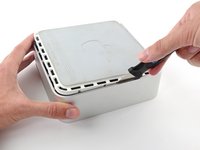
  2. Mac mini (PowerPC) Upper Case Replacement: étape 2, image 1 de 3 Mac mini (PowerPC) Upper Case Replacement: étape 2, image 2 de 3 Mac mini (PowerPC) Upper Case Replacement: étape 2, image 3 de 3
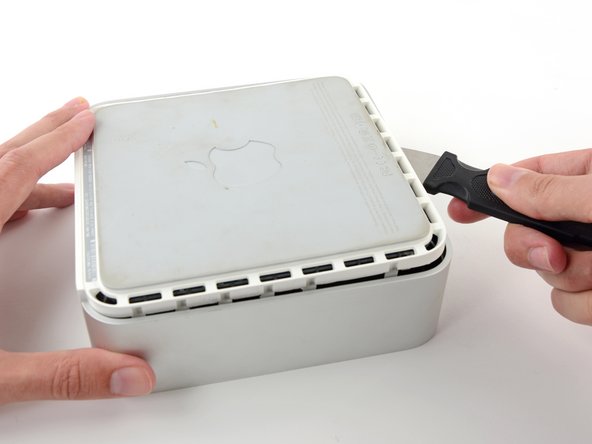
    • Gently bend the Jimmy outwards to pry the crack open a little larger and lift the lower housing up a small amount.

    • There are several plastic clips on the lower housing that fit into a channel in the aluminum top housing. Your goal is to use the Jimmy to push these clips inward enough to free them from the channel, while gently pulling up on the lower housing.

  3. Mac mini (PowerPC) Upper Case Replacement: étape 3, image 1 de 2 Mac mini (PowerPC) Upper Case Replacement: étape 3, image 2 de 2
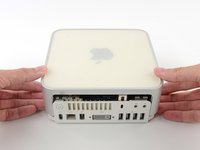
    • Once you have the first side free, rotate the Mac mini and start prying up on the front edge.

    • Use the same prying motion to both bend the clips inward and lift the lower housing up out of the top housing.

  4. Mac mini (PowerPC) Upper Case Replacement: étape 4, image 1 de 2 Mac mini (PowerPC) Upper Case Replacement: étape 4, image 2 de 2
    • You may need to move the Jimmy along the edge to pry up all of the clips. Be patient and do a little bit at a time.

  5. Mac mini (PowerPC) Upper Case Replacement: étape 5, image 1 de 2 Mac mini (PowerPC) Upper Case Replacement: étape 5, image 2 de 2
    • Keep working around the perimeter, freeing the clips along the final edge.

  6. Mac mini (PowerPC) Upper Case Replacement: étape 6, image 1 de 2 Mac mini (PowerPC) Upper Case Replacement: étape 6, image 2 de 2
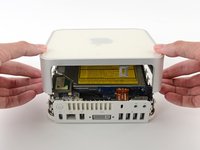
    • Flip the Mac mini back over and lift the top housing off of the lower housing.

Conclusion

To reassemble your device, follow these instructions in reverse order.

12 autres ont terminé cette réparation.

Pièces jointes

iRobot

Membre depuis le 09/24/09

1 Réputation

636 tutoriels rédigés

2 commentaires

those Putty Knifes are:

too smal

too sharp

too expensive.

Better use a 100mm broad Spatula; (opens all the claws in on step)

out of plastic is good enough and cheap.

And use two of them at one time.

spatula - Réponse

No, I didn’t think the Jimmy is expensive or too small.

And the Jimmy didn’t break something so it is the best solution I think!
Toni Makkaroni -

Ajouter un commentaire

Nombre de vues :

Dernières 24 heures : 0

7 derniers jours : 1

30 derniers jours : 17

Total : 11,510