Aller au contenu principal
Pour réparer ensemble - Je crée un compte

MacBook Air 11" Early 2014 I/O Board Replacement

Ce dont vous avez besoin

    1. MacBook Air 11" Early 2014 I/O Board Replacement, Lower Case: étape 1, image 1 de 1
      Outil utilisé dans cette étape :
      P5 Pentalobe Screwdriver Retina MacBook Pro and Air
      $5.99
      • Shut down and close your computer. Lay it on a soft surface top-side down.

      • Remove the following ten screws:

      • Two 8 mm 5-point Pentalobe screws

      • Eight 2.5 mm 5-point Pentalobe screws

      • The special screwdriver needed to remove the 5-point Pentalobe screws can be found here.

      Demander à FixBot

      Ajouter un commentaire

    2. MacBook Air 11" Early 2014 I/O Board Replacement: étape 2, image 1 de 1
      • Wedge your fingers between the display and the lower case and pull upward to pop the lower case off the Air.

      Demander à FixBot

      Ajouter un commentaire

    1. MacBook Air 11" Early 2014 I/O Board Replacement, Battery Connector: étape 3, image 1 de 2 MacBook Air 11" Early 2014 I/O Board Replacement, Battery Connector: étape 3, image 2 de 2
      • In this step you will disconnect the battery to help avoid shorting out any components during service.

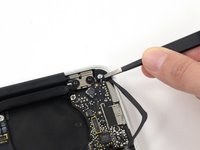
      • Use the flat end of a spudger to pry both short sides of the battery connector upward to disconnect it from its socket on the logic board.

      • Bend the battery cable slightly away from the logic board so the connector will not accidentally bend back and make contact with its socket.

      Demander à FixBot

      Ajouter un commentaire

    1. MacBook Air 11" Early 2014 I/O Board Replacement, I/O Board Cable: étape 4, image 1 de 2 MacBook Air 11" Early 2014 I/O Board Replacement, I/O Board Cable: étape 4, image 2 de 2
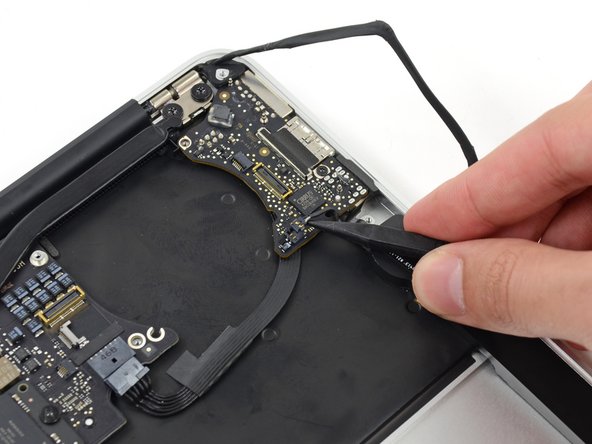
      • Use the flat end of a spudger to pry the left and right I/O board cable connectors up off their respective sockets on the I/O board.

      Demander à FixBot

      Ajouter un commentaire

    2. MacBook Air 11" Early 2014 I/O Board Replacement: étape 5, image 1 de 1
      • Lift and remove the I/O board cable.

      Demander à FixBot

      Ajouter un commentaire

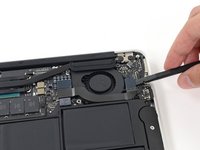
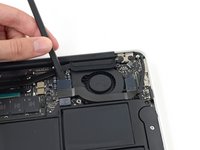
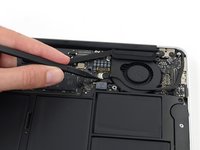
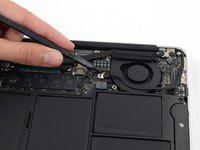
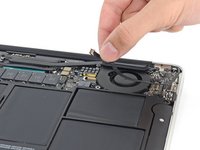
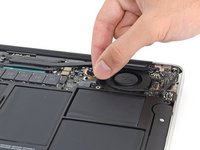
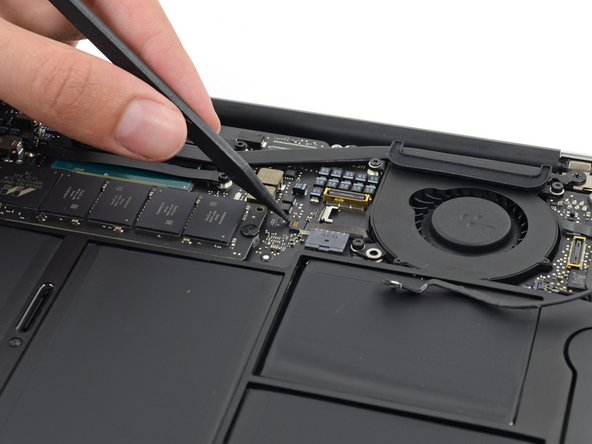
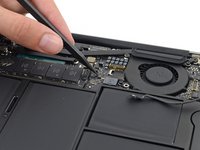
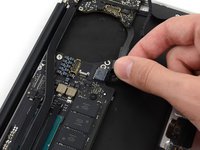
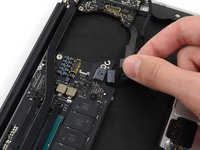
    1. MacBook Air 11" Early 2014 I/O Board Replacement, Fan: étape 6, image 1 de 2 MacBook Air 11" Early 2014 I/O Board Replacement, Fan: étape 6, image 2 de 2
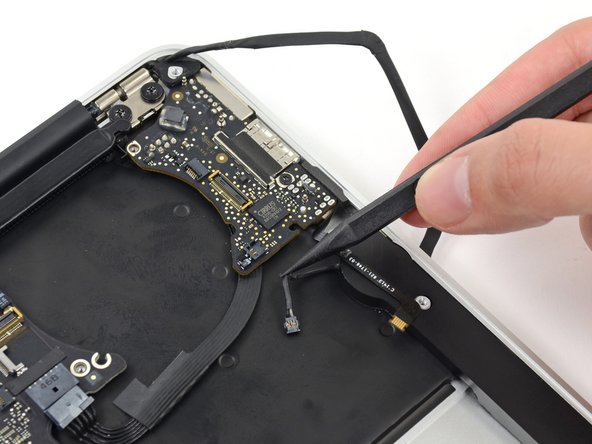
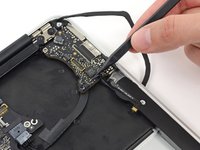
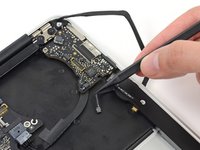
      • Use the tip of a spudger to carefully push on each side of the iSight camera cable connector to loosen it out of its socket on the logic board.

      • We recommend you gently "walk" the connector out of its socket.

      Demander à FixBot

      Ajouter un commentaire

    2. MacBook Air 11" Early 2014 I/O Board Replacement: étape 7, image 1 de 2 MacBook Air 11" Early 2014 I/O Board Replacement: étape 7, image 2 de 2
      • Peel the iSight camera cable up off the adhesive securing it to the fan.

      Demander à FixBot

      Ajouter un commentaire

    3. MacBook Air 11" Early 2014 I/O Board Replacement: étape 8, image 1 de 2 MacBook Air 11" Early 2014 I/O Board Replacement: étape 8, image 2 de 2
      • Use the tip of a spudger to carefully flip up the retaining flap on the fan cable ZIF socket.

      • Be sure you are prying up on the hinged retaining flap, not the socket itself.

      Demander à FixBot

      Ajouter un commentaire

    4. MacBook Air 11" Early 2014 I/O Board Replacement: étape 9, image 1 de 1
      • Remove the following three screws securing the fan to the upper case:

      • Two 5.5 mm T5 Torx screws

      • One 4.6 mm T5 Torx screw

      • In some models this is a 3.6 mm T5 Torx screw.

      Demander à FixBot

      Ajouter un commentaire

    5. MacBook Air 11" Early 2014 I/O Board Replacement: étape 10, image 1 de 3 MacBook Air 11" Early 2014 I/O Board Replacement: étape 10, image 2 de 3 MacBook Air 11" Early 2014 I/O Board Replacement: étape 10, image 3 de 3
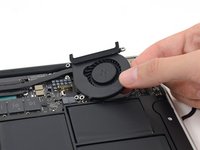
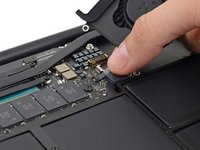
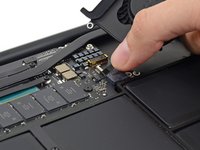
      • Lift, but do not remove the fan out of its recess in the upper case.

      • Carefully pull the fan ribbon cable out of its socket as you remove the fan from the Air.

      Demander à FixBot

      Ajouter un commentaire

    1. MacBook Air 11" Early 2014 I/O Board Replacement, Battery: étape 11, image 1 de 1
      • Remove the following five screws securing the battery to the upper case:

      • Two 5.2 mm T5 Torx screws

      • One 6 mm T5 Torx screw

      • Two 2.6 mm T5 Torx screws

      Demander à FixBot

      Ajouter un commentaire

    2. MacBook Air 11" Early 2014 I/O Board Replacement: étape 12, image 1 de 1
      • When handling the battery, avoid squeezing or touching the six exposed lithium polymer cells.

      • Lift the battery from its edge nearest the logic board and remove it from the upper case.

      Demander à FixBot

      Ajouter un commentaire

    1. MacBook Air 11" Early 2014 I/O Board Replacement, I/O Board: étape 13, image 1 de 2 MacBook Air 11" Early 2014 I/O Board Replacement, I/O Board: étape 13, image 2 de 2
      • Disconnect the I/O board power cable from the logic board by pulling the cable out of its socket on the logic board.

      • Pull the cable parallel to the face of the logic board toward the front edge of the Air.

      Demander à FixBot

      Ajouter un commentaire

    2. MacBook Air 11" Early 2014 I/O Board Replacement: étape 14, image 1 de 2 MacBook Air 11" Early 2014 I/O Board Replacement: étape 14, image 2 de 2
      Outil utilisé dans cette étape :
      Tweezers
      $4.99
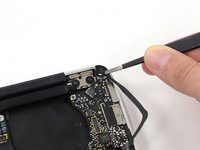
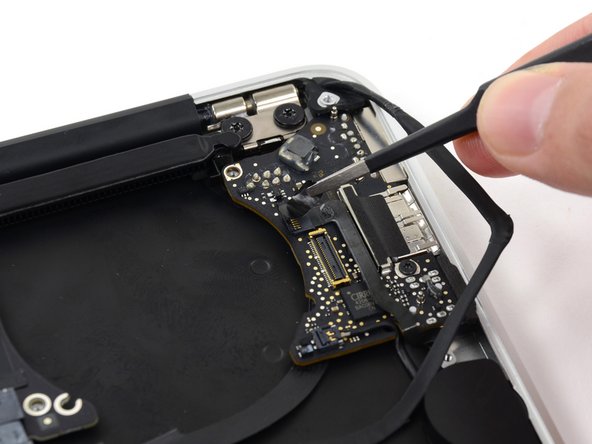
      • If necessary, use tweezers to remove any tape covering the microphone cable ZIF connector.

      Demander à FixBot

      Ajouter un commentaire

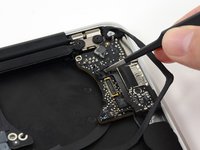
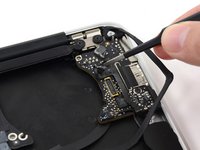
    3. MacBook Air 11" Early 2014 I/O Board Replacement: étape 15, image 1 de 3 MacBook Air 11" Early 2014 I/O Board Replacement: étape 15, image 2 de 3 MacBook Air 11" Early 2014 I/O Board Replacement: étape 15, image 3 de 3
      • Use the tip of a spudger to carefully flip up the retaining flap on the microphone cable ZIF socket.

      • Be sure you are prying up on the retaining flap, not the socket itself.

      • Pull the microphone ribbon cable straight out of its socket.

      Demander à FixBot

      Ajouter un commentaire

    4. MacBook Air 11" Early 2014 I/O Board Replacement: étape 16, image 1 de 2 MacBook Air 11" Early 2014 I/O Board Replacement: étape 16, image 2 de 2
      • Use the tip of a spudger to pry under the speaker cable near the connector to lift the connector straight up out of its socket.

      Demander à FixBot

      Ajouter un commentaire

    5. MacBook Air 11" Early 2014 I/O Board Replacement: étape 17, image 1 de 2 MacBook Air 11" Early 2014 I/O Board Replacement: étape 17, image 2 de 2
      • De-route the cable from its notch in the I/O board.

      Demander à FixBot

      Ajouter un commentaire

    6. MacBook Air 11" Early 2014 I/O Board Replacement: étape 18, image 1 de 2 MacBook Air 11" Early 2014 I/O Board Replacement: étape 18, image 2 de 2
      • Remove the small rubber gasket from the corner of the upper case nearest the I/O board.

      Demander à FixBot

      Ajouter un commentaire

    7. MacBook Air 11" Early 2014 I/O Board Replacement: étape 19, image 1 de 1
      • Remove the single 3.6 mm T5 Torx screw securing the I/O board to the upper case.

      • In some models this is a 3.1 mm T5 Torx screw.

      Demander à FixBot

      Ajouter un commentaire

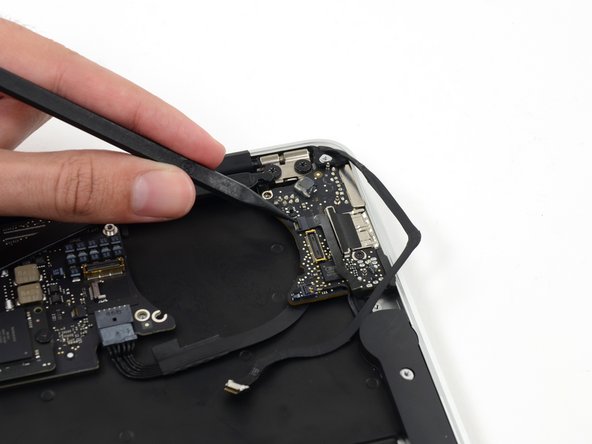
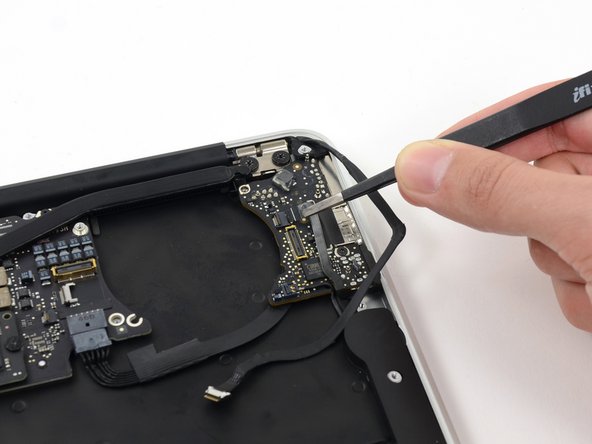
    8. MacBook Air 11" Early 2014 I/O Board Replacement: étape 20, image 1 de 3 MacBook Air 11" Early 2014 I/O Board Replacement: étape 20, image 2 de 3 MacBook Air 11" Early 2014 I/O Board Replacement: étape 20, image 3 de 3
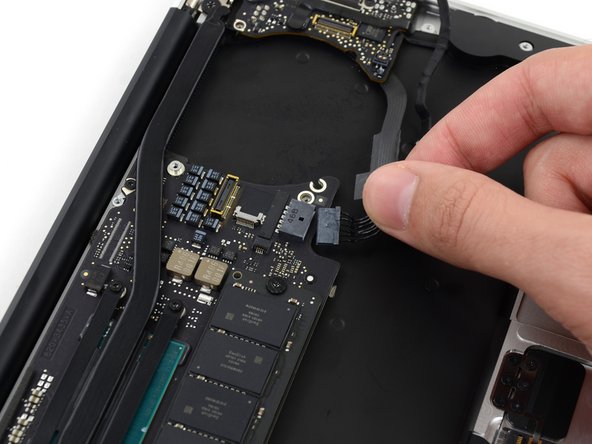
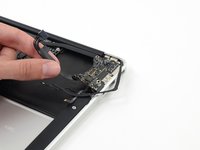
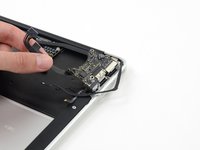
      • Carefully lift the I/O board by its power cable and pull it away from the edge of the case.

      Demander à FixBot

      Ajouter un commentaire

Conclusion

To reassemble your device, follow these instructions in reverse order.

Annulation : je n'ai pas terminé ce tutoriel.

11 autres ont terminé cette réparation.

Sam Goldheart

Membre depuis le 10/18/12

477 943 Réputation

538 tutoriels rédigés

Équipe

iFixit Membre de l'équipe iFixit

Staff

123 membres

83 909 tutoriels rédigés

1 commentaire de tutoriel

Does the IO board on this model contain the hall effect sensor(lid sensor)? Where is it located and what does it look like?

Marik - Réponse Partager
Ajouter un commentaire

Nombre de vues :

Dernières 24 heures : 2

7 derniers jours : 8

30 derniers jours : 52

Total : 8,140