Introduction
Use this guide to replace a cracked or broken display.
Ce dont vous avez besoin
-
Outil utilisé dans cette étape :P5 Pentalobe Screwdriver Retina MacBook Pro and Air$5.99
-
Remove the following ten screws:
-
Two 8 mm 5-point Pentalobe screws
-
Eight 2.5 mm 5-point Pentalobe screws
-
-
-
Use the flat end of a spudger to pry both short sides of the battery connector upward to disconnect it from its socket on the logic board.
-
Bend the battery cable slightly away from the logic board so the connector will not accidentally contact its socket.
-
-
-
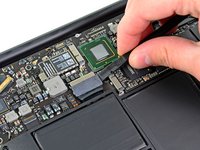
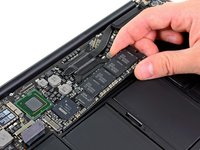
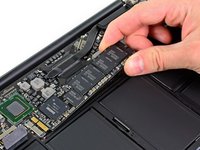
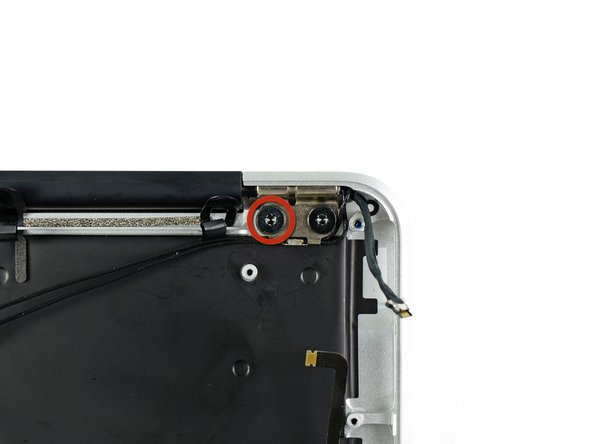
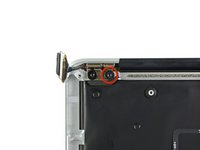
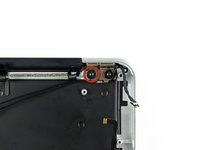
Remove the single 2.9 mm T5 Torx screw securing the SSD to the logic board.
-
-
-
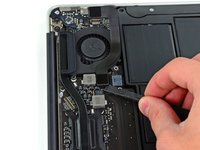
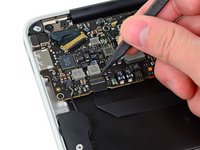
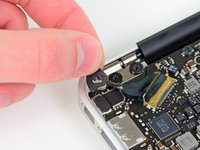
Use the flat end of a spudger to pry the I/O board cable up from its socket on the I/O board.
-
-
-
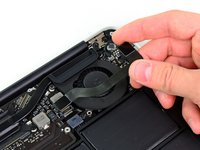
Use the tip of a spudger to carefully flip up the retaining flap on the fan cable ZIF socket.
-
-
-
Remove the following five screws securing the battery to the upper case:
-
Two 5.2 mm T5 Torx screws
-
One 6 mm T5 Torx screw
-
Two 2.6 mm T5 Torx screws
-
-
-
-
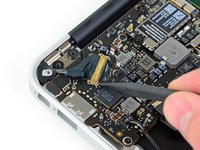
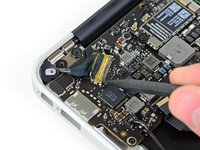
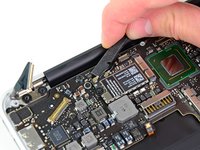
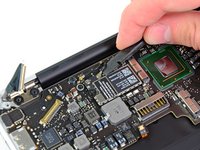
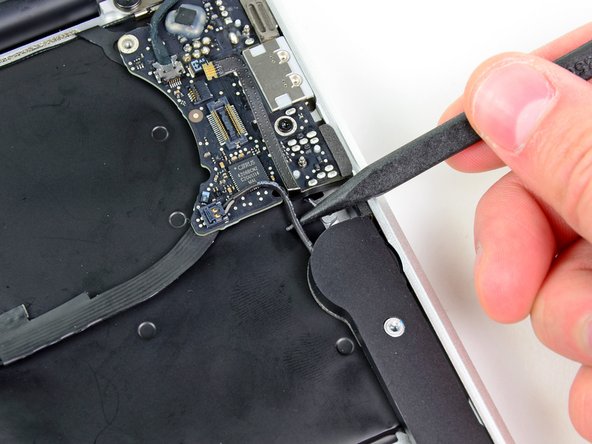
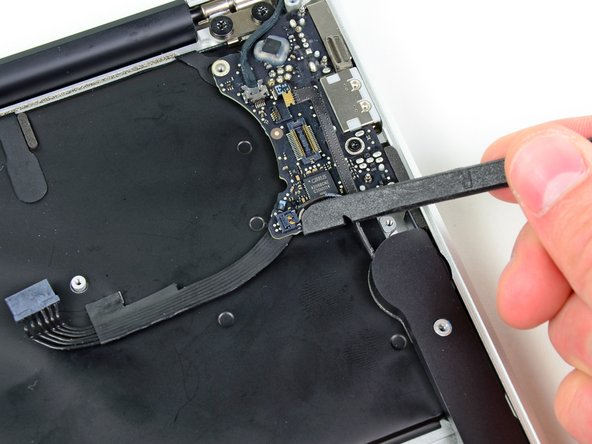
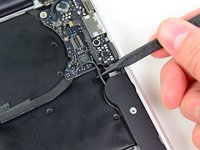
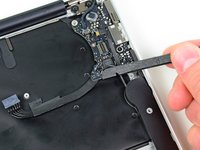
Use the flat end of a spudger to free the adhesive loop securing the I/O board power cable to the upper case.
-
Disconnect the I/O board by pulling the power cable away from its socket on the logic board.
-
-
-
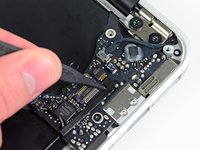
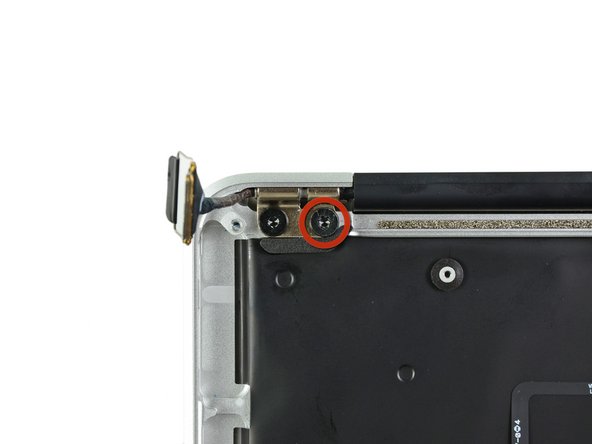
Remove the small rubber gasket from the corner of the upper case nearest the I/O board.
-
-
-
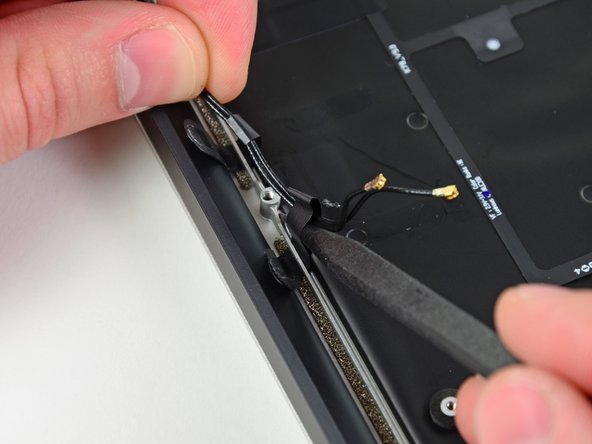
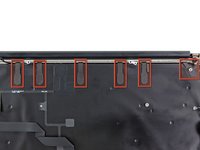
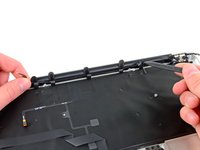
Peel up the six cable loops securing the antenna cables to the upper case.
-
Gently pull the cable loops slightly out of the channel cut into the upper case one at a time.
-
Use your spudger to open up the plastic loops as you de-route the antenna cables through them.
-
Repeat this for all of the retaining loops.
-


To reassemble your device, follow these instructions in reverse order.
To reassemble your device, follow these instructions in reverse order.
Annulation : je n'ai pas terminé ce tutoriel.
72 autres ont terminé cette réparation.

5 commentaires
Thanks a lot for this guide! My daughter wrecked the display on my Macbook Air. I have never done any repairs on a notebook before, but I ordered the new display assembly and the toolkit and went ahead anyways.
When I saw my Macbook Air in pieces before me, I had my doubts that it would ever work again, but placing the last screw and then pressing the power button, it just worked!
Thanks again!
Switched two monitors and made a great job thanks to this amzing guide. Very easy.