Aller au contenu principal

MacBook Pro 13" Retina Display Late 2012 I/O Board Replacement

Conditions préalables uniquement
Ce tutoriel est uniquement destiné à être utilisé comme prérequis d'autres tutoriels. Il ne se suffit pas à lui-même.

Ce dont vous avez besoin

  1. MacBook Pro 13" Retina Display Late 2012 I/O Board Replacement, I/O Board: étape 1, image 1 de 3 MacBook Pro 13" Retina Display Late 2012 I/O Board Replacement, I/O Board: étape 1, image 2 de 3 MacBook Pro 13" Retina Display Late 2012 I/O Board Replacement, I/O Board: étape 1, image 3 de 3
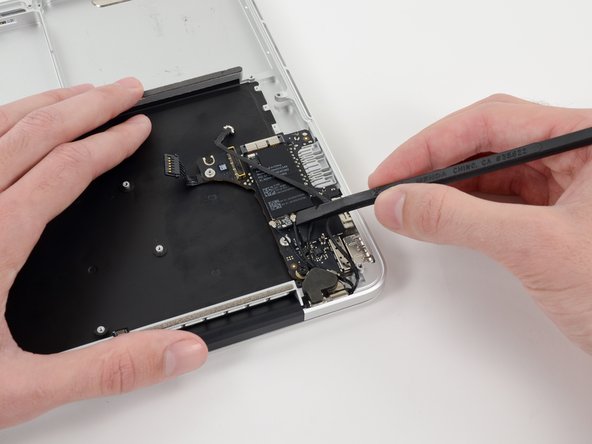
    • Use the flat end of a spudger to pry and disconnect the three antenna cable connectors from the AirPort board.

    • The three cables are coded with black sleeves of different lengths. During reassembly:

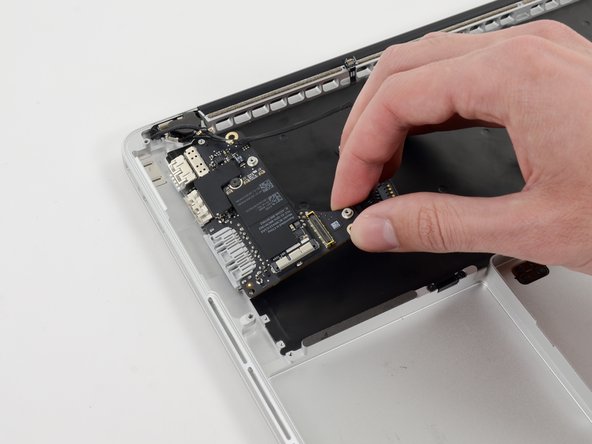
    • Connect the long-sleeved cable to the center socket.

    • The short-sleeved cable connects next to the screw.

    • The remaining cable has no sleeve, and connects in the last empty socket, next to the fan.

  2. MacBook Pro 13" Retina Display Late 2012 I/O Board Replacement: étape 2, image 1 de 1
    • Remove the following two screws securing the I/O board to the upper case:

    • One 3.53 mm T5 Torx screw

    • One 4.89 mm T8 Torx standoff screw

  3. MacBook Pro 13" Retina Display Late 2012 I/O Board Replacement: étape 3, image 1 de 2 MacBook Pro 13" Retina Display Late 2012 I/O Board Replacement: étape 3, image 2 de 2
    • Carefully pull and remove the I/O board away from its recess in the upper case.

Conclusion

To reassemble your device, follow these instructions in reverse order.

0 commentaires

Ajouter un commentaire

Nombre de vues :

Dernières 24 heures : 0

7 derniers jours : 0

30 derniers jours : 0

Total : 41