Cette version peut contenir des modifications incorrectes. Passez au dernier aperçu vérifié.
Ce dont vous avez besoin
-
Cette étape n’est pas traduite. Aidez à la traduire
-
For this step, it is recommended to use a heat gun or hair dryer to soften the adhesive securing the microphone assembly to the upper case. You may be able to remove it without doing so, but will risk damaging the microphone cable.
-
With the heat gun set to low, heat the microphone assembly to loosen the adhesive attaching it to the upper case.
-
-
Cette étape n’est pas traduite. Aidez à la traduire
-
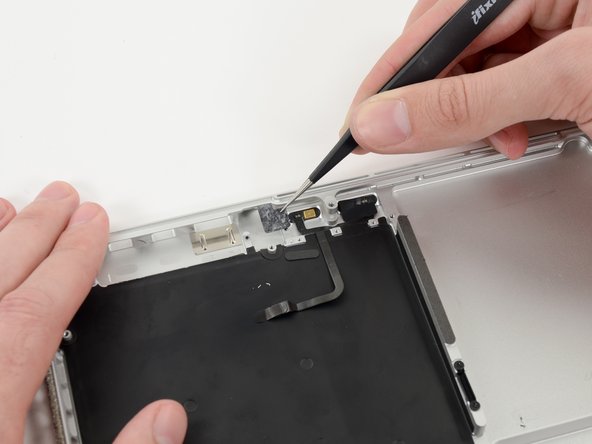
Use the tip of a spudger to remove the piece of tape covering one of two microphones.
-
Grasp the piece of tape with a pair of tweezers and remove it.
-
-
Cette étape n’est pas traduite. Aidez à la traduire
-
Repeat the same procedure as the previous step to remove the tape covering the second microphone.
-
-
-
Cette étape n’est pas traduite. Aidez à la traduire
-
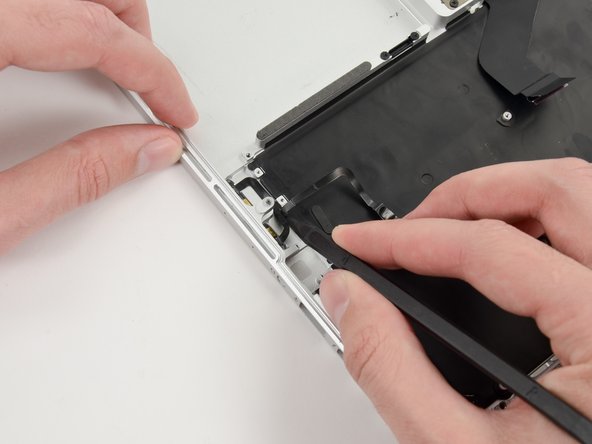
Wedge the tip of a spudger underneath the microphone assembly cable.
-
Run the spudger up along the bottom of the microphone assembly cable to separate it from the upper case.
-
-
Cette étape n’est pas traduite. Aidez à la traduire
-
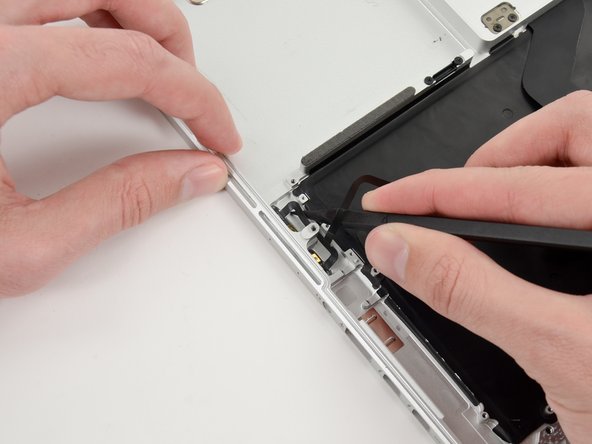
Gently wedge the tip of a spudger underneath the second microphone and push inwards to loosen the adhesive.
-
-
Cette étape n’est pas traduite. Aidez à la traduire
-
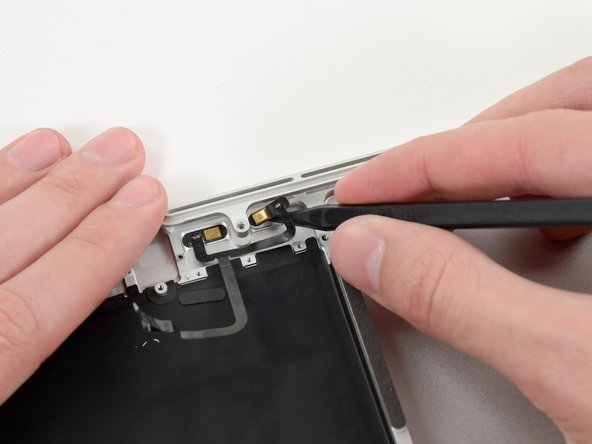
Carefully pry the first microphone up off the upper case.
-
-
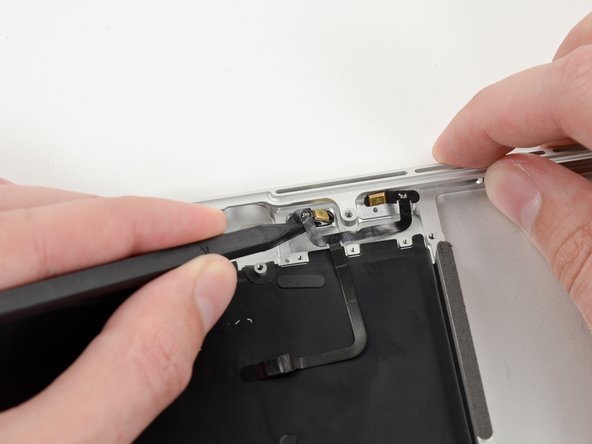
Cette étape n’est pas traduite. Aidez à la traduire
-
Lift and remove the microphone assembly out of the upper case.
-