Introduction
A guide to accessing the RoadMate's display.
Ce dont vous avez besoin
-
-
Remove the four rubber caps from the back by using the Phillips #00 screwdriver.
-
-
-
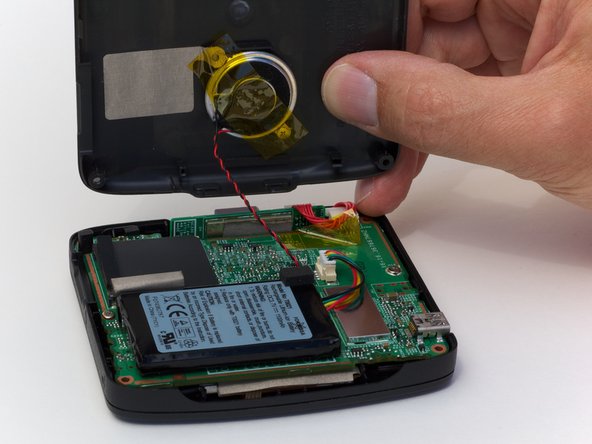
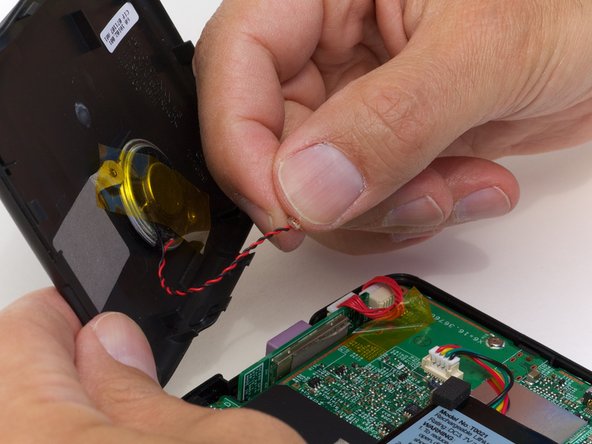
Pull the speaker cord, horizontally, by its base, away from the motherboard.
where can we get the speakers from? please
-
-
-
-
Remove the two screws on that are located on opposite sides of the board.
-
-
-
Lift up the circuit board and disconnect the GPS wire, pulling horizontally from its connector port.
-
-
-
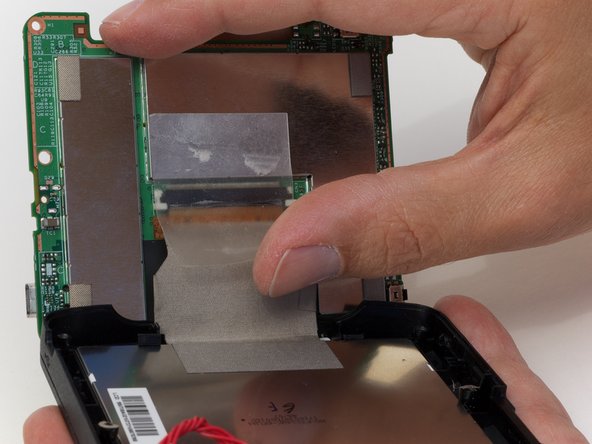
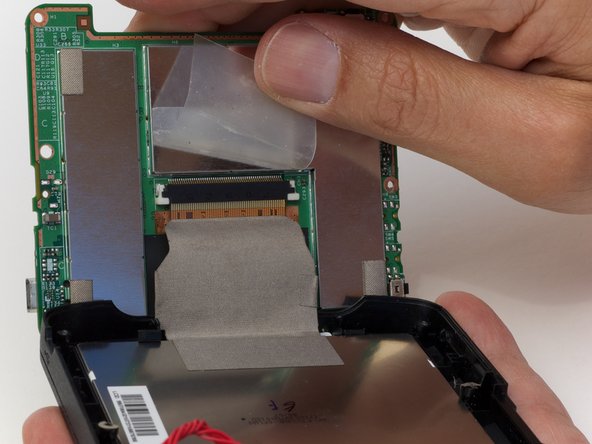
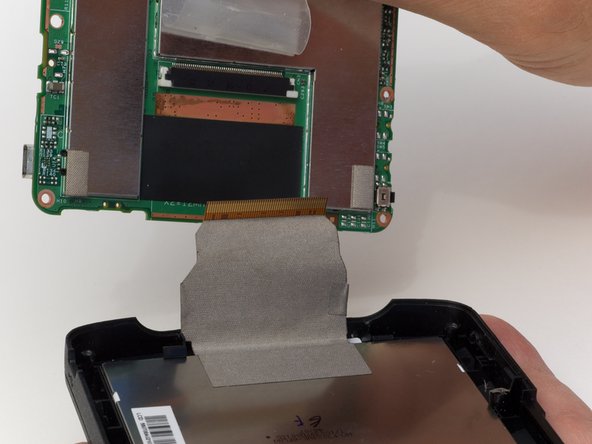
Peel back the tape securing the display connector to the logic board.
My Roadmate 1200 had no tape holding the ribbon cable. Instead, on the board is a thin stripe of black plastic which is the connector for the cable. You can catch your finger nail under the edge of the black plastic strip closest to where the ribbon enters the board. Gently lever it up and it pivots up and out of the way as it releases the ribbon cable. The cable then easily slide out. When you align and slide in the new cable, just gently push the strip back down and it will snap into place. Practice aligning the cable a few times with the old one, snapping it in place, before installing the new.
-
-
-
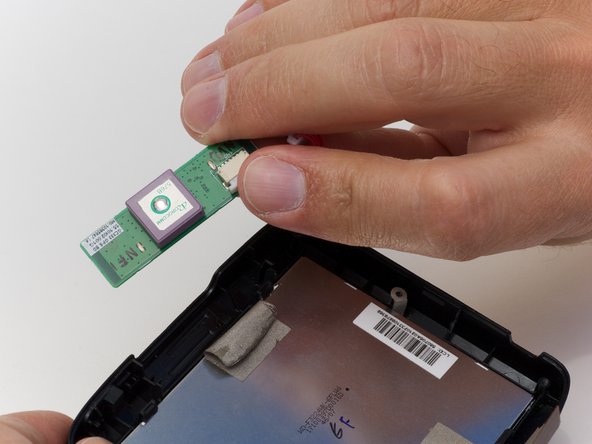
Carefully flip the circuit board out so you can get to the sensor easily.
-
Remove the tape holding the sensor to the display and take out the sensor.
-
-
-
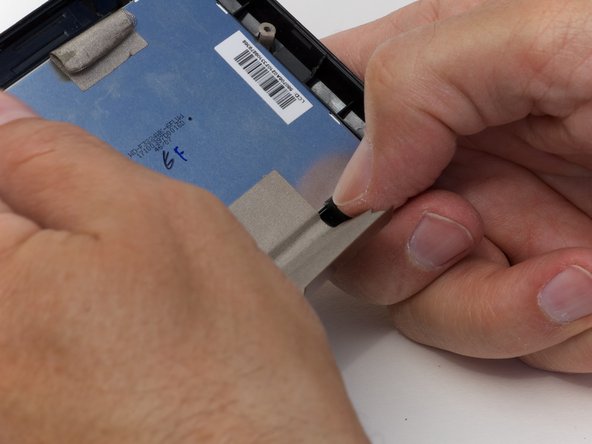
Undo the 4 clasps holding the display in place.
-
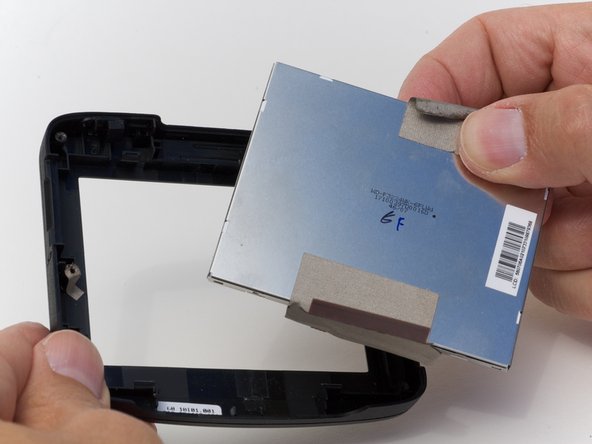
Pop the display from the front cover.
Again my GPS was a little different. There were only 3 plastic clips holding the display. One was in the middle of the edge across from the ribbon cable and there was one on each side of the cable. the display was easily removed by simultaneously holdind the single clip back and gently pushing on the display from outside the case.
-


To reassemble your device, follow these instructions in reverse order.
To reassemble your device, follow these instructions in reverse order.
Annulation : je n'ai pas terminé ce tutoriel.
Une autre personne a terminé cette réparation.

Un commentaire
In order to remove the rubber plugs hiding the 4 screws, I found that a straight pin angled into the top of the plug can be used to lift them easily straight out and the plug is unharmed.
With the screws out, the back did not budge. I used the thinest blade screw driver in my jeweler's set to pry the case open and pushed on the plastic catches, one on each side that were holding it closed. They are visible in the photo of the back off.